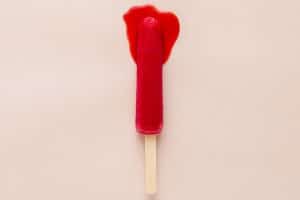
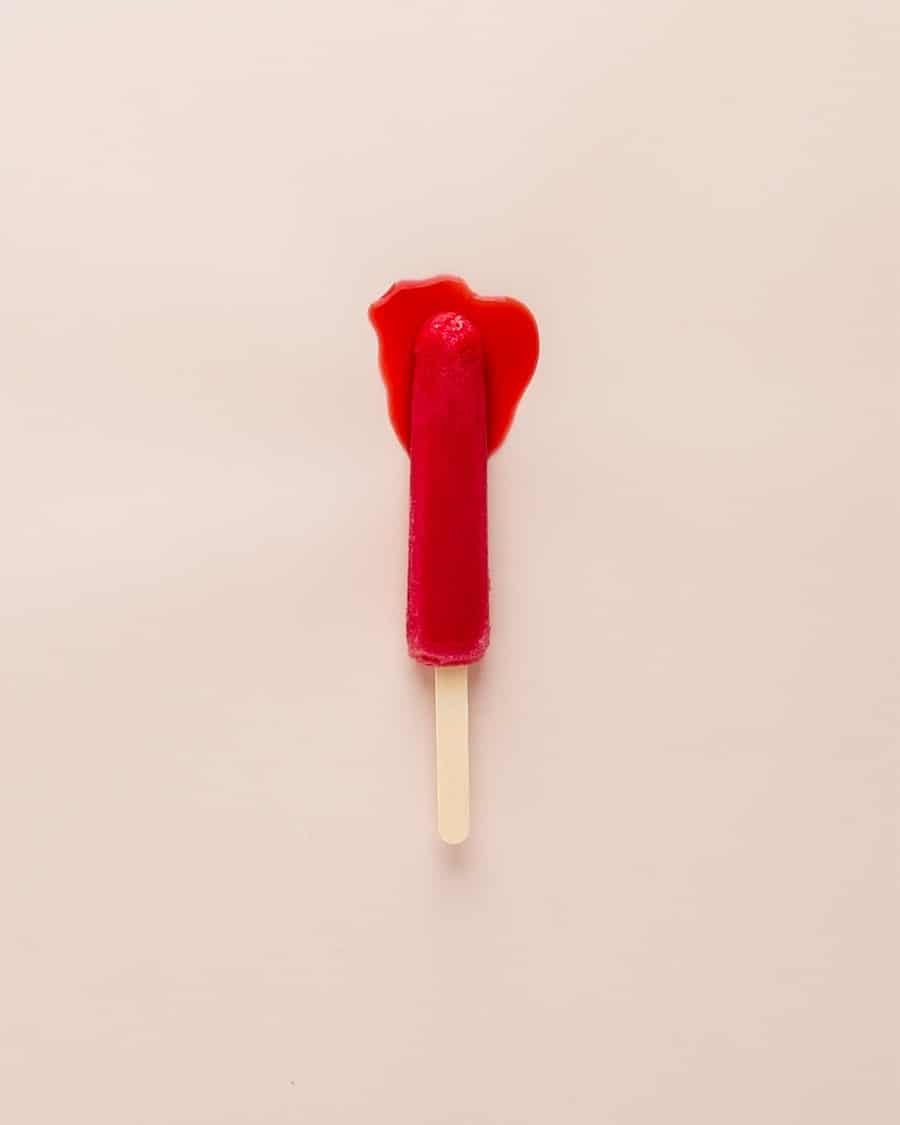
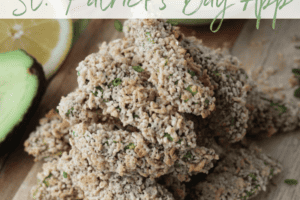
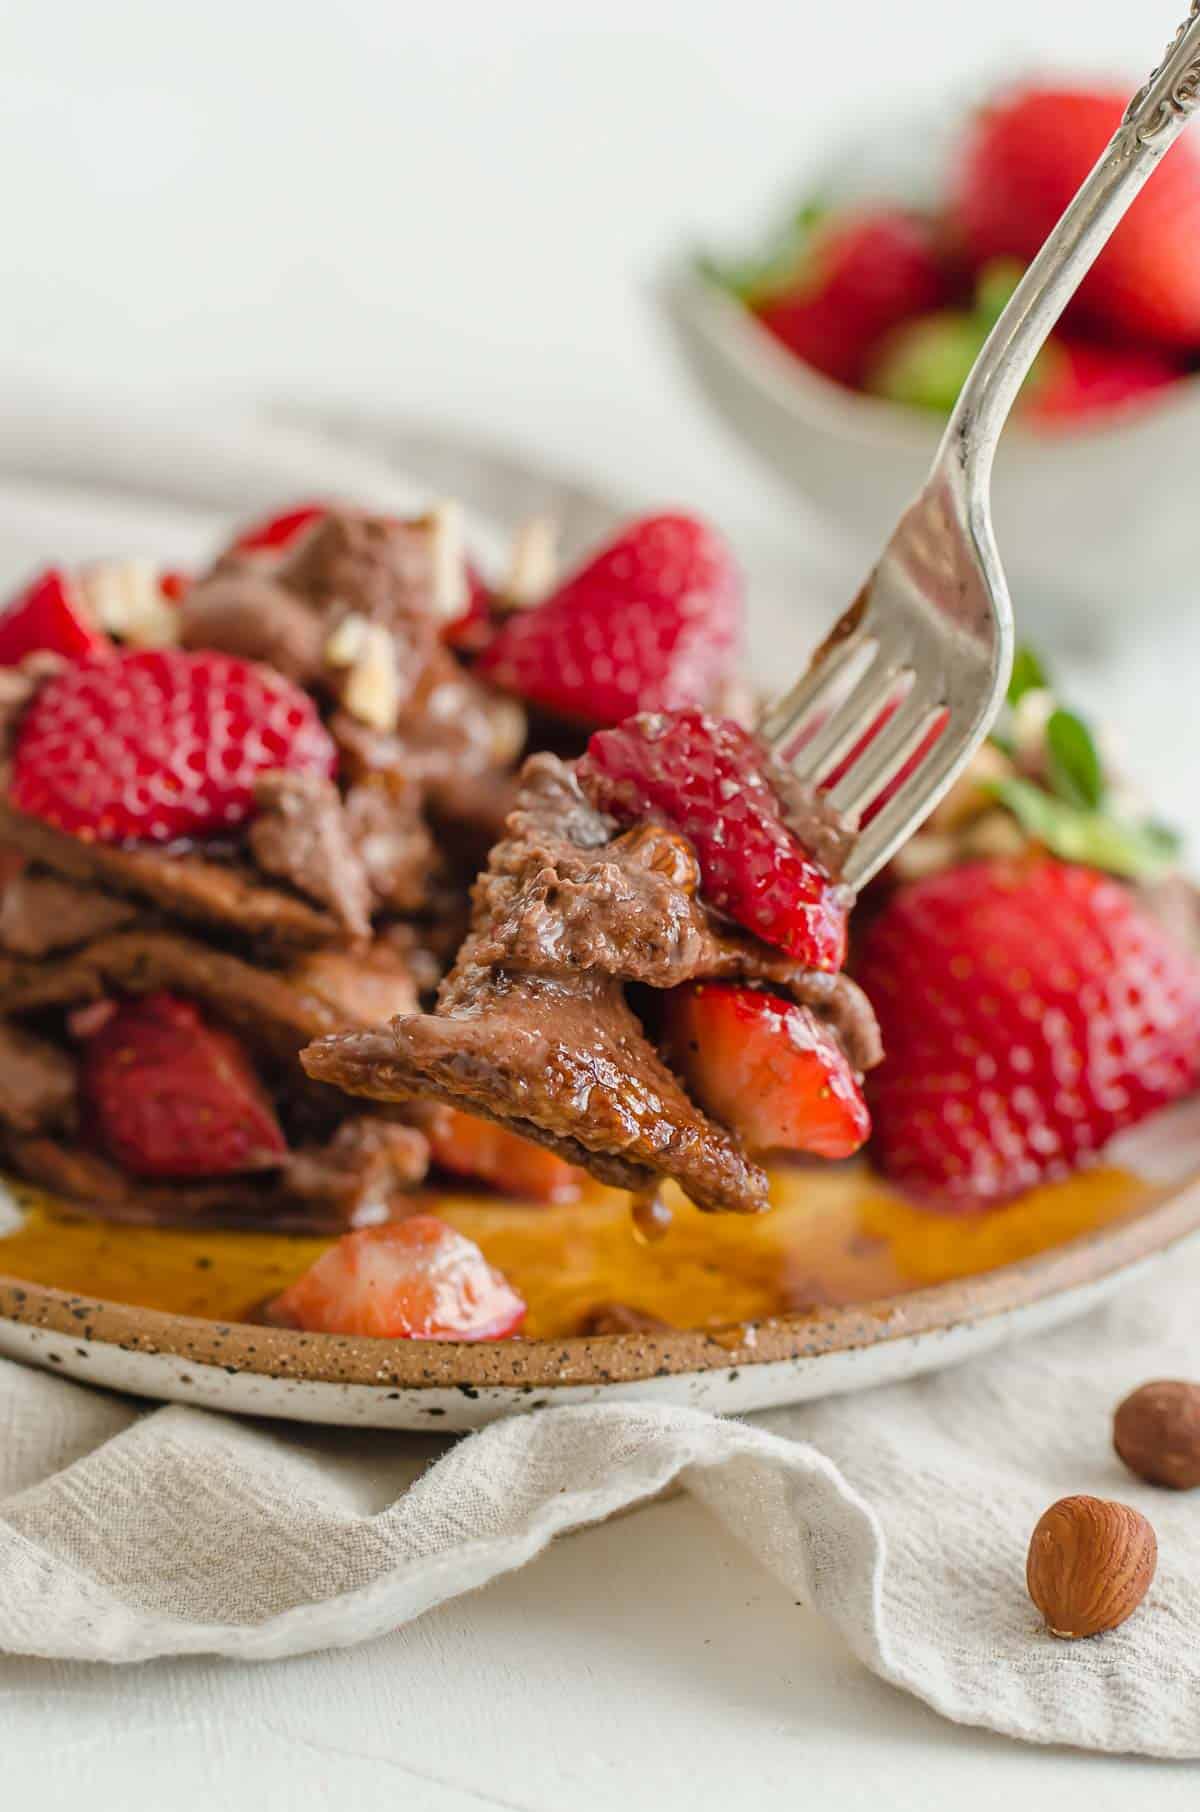
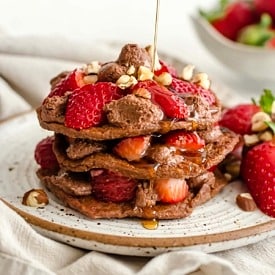
I share my recipe for No-Bake VEGAN Peanut Butter Blondies with Caramel Peanut Popcorn for a healthy easy gluten free dessert.
I love a vegan brownie recipe, but let’s talk about blondies for a sec.
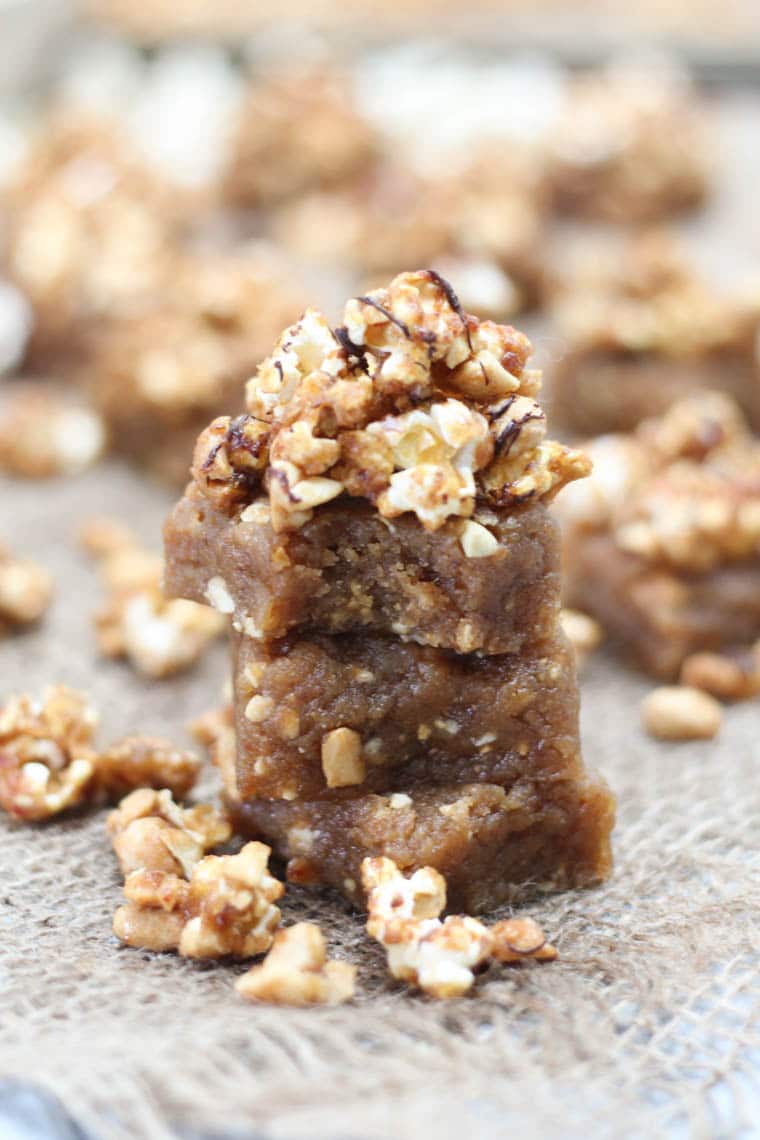
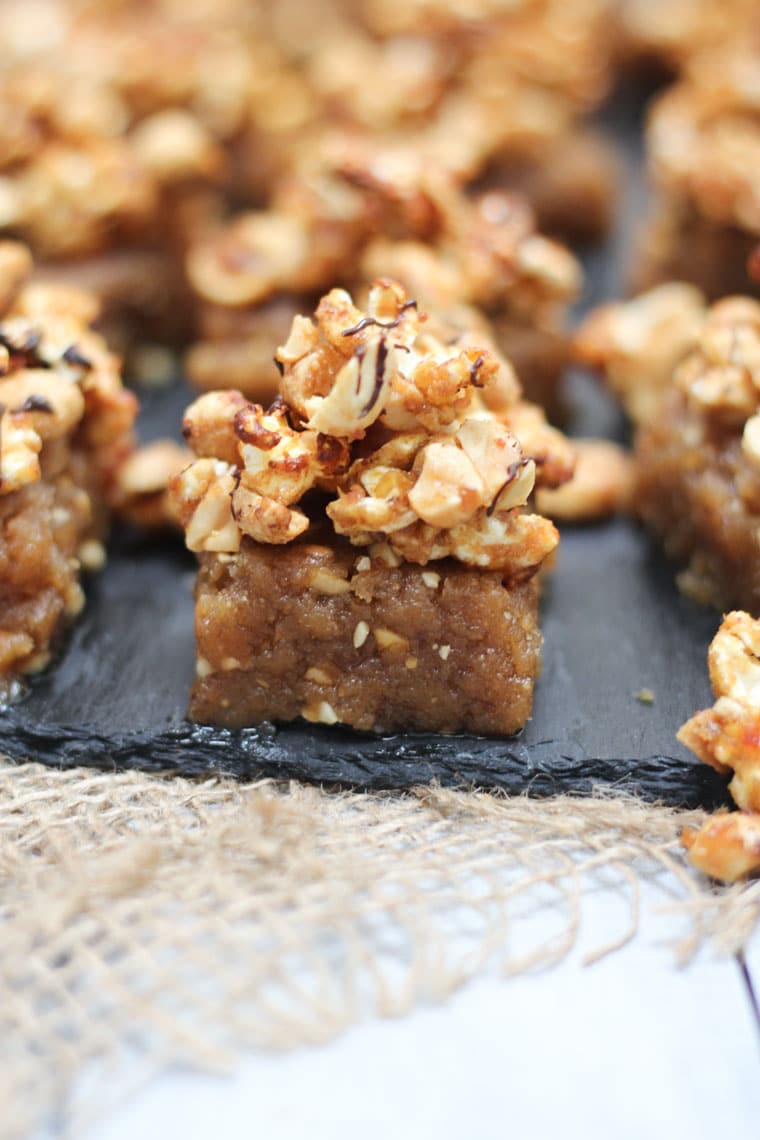
You want to know one of the best combos that no one talks about? Popcorn, caramel and peanut butter. Individually, or all together, they are AMAZING all around. So, I decided to combine all of my go-to favourite flavours into these delicious treat peanut butter blondies. Yep. These babies are sweet, salty, crunchy and smooth- totally ticking all the boxes.
Table of contents
Why This Recipe Works
Now I have nothing against a good brownie- in fact, I’m a crazy big fan of them. But I’m definitely a peanut butter girl first, so these vegan peanut butter blondies are absolutely my style. I also love this recipe because it’s:
- Completely vegan
- Requires no baking
- Gluten-free
- Absolutely DELICIOUS!
Key Ingredients
Almond Flour- We use almond flour for these peanut butter blondies to keep them gluten-free for all my gluten-intolerant friends. Almond flour is also one of my favorite gluten-free alternative flours to use since it requires a 1:1 ratio compared to regular flour.
Popcorn- Popcorn is to thank for the salty crunchy factor that we get with these peanut butter blondies. It also adds a bit of fiber which I ain’t mad about either.
Ripe Banana- While you can totally use semi-ripe bananas for this recipe, the riper the better as this will add tons of natural sweetness.
Powdered Peanut Butter- I am obsessed with using powdered peanut butter for baking, and this peanut butter blondies recipe is no exception! Because it’s a powdered consistency it also helps bind everything together without sacrificing the peanut butter flavour.
How To Make This Recipe
Step 1: In a food processor, puree the dates until grainy, then add in the almond flour, peanut butter, vanilla, salt, cinnamon and banana. Puree until very smooth.
Step 2: Line a 8” square baking dish with parchment paper on both sides and press firmly into the dish. Place in freezer to set.
Step 3: Meanwhile, to make the popcorn, puree the dates in the food processor until fairly smooth, then add in the coconut milk, maple and peanut butter. Transfer to a stovetop and heat until bubbling and caramelized, about 5 minutes. Add in the vanilla and remove from the heat. Allow to cool for about 5-10 minutes so it’s still warm and still pliable but not scalding.
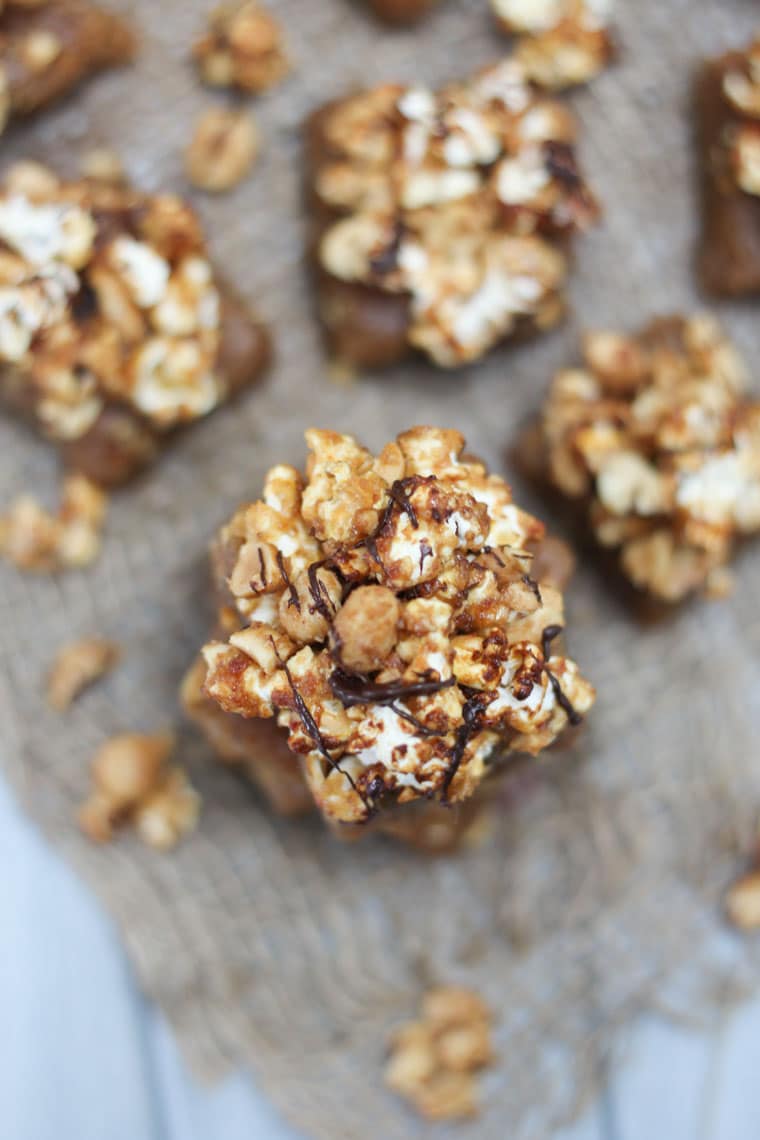
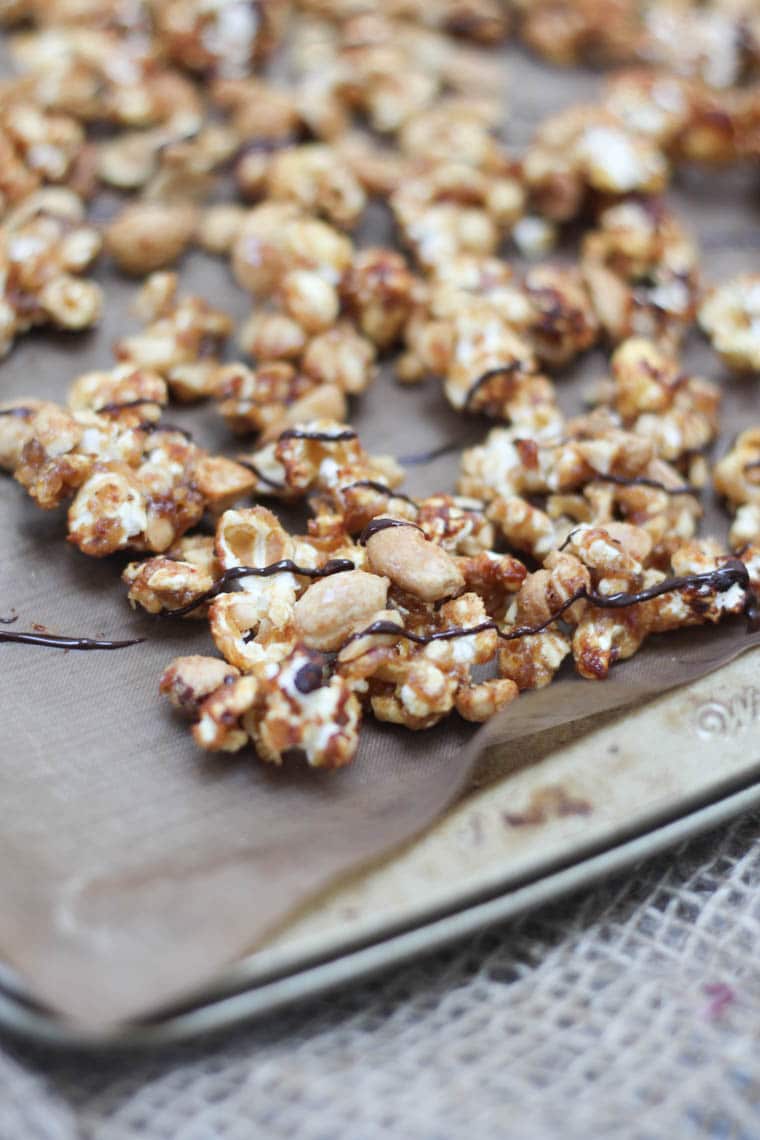
Step 4: Spread out the popcorn and peanuts on a baking sheet lined with a silpat and coat with the caramel. Allow to set until firm, then top with a drizzle of melted chocolate and a generous sprinkle of fleur de sel.
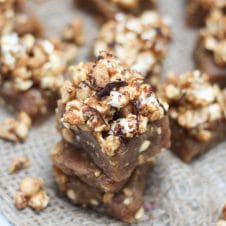
Step 5: Remove the blondies from the freezer and pack the popcorn firmly on top. Slice into squares and enjoy!
Expert Tips
If you’re wanting to play around with different types of popcorn for this recipe, definitely give kettle corn a shot! It will definitely sweeten up these peanut butter blondies more while giving the same desired crunch factor.
A secret I also love about this recipe is that after I puree together the dates, almond flour, peanut butter, and super ripe banana, I typically eat like half of this stuff before it even comes out of the food processor. So, definitely consider that you might need to make a bigger batch if that sounds like you too.
Recipe FAQs
You can store these guys in an airtight container in the fridge for up to 5-7 days. Personally, I would save the caramel popcorn to make right before you eat it so that the popcorn doesn’t get soggy.
I personally haven’t tried this recipe using another type of peanut butter. But if you want to take a stab at it, I recommend not using a natural peanut butter as the runniness may cause the blondies not to hold together as well.
Absolutely! Just be aware popcorn is considered a choking hazard for children under the age of 4 per the American Academy of Pediatrics.
More Recipes You Might Like
If you’re looking for other delicious no bake dessert recipes like these peanut butter blondies, check out some of these recipes below:
Now let me know, what are some of your favourite ways to eat popcorn? Have you tried making these no-bake vegan peanut butter blondies? Leave me a comment below!
Peanut Butter Blondies with Caramel Peanut Popcorn (No-Bake, Vegan & Gluten Free)
Ingredients
Blondies:
- 14 super soft dates pitted and minced
- 2 cups almond flour
- 1 cup powdered peanut butter
- 1 tbsp. vanilla
- 1 tsp cinnamon
- 1 large very ripe banana
- 1/2 cup peanuts crushed
Caramel Peanut Popcorn:
- 6 super soft dates pitted and minced
- ¼ cup lite coconut milk
- 5 tbsp maple syrup
- 2 tbsp natural peanut butter
- 1 tsp vanilla
- 1 bag Popcorn popped
- ½ cup peanuts roughly chopped
- 1 oz melted dark chocolate
- Fleur de sel
Instructions
- In a food processor, puree the dates until grainy, then add in the almond flour, peanut butter, vanilla, salt, cinnamon and banana. Puree until very smooth.
- Line a 8” square baking dish with parchment paper on both sides and press firmly into the dish. Place in freezer to set.
- Meanwhile, to make the popcorn, puree the dates in the food processor until fairly smooth, then add in the coconut milk, maple and peanut butter. Transfer to a stovetop and heat until bubbling and caramelized, about 5 minutes. Add in the vanilla and remove from the heat. Allow to cool for about 5-10 minutes so it’s still warm and still pliable but not scalding.
- Spread out the popcorn and peanuts on a baking sheet lined with a silpat and coat with the caramel. Allow to set until firm, then top with a drizzle of melted chocolate and a generous sprinkle of fleur de sel.
- Remove the blondies from the freezer and pack the popcorn firmly on top. Slice into squares and enjoy!
Nutrition
Abbey Sharp is a Registered Dietitian (RD), regulated by the Ontario College of Dietitians. She is a mom, YouTuber, Blogger, award winning cookbook author, media coach specializing in food and nutrition influencers, and a frequent contributor to national publications like Healthline and on national broadcast TV shows.