These Tropical French Toast Muffins are one of my go-to make ahead breakfast or brunch recipes, made in partnership with Nature’s Touch.
When you agreed to host brunch weeks ago, it probably sounded like a great idea. But somehow Sunday arrives way faster than expected, your kitchen is a mess, and suddenly you need a recipe that looks impressive without requiring restaurant-level effort. Enter: these Tropical French Toast Muffin Cups.
These baked french toast cups are crispy on the edges, soft and custardy in the center, naturally sweet from tropical fruit, and honestly taste like something you’d order at a trendy brunch café. But the best part? They come together with super minimal prep using freezer staples that make entertaining feel way less stressful.
And because I’m all about realistic healthy eating over perfection, I love leaning on convenient ingredients that still deliver on flavour and nutrition. That’s why I always keep my blog partner, Nature’s Touch frozen fruit in my freezer year-round. I love Nature’s Touch because I can support a local Canadian company. Their fruit is also frozen at peak ripeness so it tastes sweet and juicy any season, plus it helps reduce food waste because I can use exactly what I need and save the rest for later. Their Tropical Fruit Medley comes in six individual pouches, making it especially handy for quick breakfasts, smoothies, snacks, and easy hosting recipes like this one.
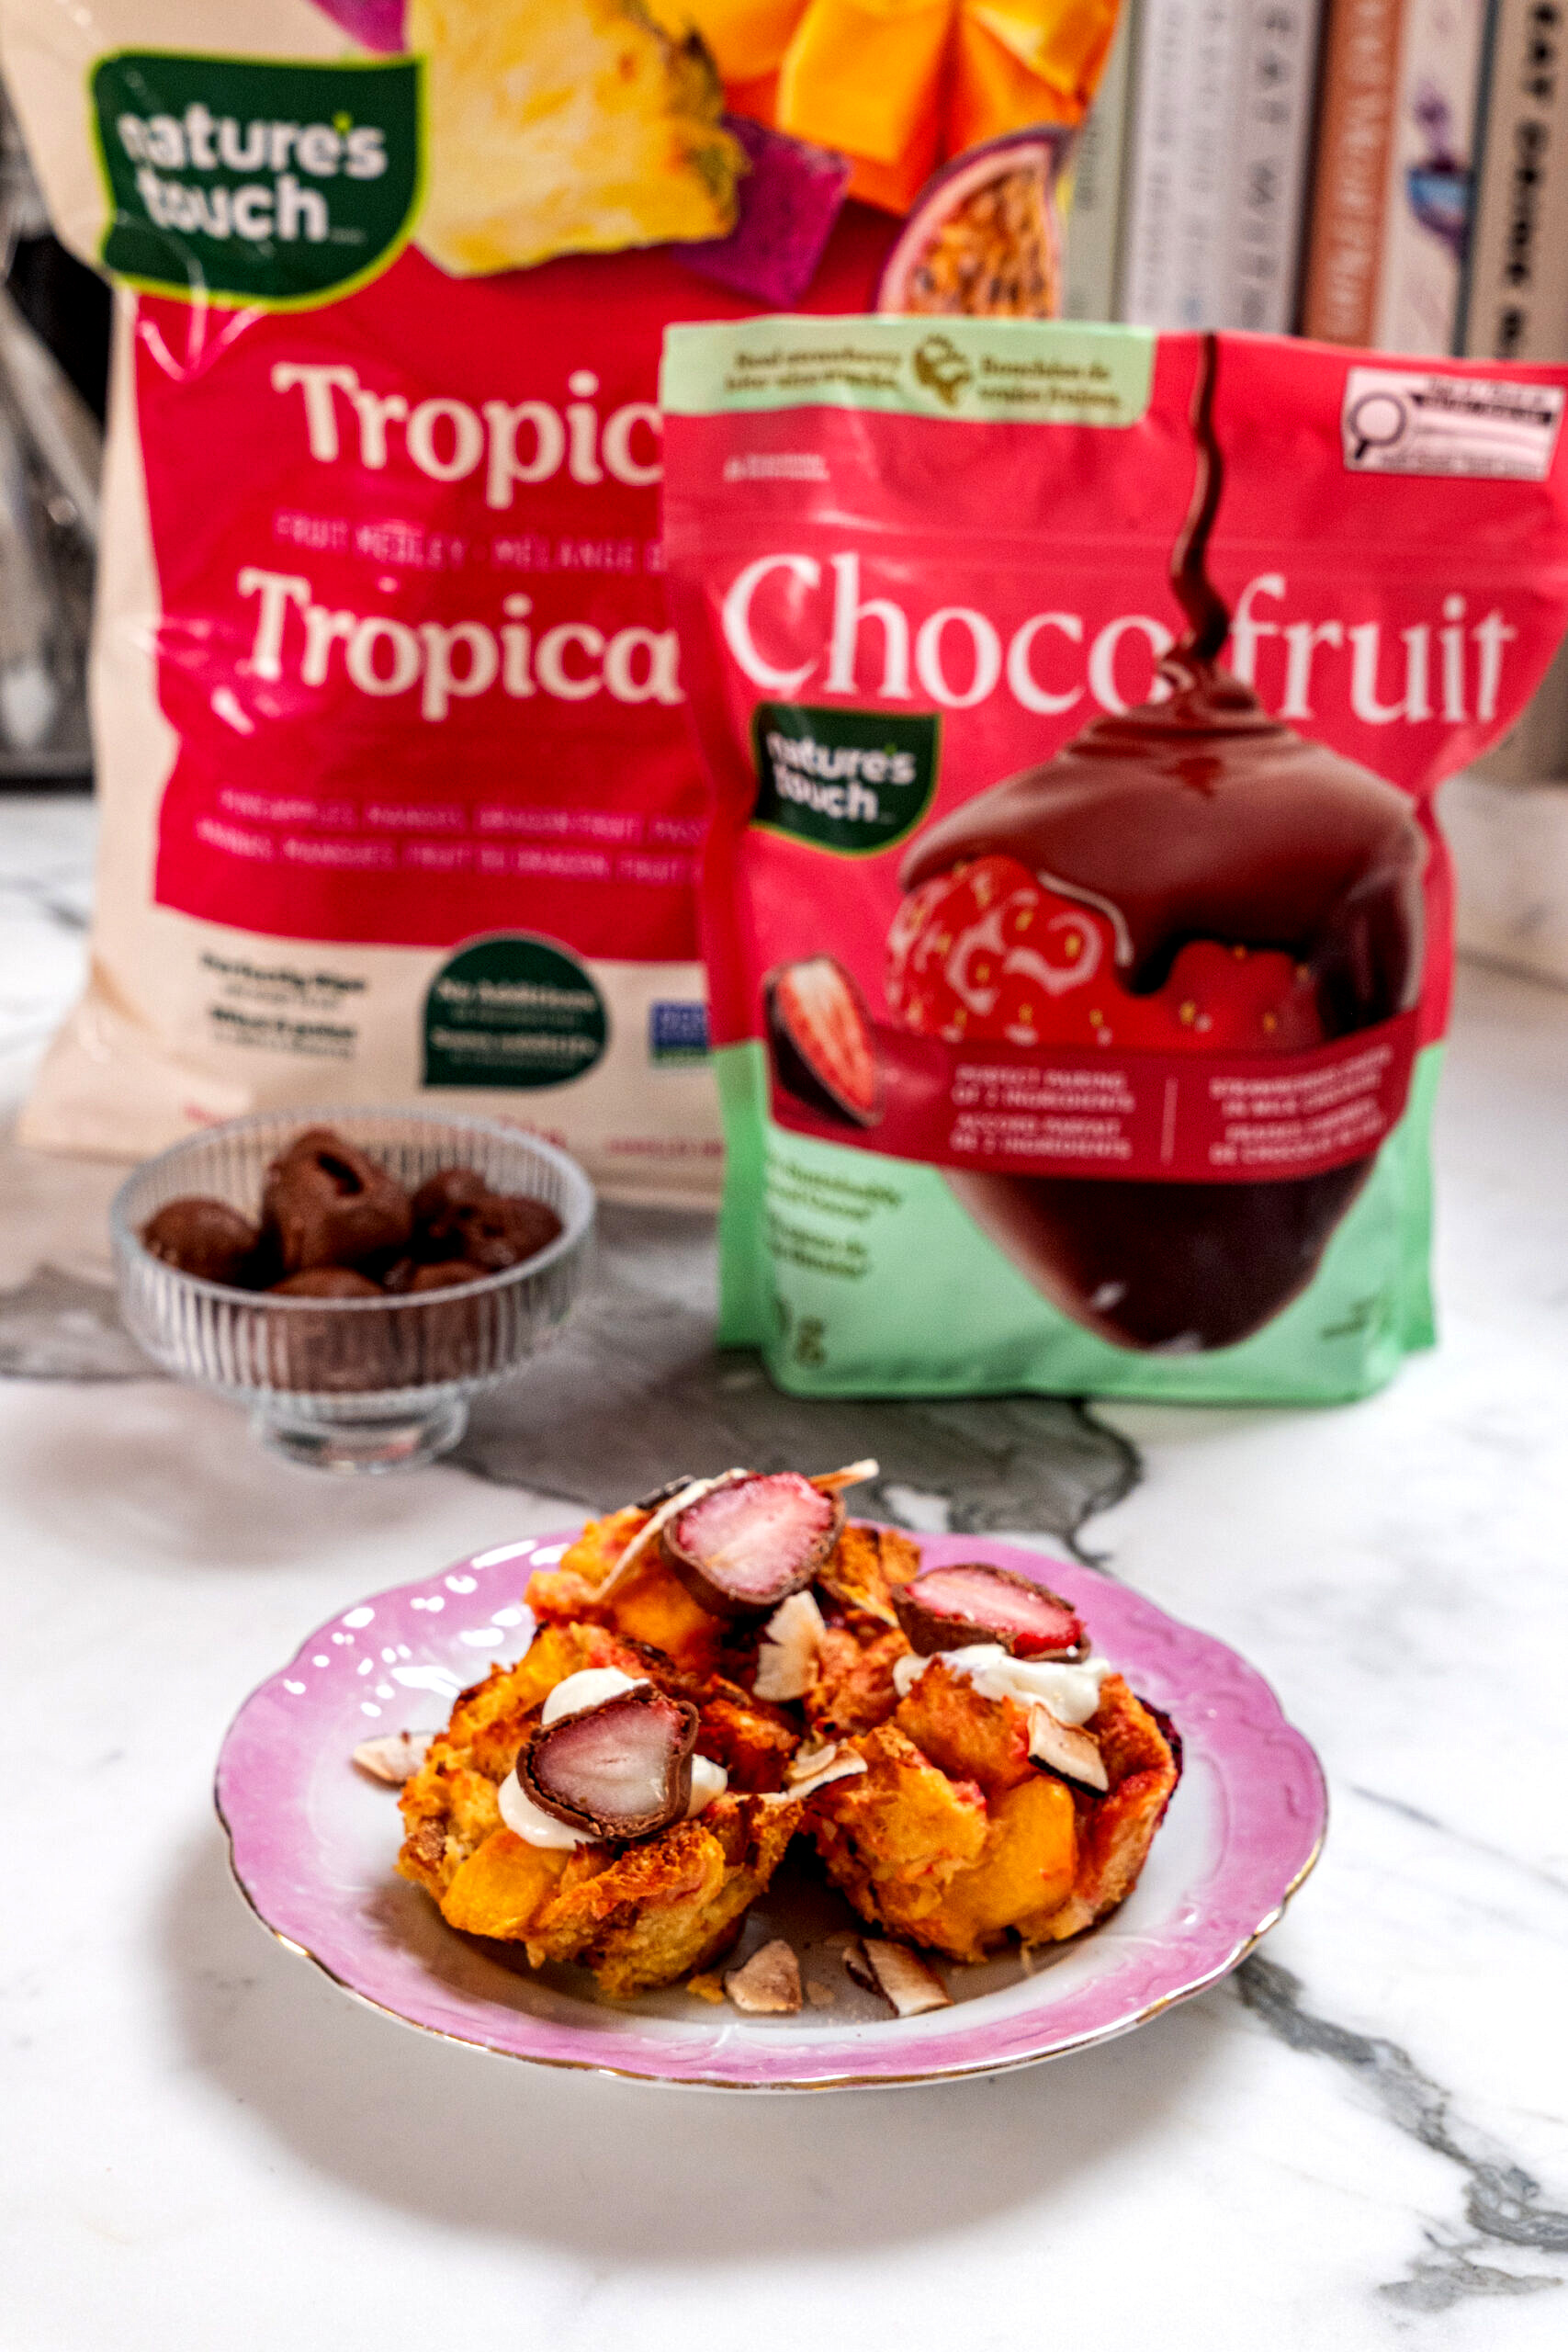
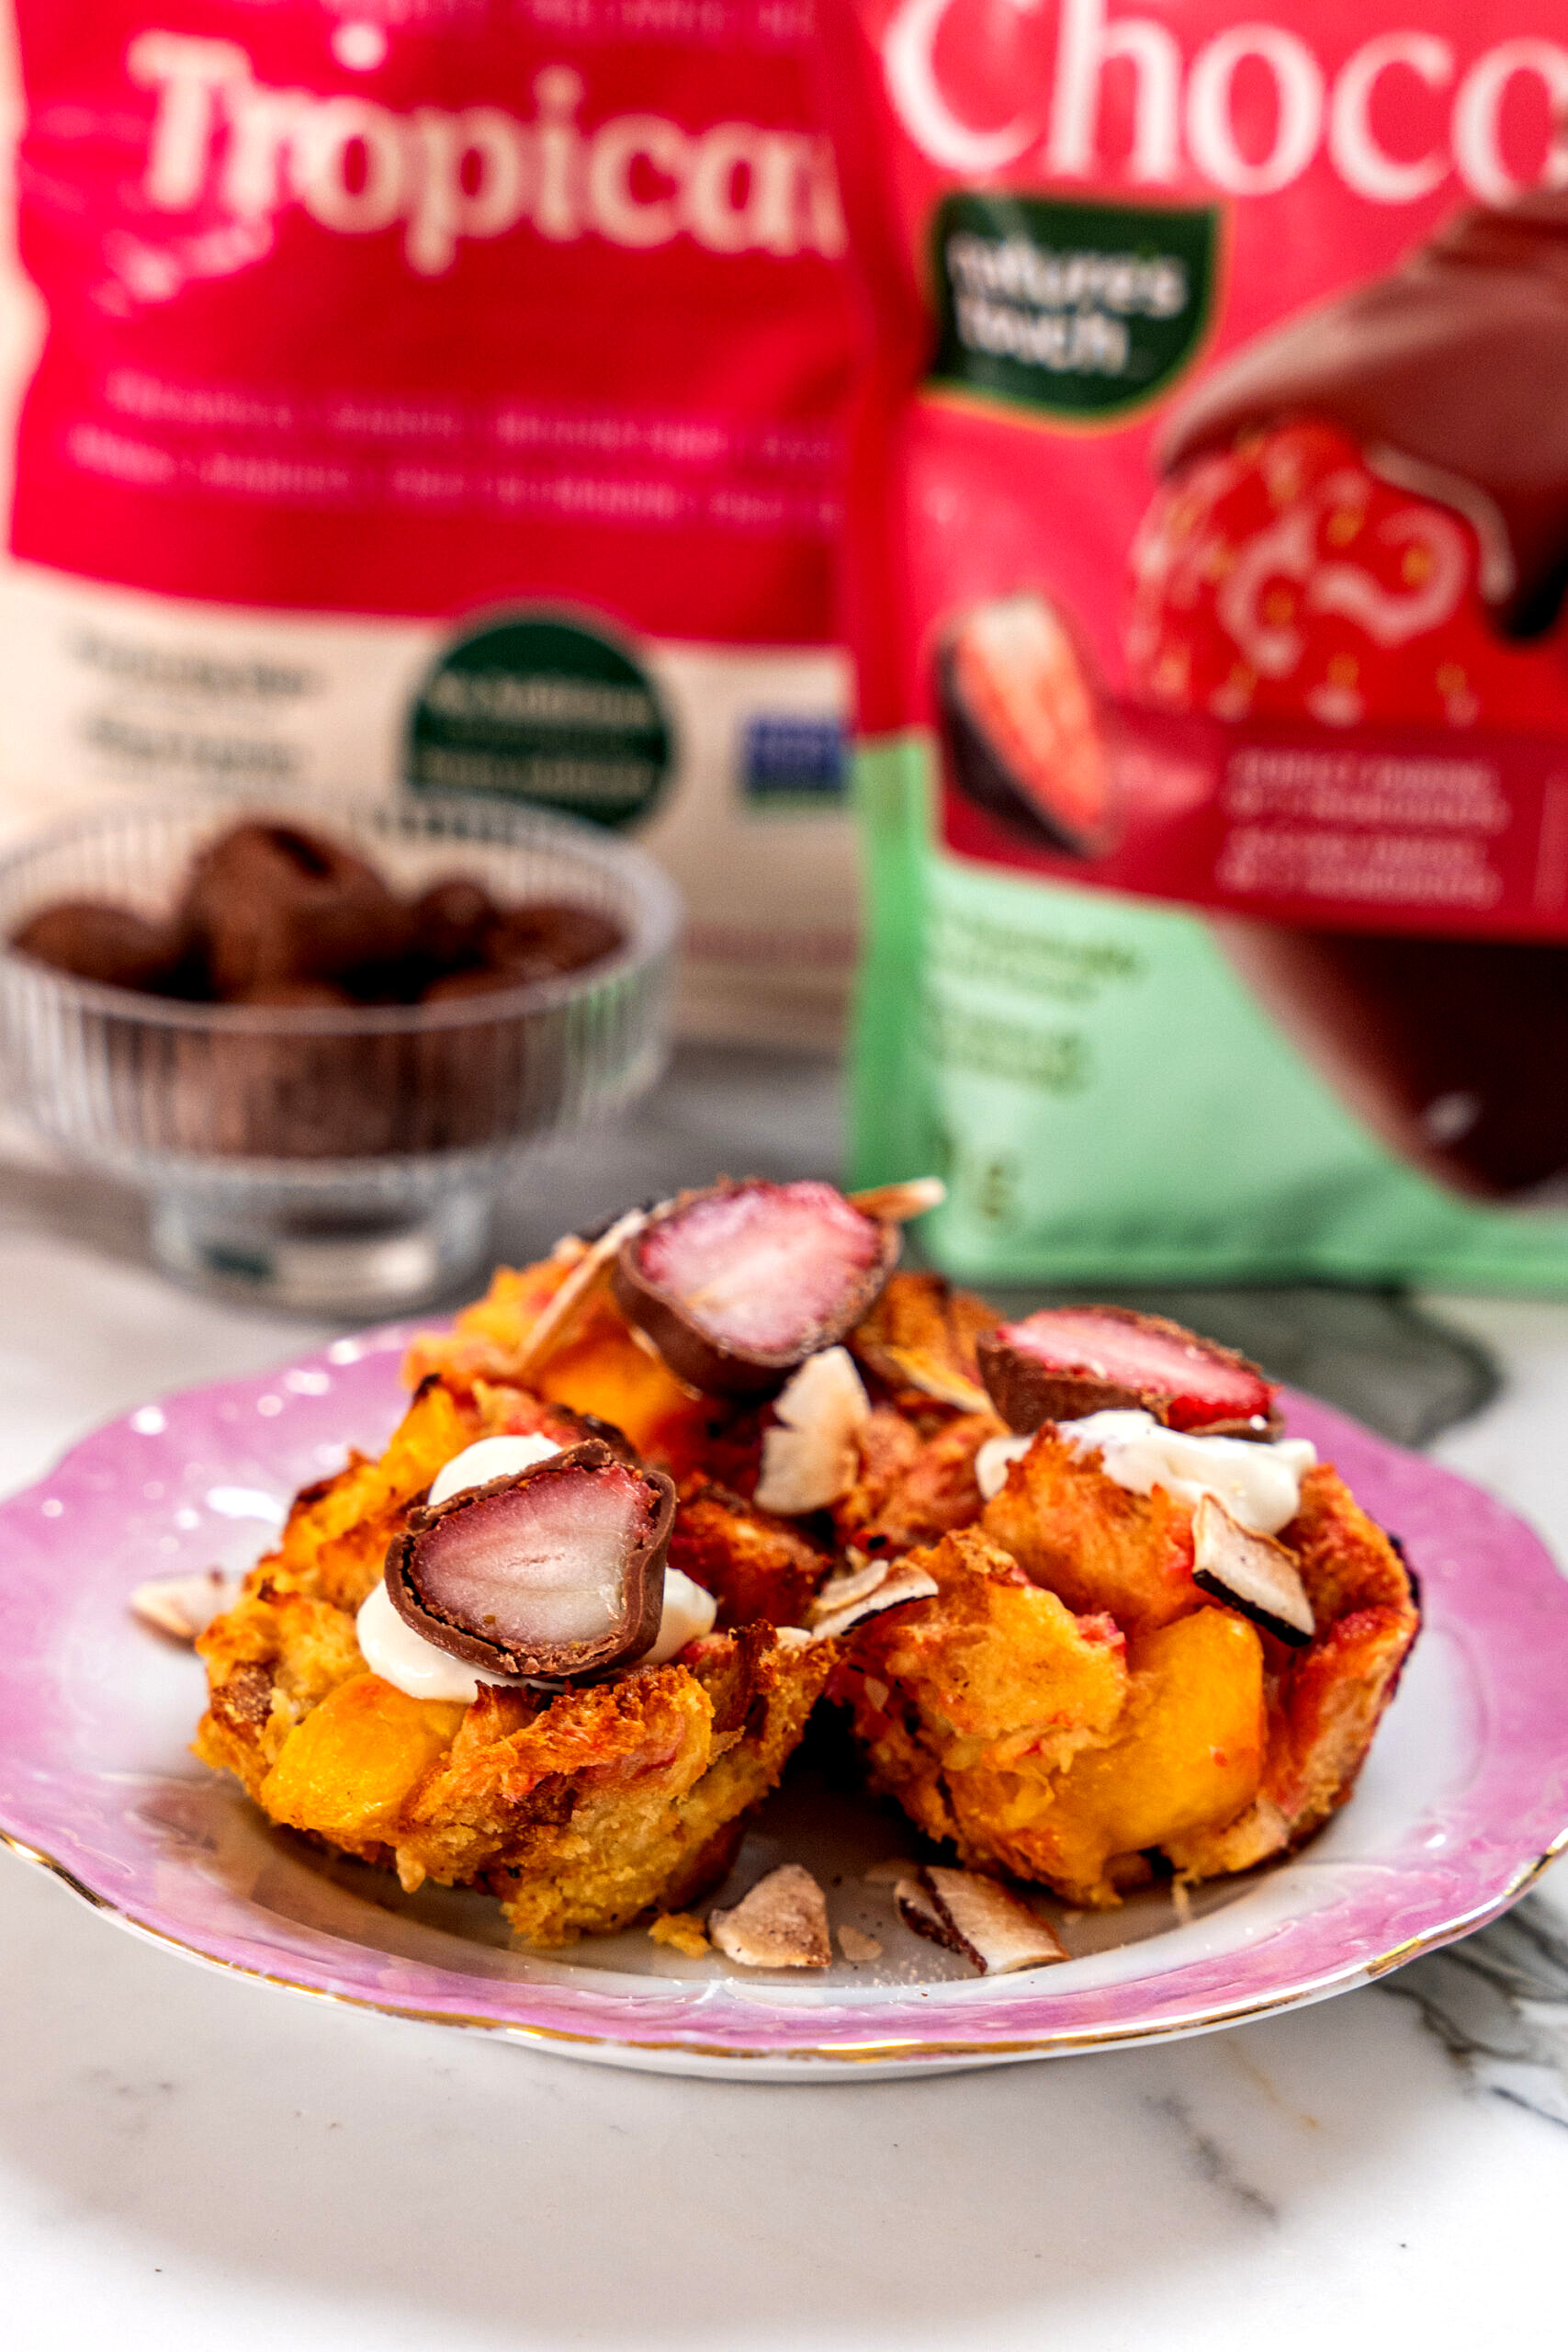
Top these muffin cups with creamy Greek yogurt, toasted coconut, and a Nature’s Touch Chocofruit frozen chocolate covered strawberry and suddenly your “I barely had time to shower” brunch becomes fully elevated.
Why This Recipe Works
If you need a low-effort brunch recipe that still gives “I totally have my life together” energy, these Tropical French Toast Muffin Cups are about to become your go-to. Here’s why I love them:
- Perfect for entertaining or meal prep
- Easy to portion and serve
- Crispy edges with a soft custardy middle
- Packed with protein and fibre for staying power
- Great way to use freezer staples
- Helps cut down on food waste
- Freezer-friendly and make-ahead friendly
- Looks super fancy with very little effort
Key Ingredients
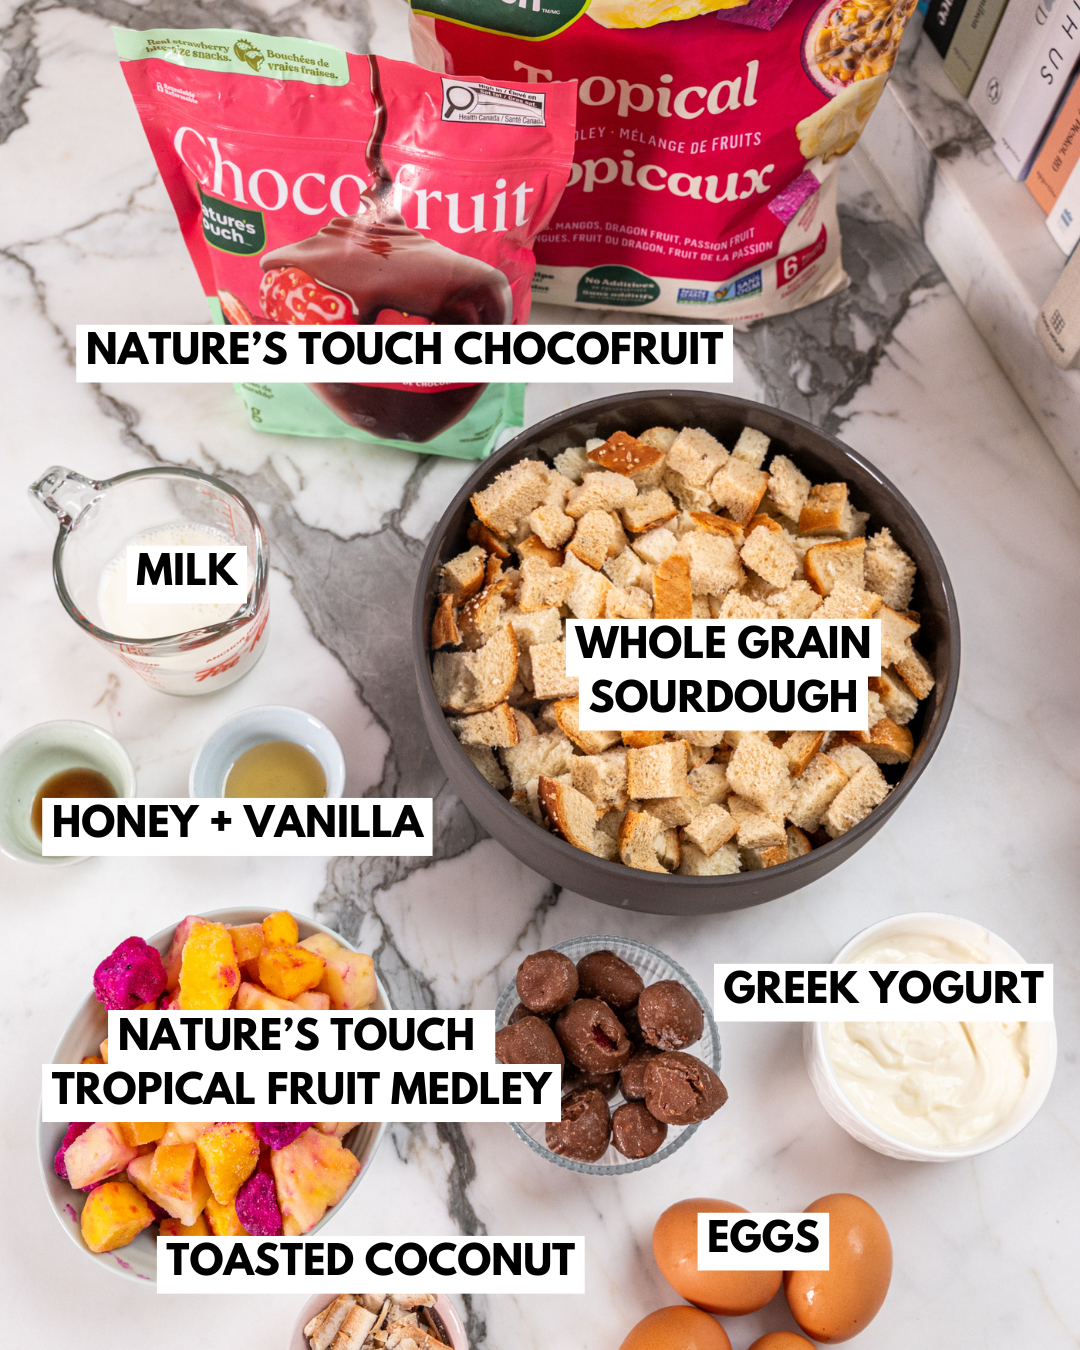
Whole Grain Sourdough Bread: Sourdough works beautifully here because it soaks up the custard mixture without getting soggy. Slightly stale bread is actually ideal for french toast recipes because it absorbs all that flavour while still holding its shape.
Protein-Enriched Milk: Using a higher-protein milk helps add extra staying power to these muffin cups and makes them more satisfying for breakfast or brunch.
Eggs: Eggs add protein, help bind everything together and create that classic french toast texture.
Honey + Vanilla: This combo adds subtle sweetness and warmth without making the recipe overly sugary.
Nature’s Touch Tropical Fruit Medley: This is the ingredient that makes these feel extra special. The tropical fruit medley of pineapple, mango and dragonfruit adds sweetness, freshness, a pop of colour and major vacation vibes without any chopping or prep required. Since the fruit is frozen at peak ripeness, it tastes consistently delicious year-round. Nature’s Touch sources its fruit from top growing regions around the world, so I never have to worry about underripe, out-of-season fruit or produce losing freshness during long travel times
Greek Yogurt: Adding Greek yogurt on top boosts the protein content while creating a creamy contrast to the warm muffin cups.
Toasted Coconut: A little toasted coconut makes these feel extra brunch-worthy with minimal effort.
Nature’s Touch Chocofruit Frozen Chocolate Covered Strawberries: These are one of my favourite “better-for-you” treats because they’re made with just frozen strawberries and premium milk chocolate. They add the perfect fresh-meets-indulgent finish to these muffin cups.
How To Make This Recipe

Step 1: Prepare the Custard. Preheat your oven to 350 F. In a bowl, whisk together the eggs, milk, honey, and vanilla extract.
Step 2: Soak the Bread. Add to a bowl of diced sourdough bread.
Step 3: Add the Fruit. Fold in the Nature’s Touch Tropical Fruit Medley and mix everything until well coated and combined.
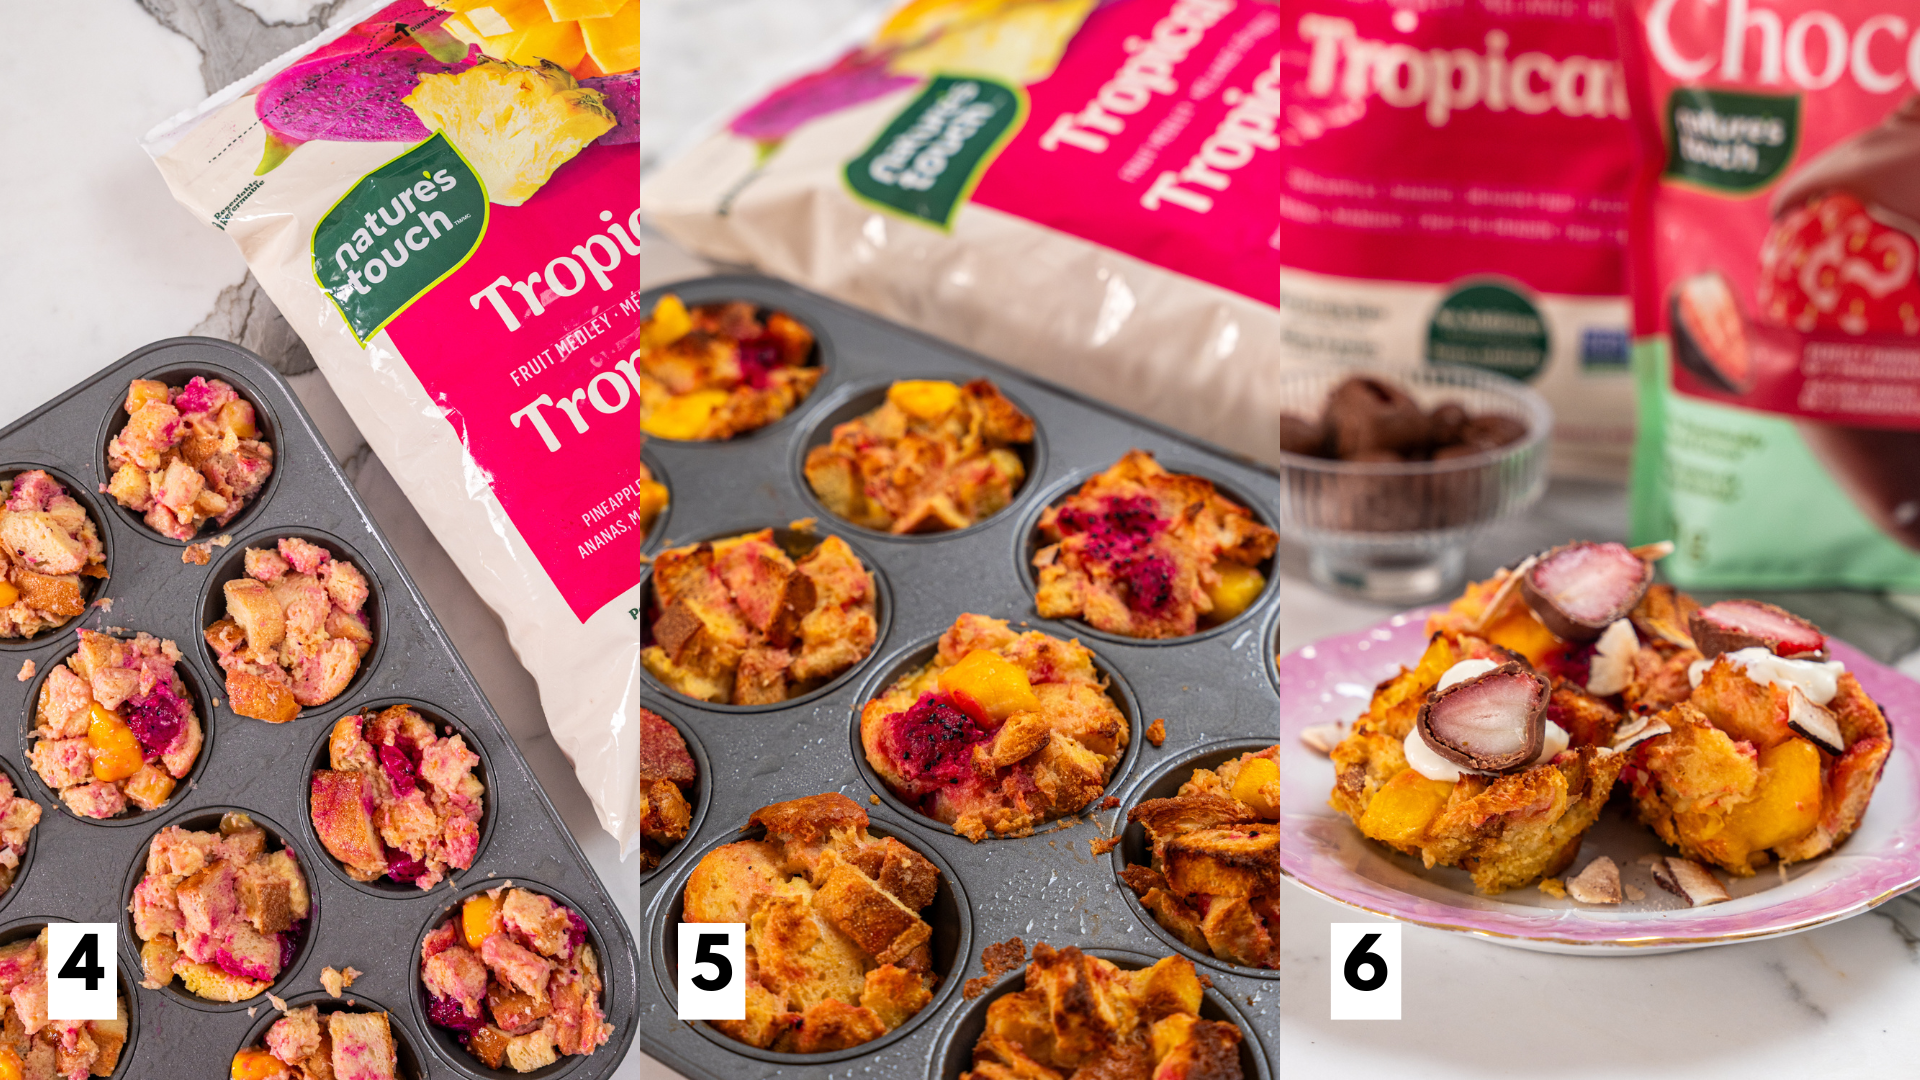
Step 4: Fill the Muffin Tin. Divide the mixture evenly between 12 greased muffin cups.
Step 5: Bake. Bake for 20–25 minutes or until puffed and golden brown.
Step 6: Add Toppings. Top each muffin cup with Greek yogurt, toasted coconut, and half of a Nature’s Touch Chocofruit strawberry before serving.
Expert Tips
- Slightly stale bread works best because it absorbs more custard without becoming mushy.
- Don’t overmix the fruit or it may break apart too much.
- Grease the muffin tin really well to prevent sticking.
- Want to prep ahead? Assemble everything the night before and refrigerate until ready to bake.
- These freeze beautifully, so they’re great for meal prep breakfasts too.
Recipe FAQs
Absolutely. You can bake them ahead and reheat before serving, or prep the mixture the night before and bake fresh in the morning.
Yes! Brioche, challah, or any hearty whole grain bread will work well.
Store leftovers in an airtight container in the fridge for up to 4 days.
Yes! Allow them to cool completely, then freeze in an airtight container for up to 3 months.
Definitely. They’re naturally sweet, soft in texture, and easy for little hands to hold.
More Recipes You Might Like
If you liked these tropical french toast muffins, try these recipes next:
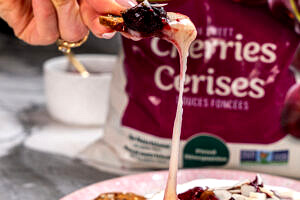
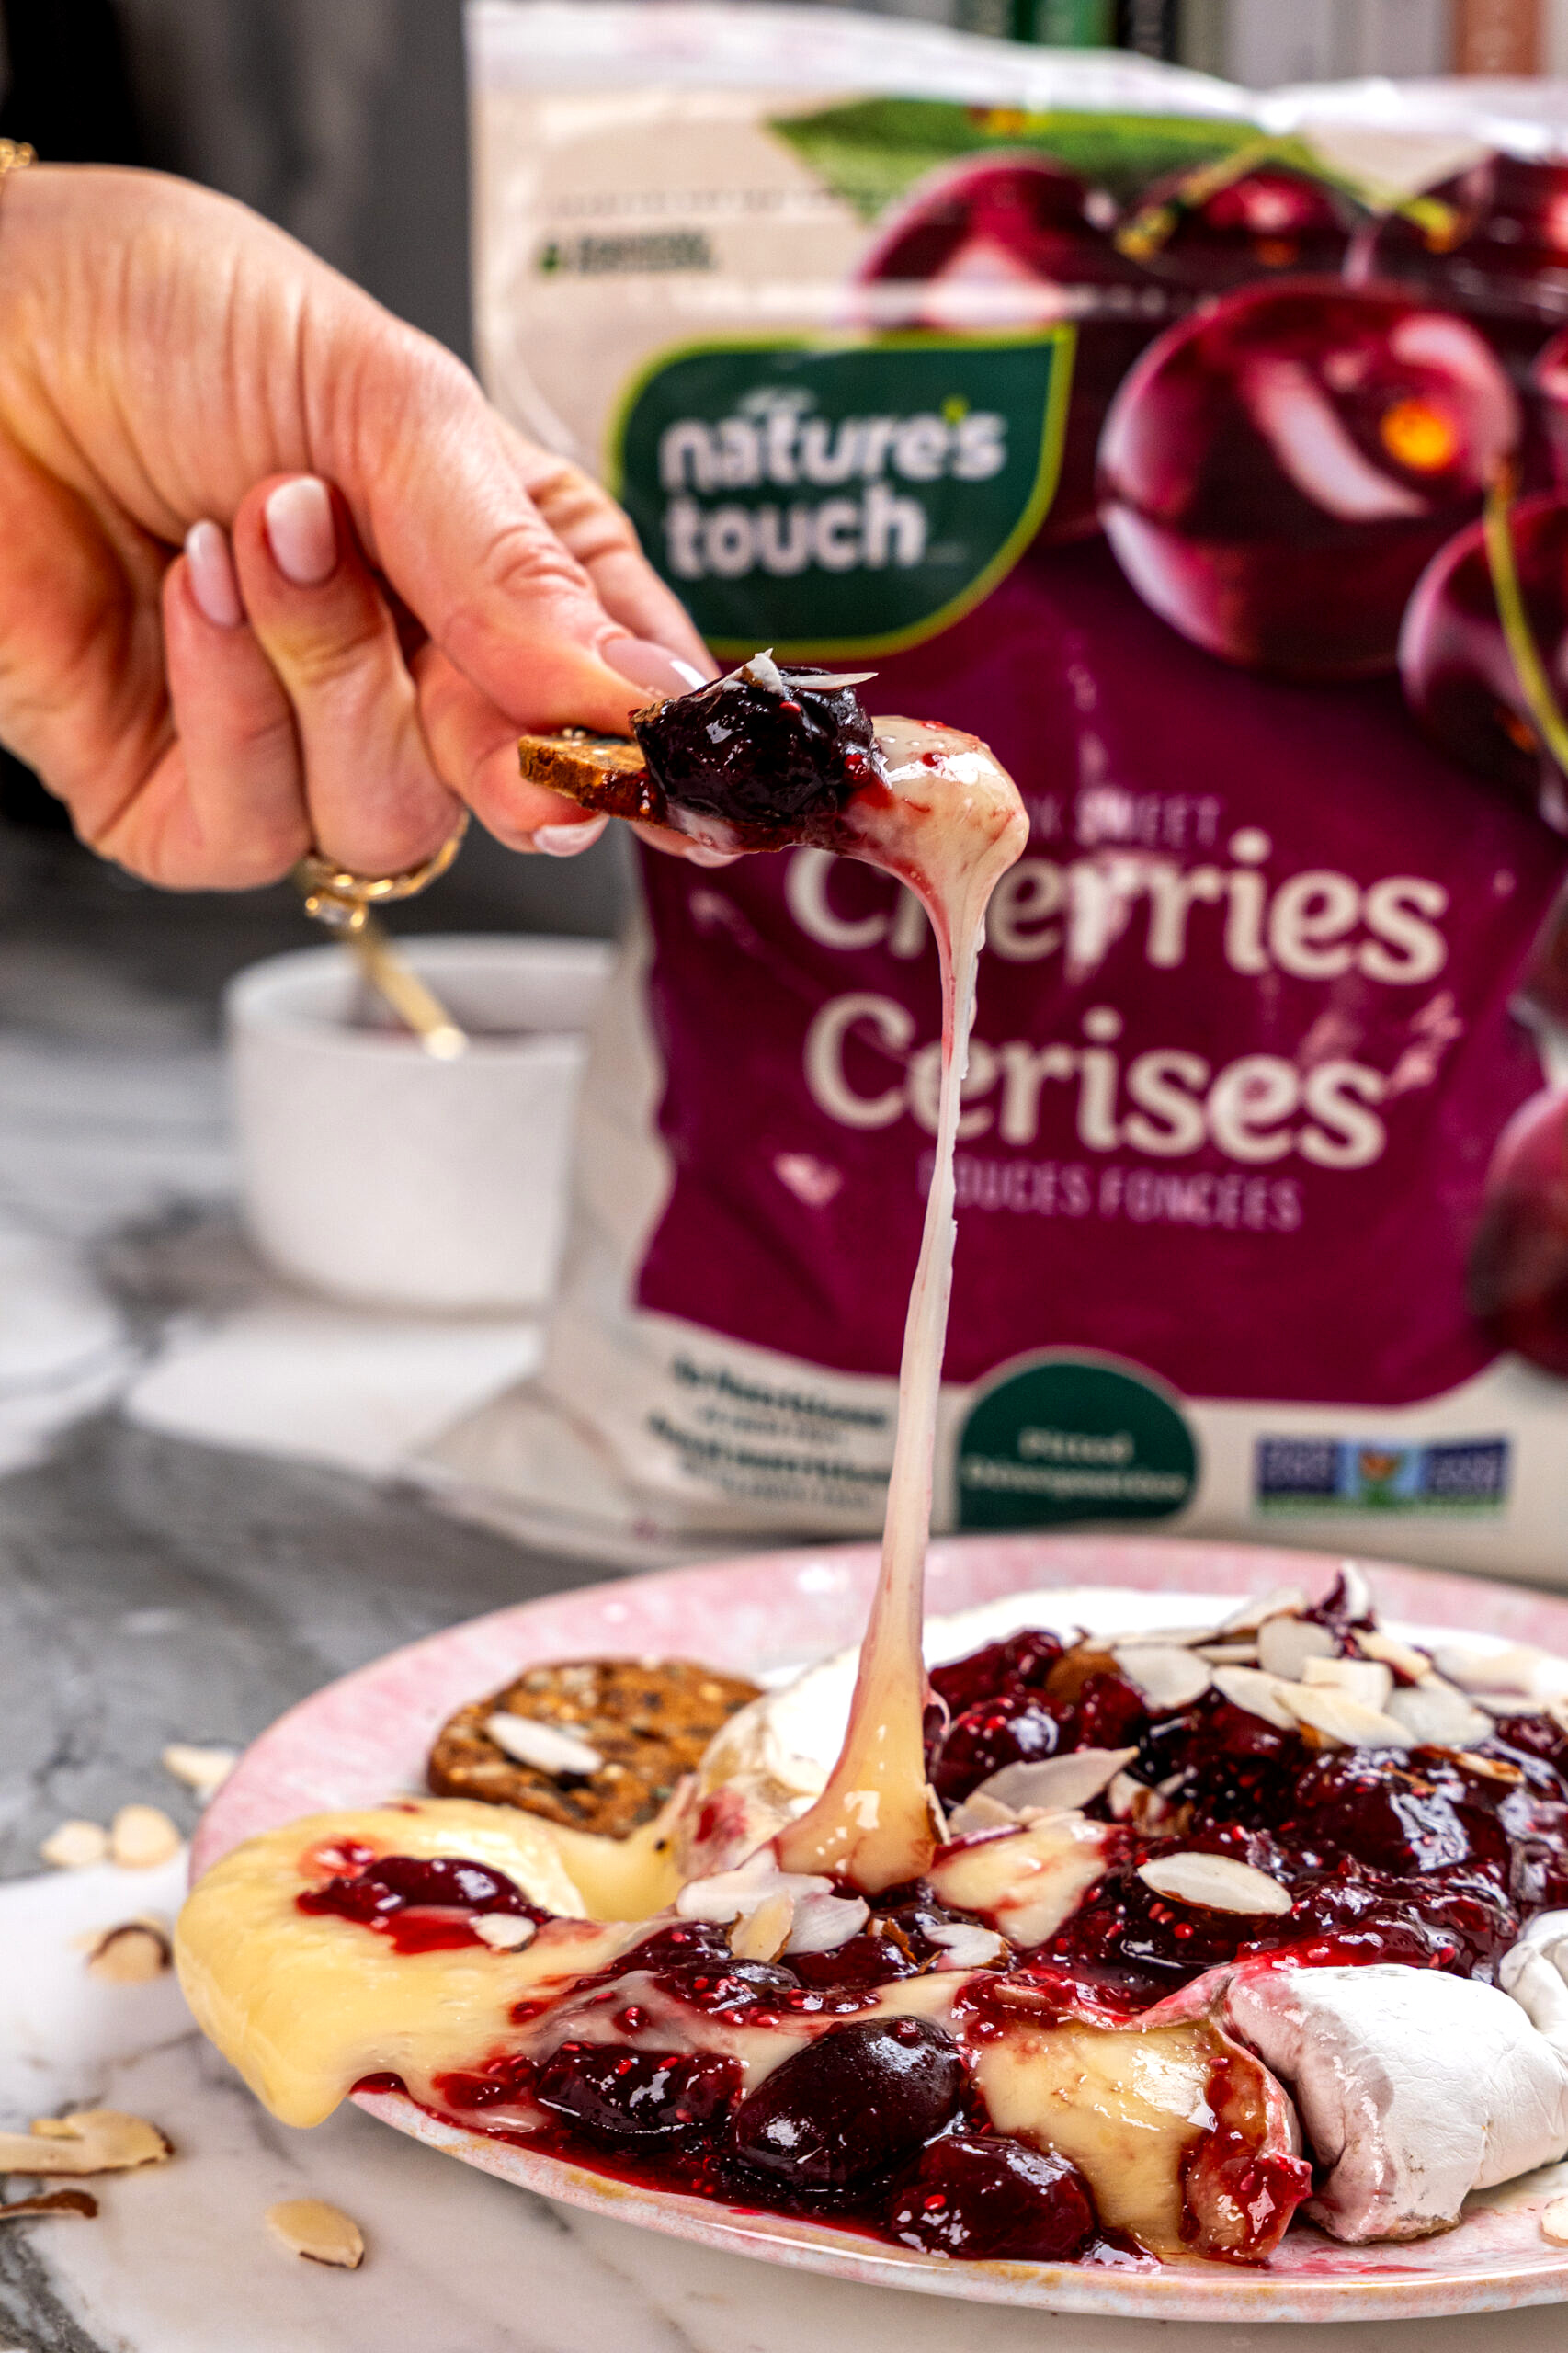
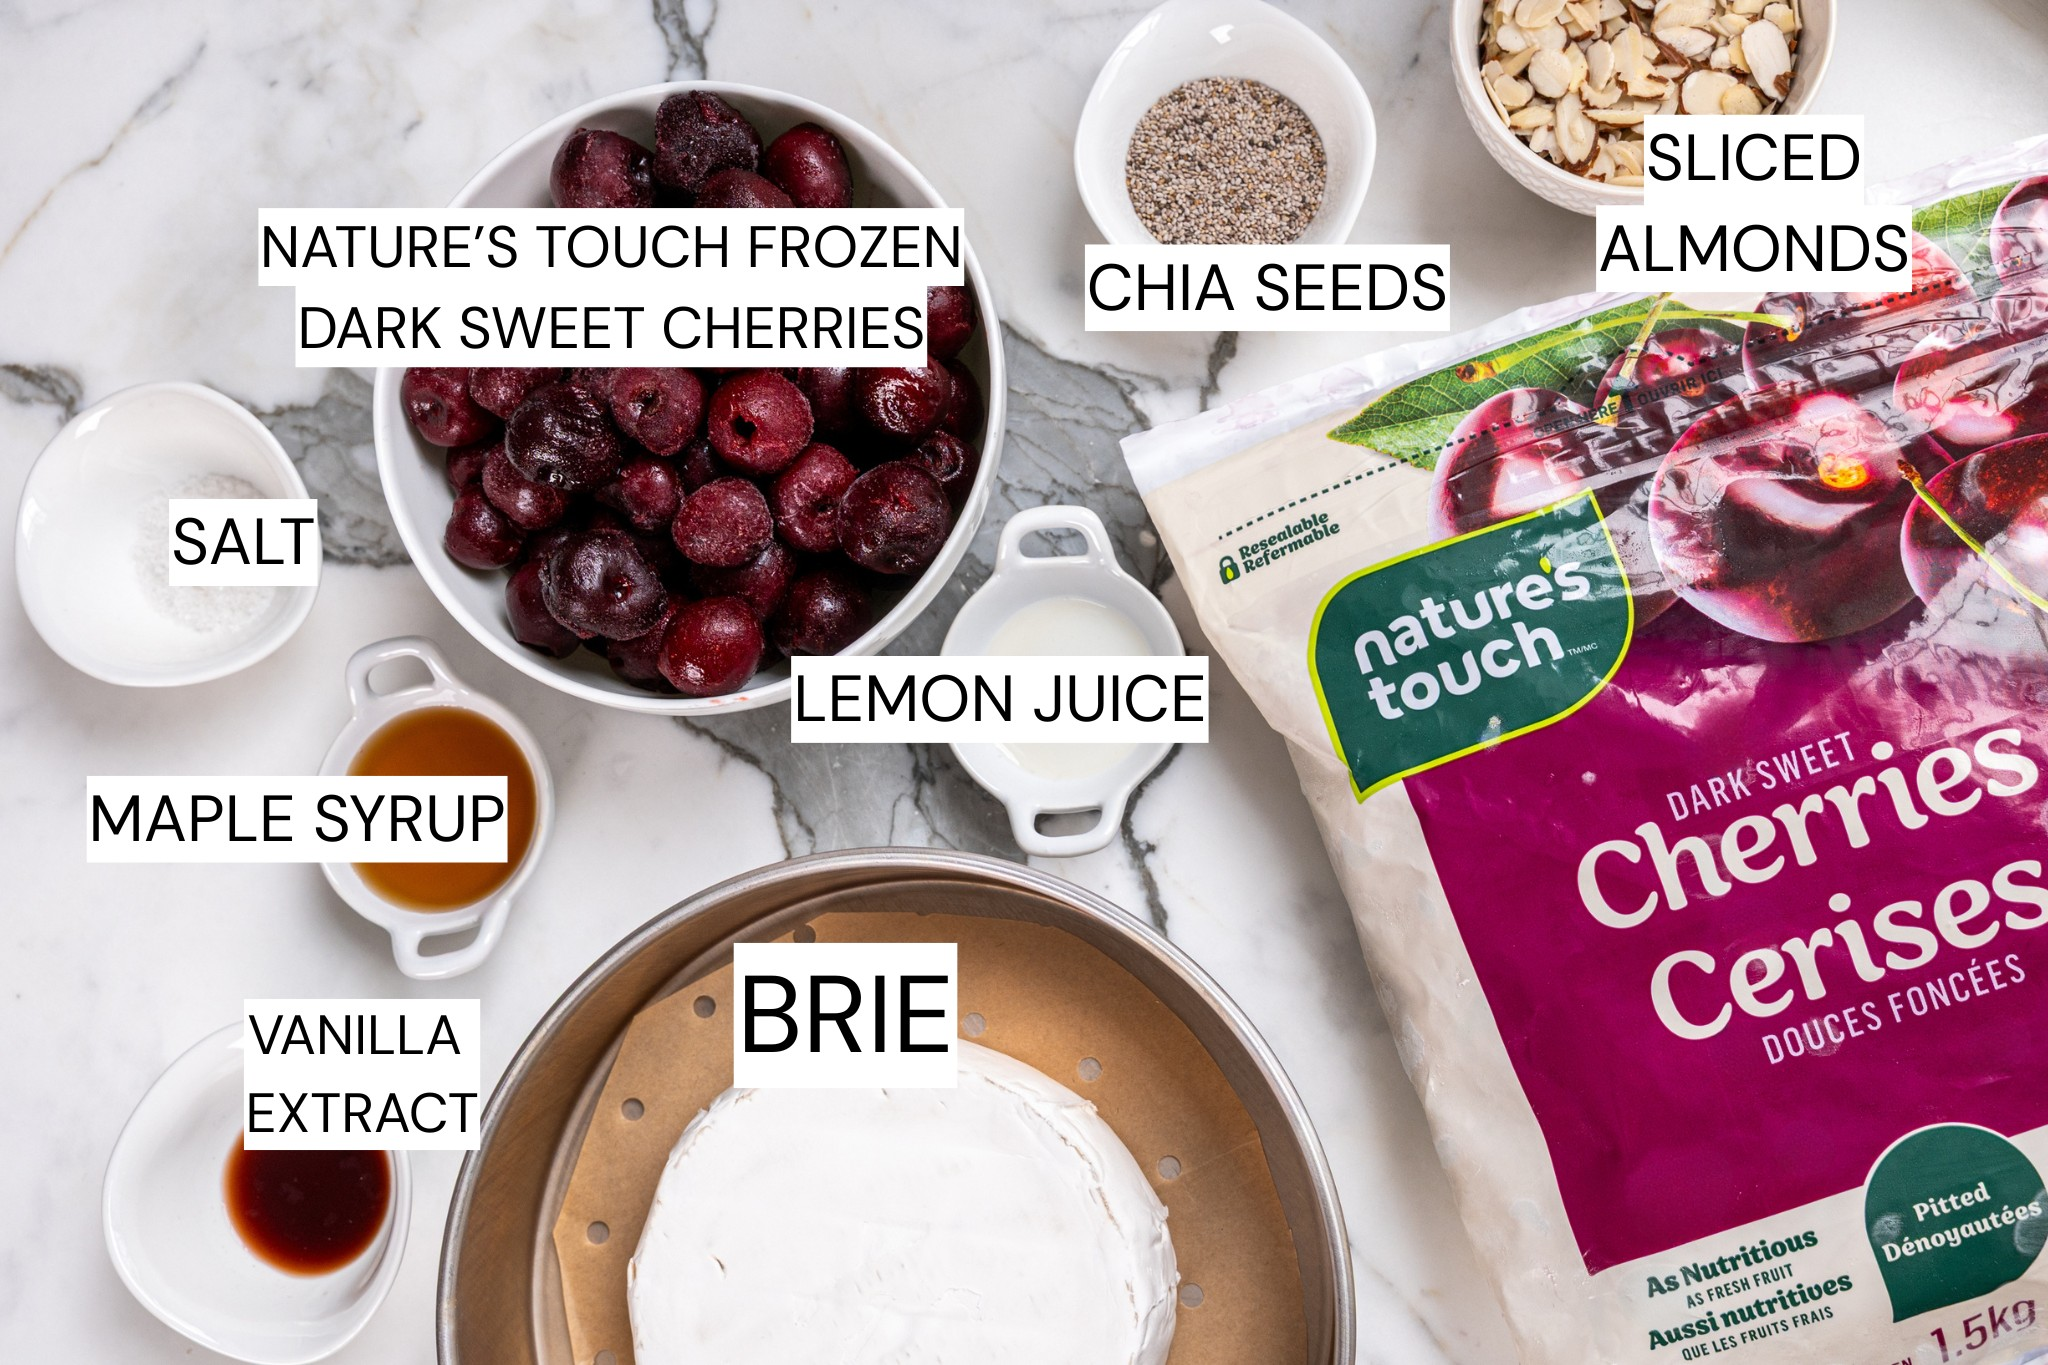
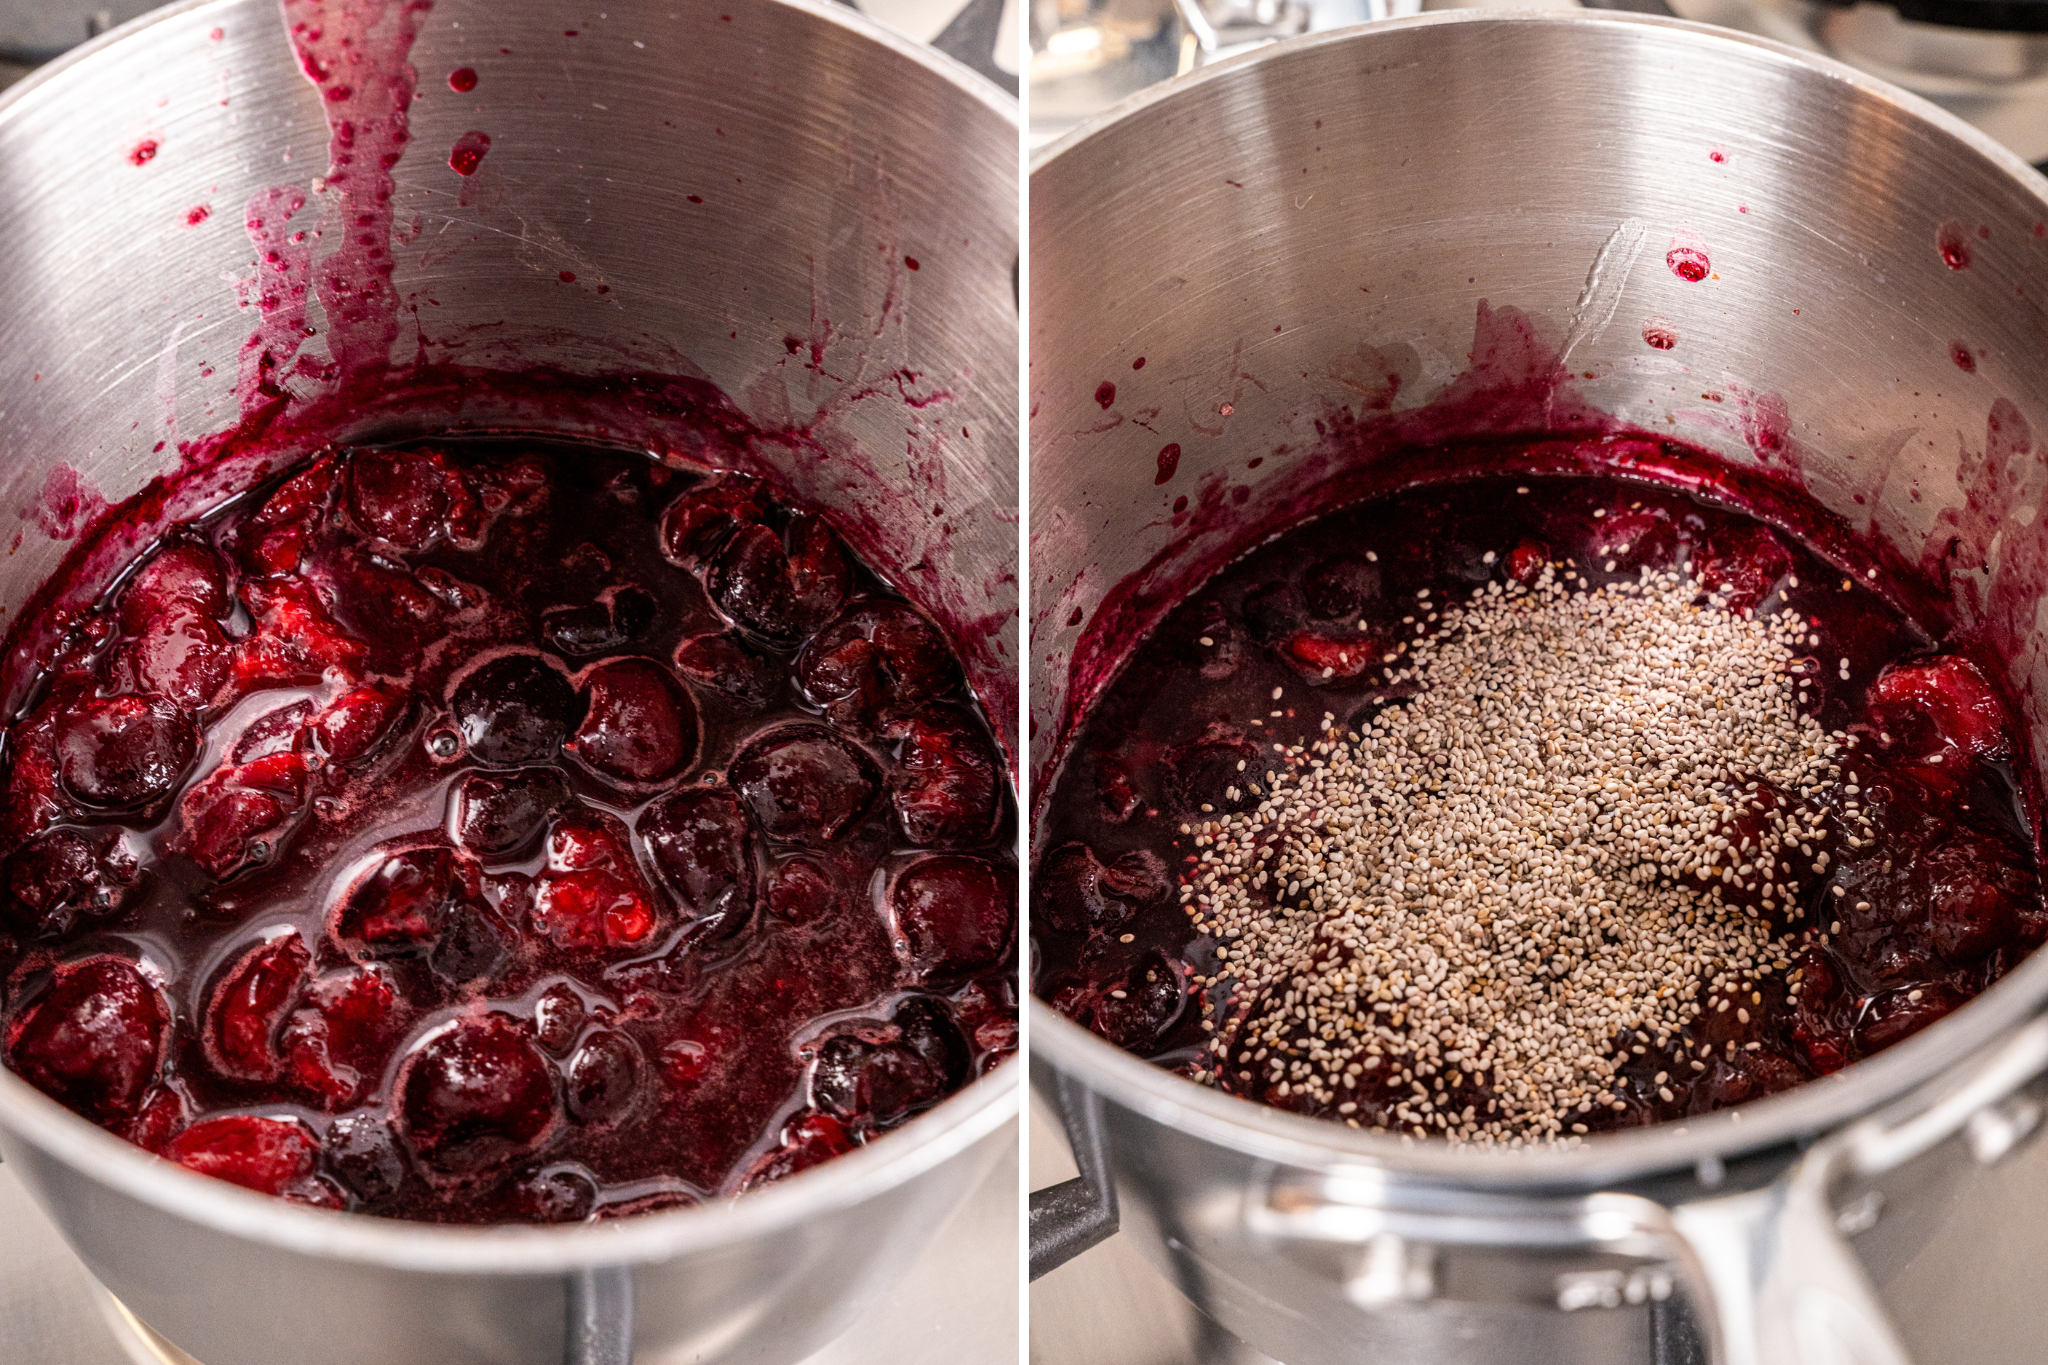
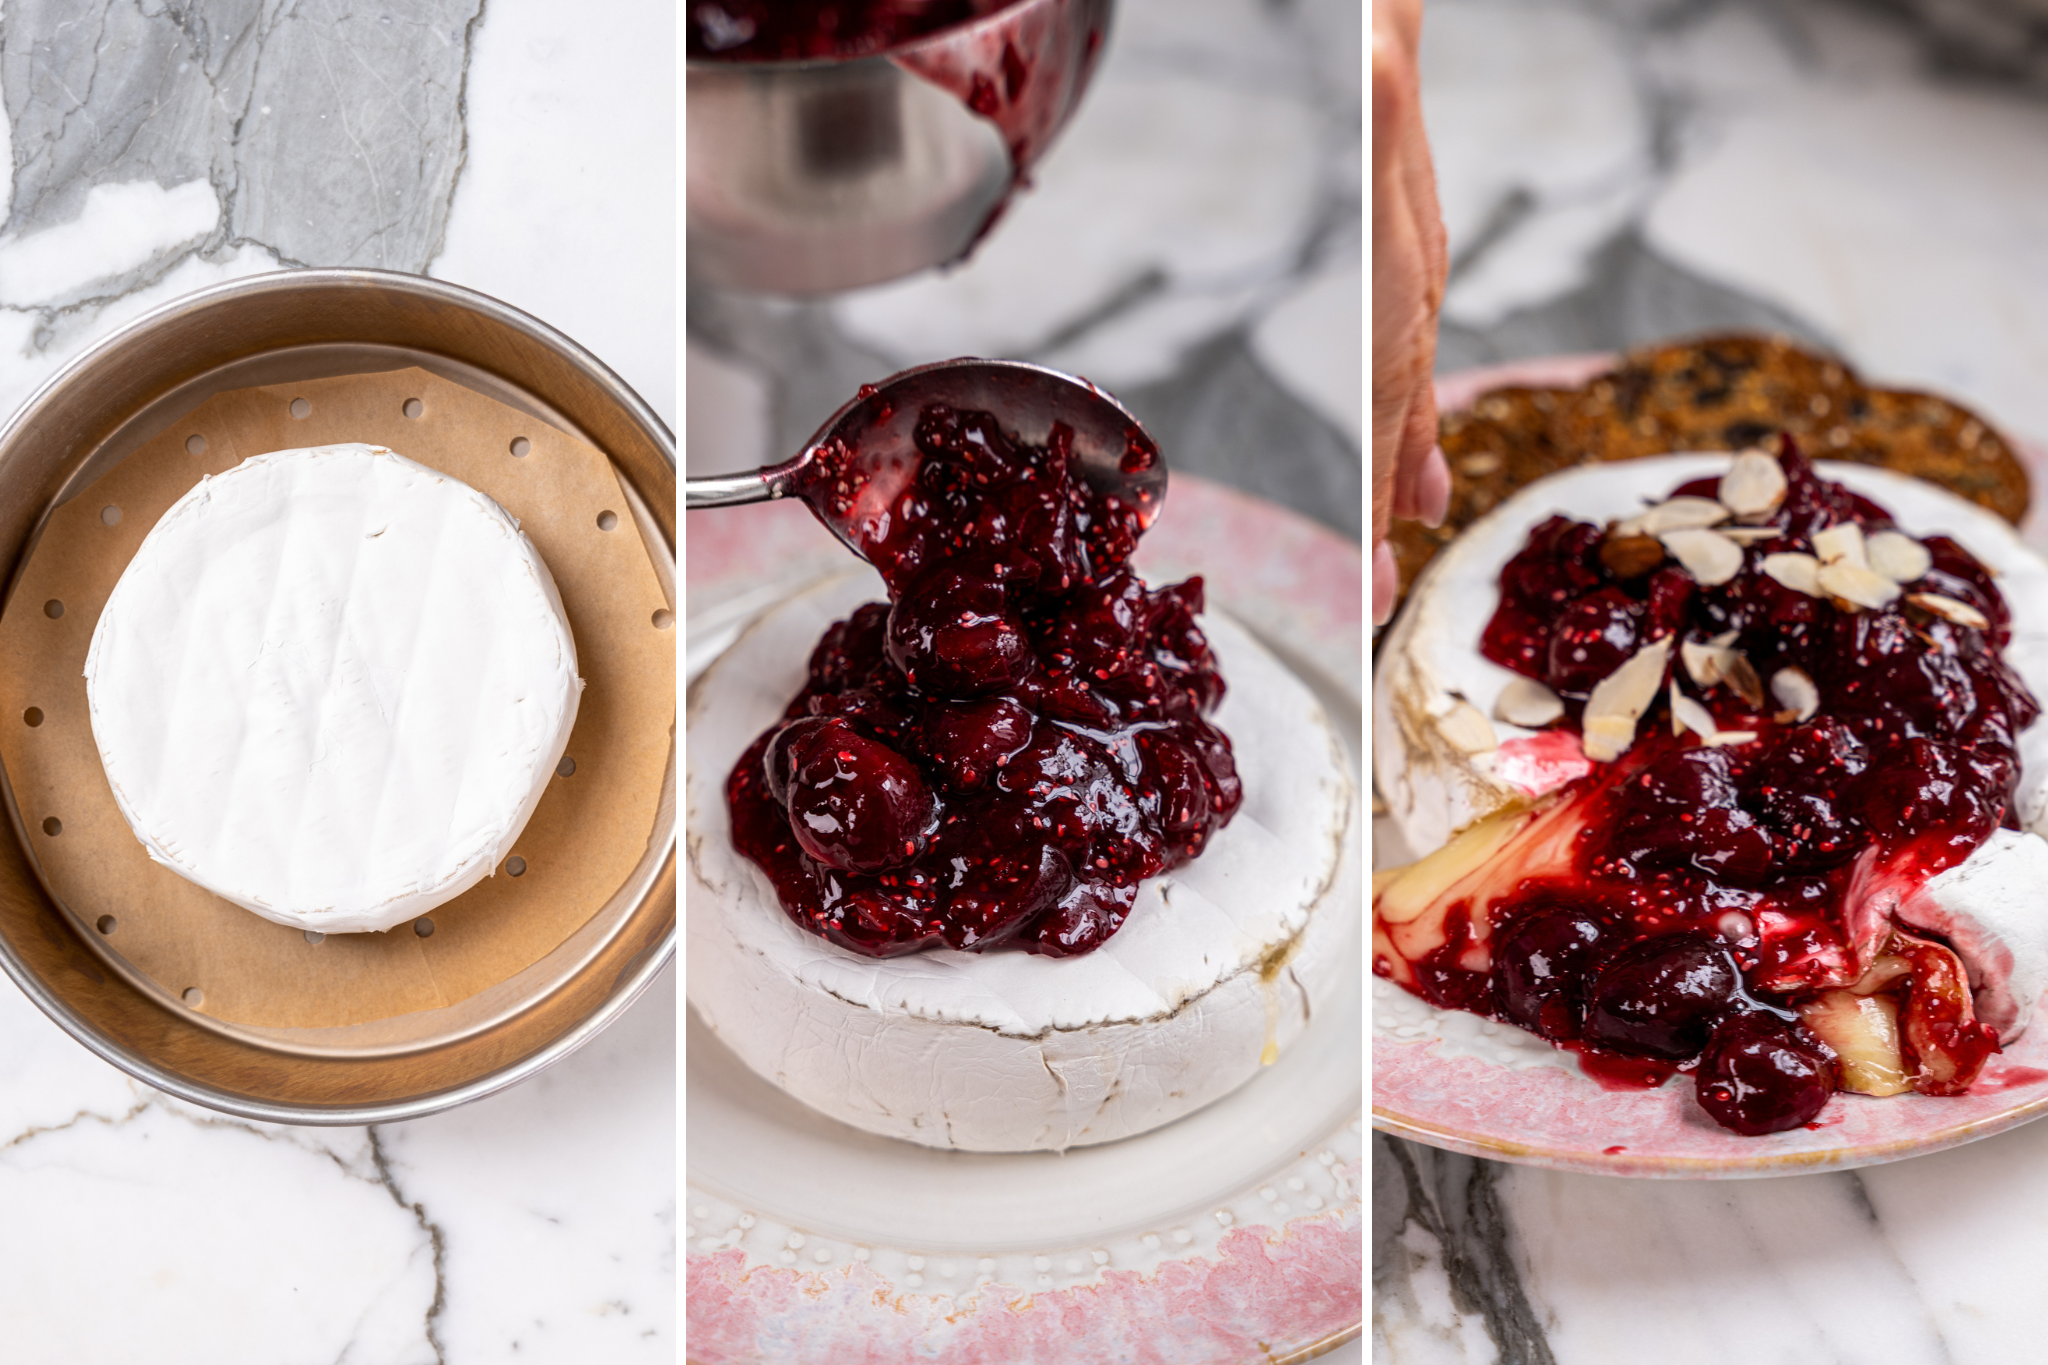
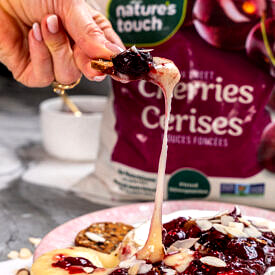
- Cherry Chia Baked Brie
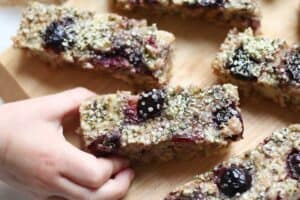
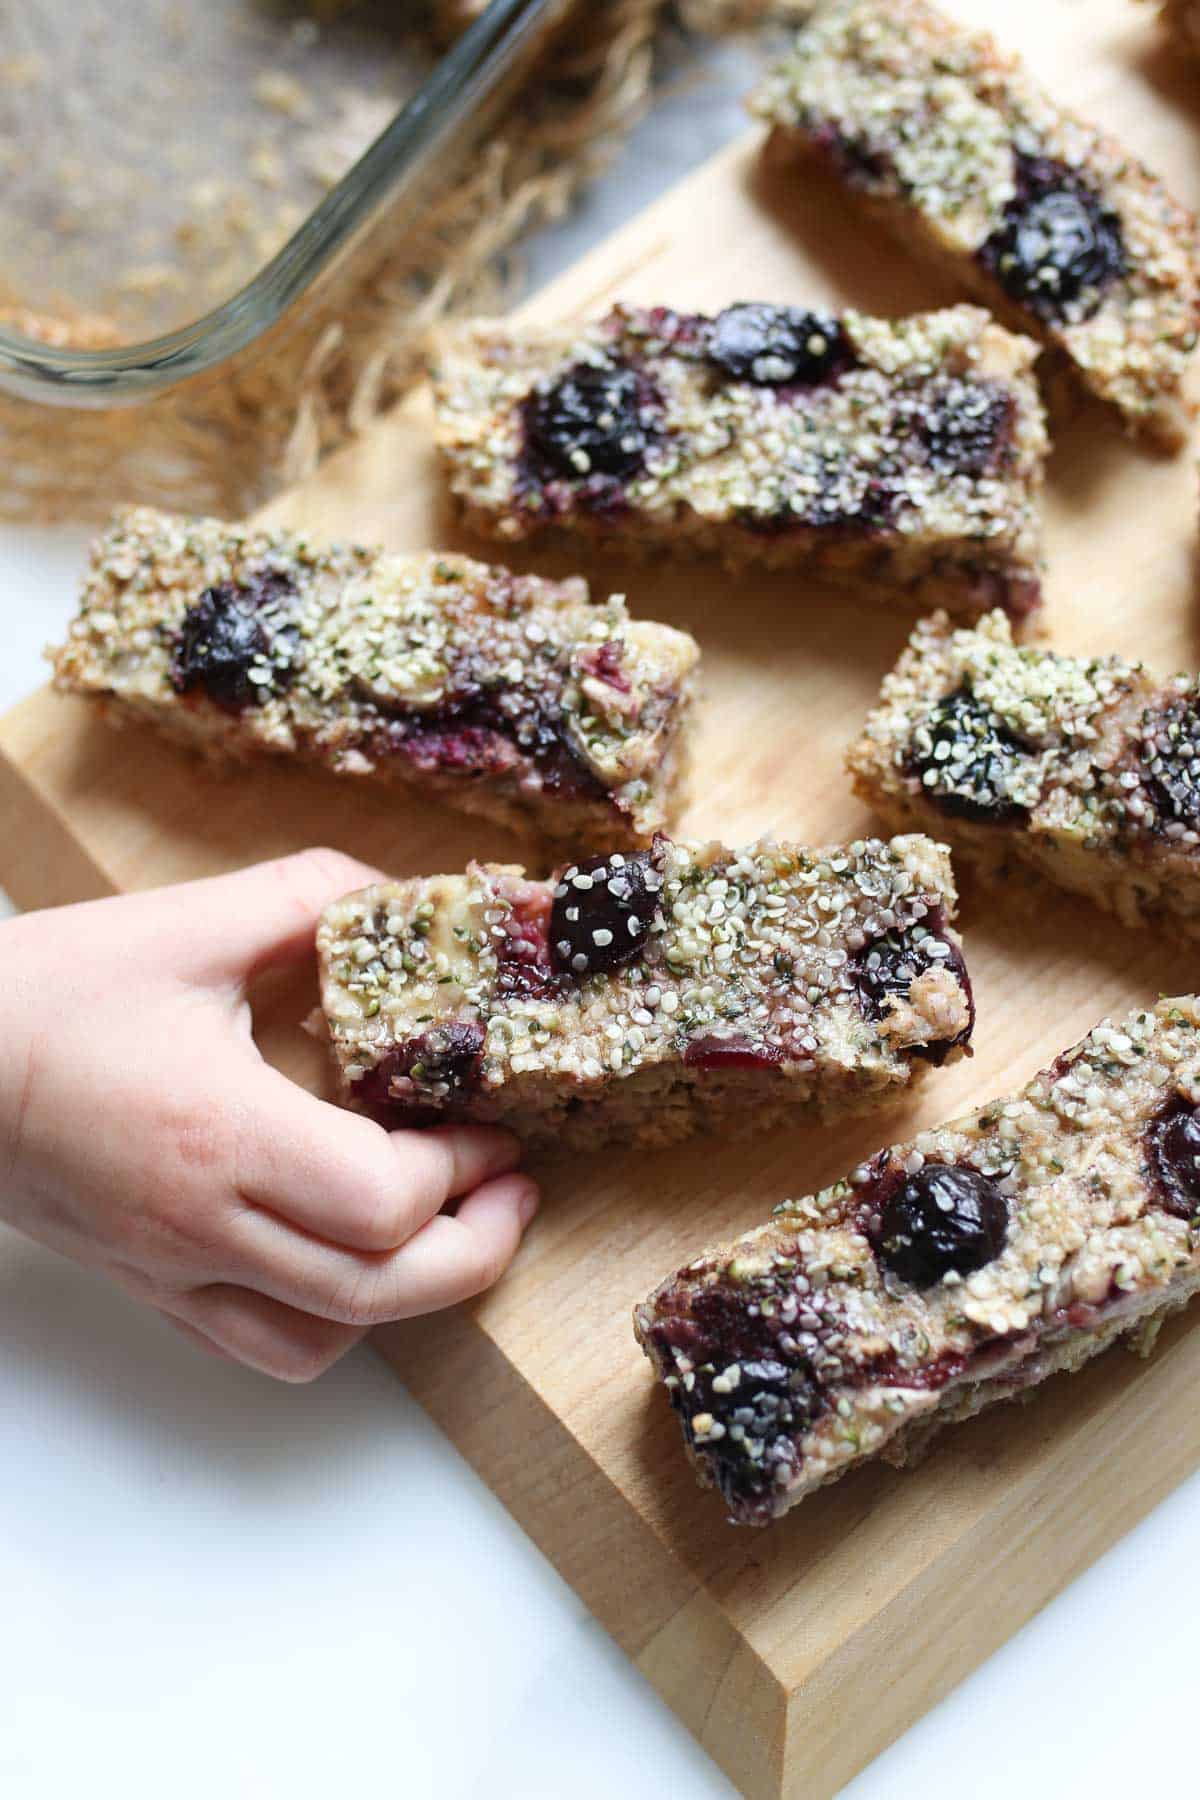
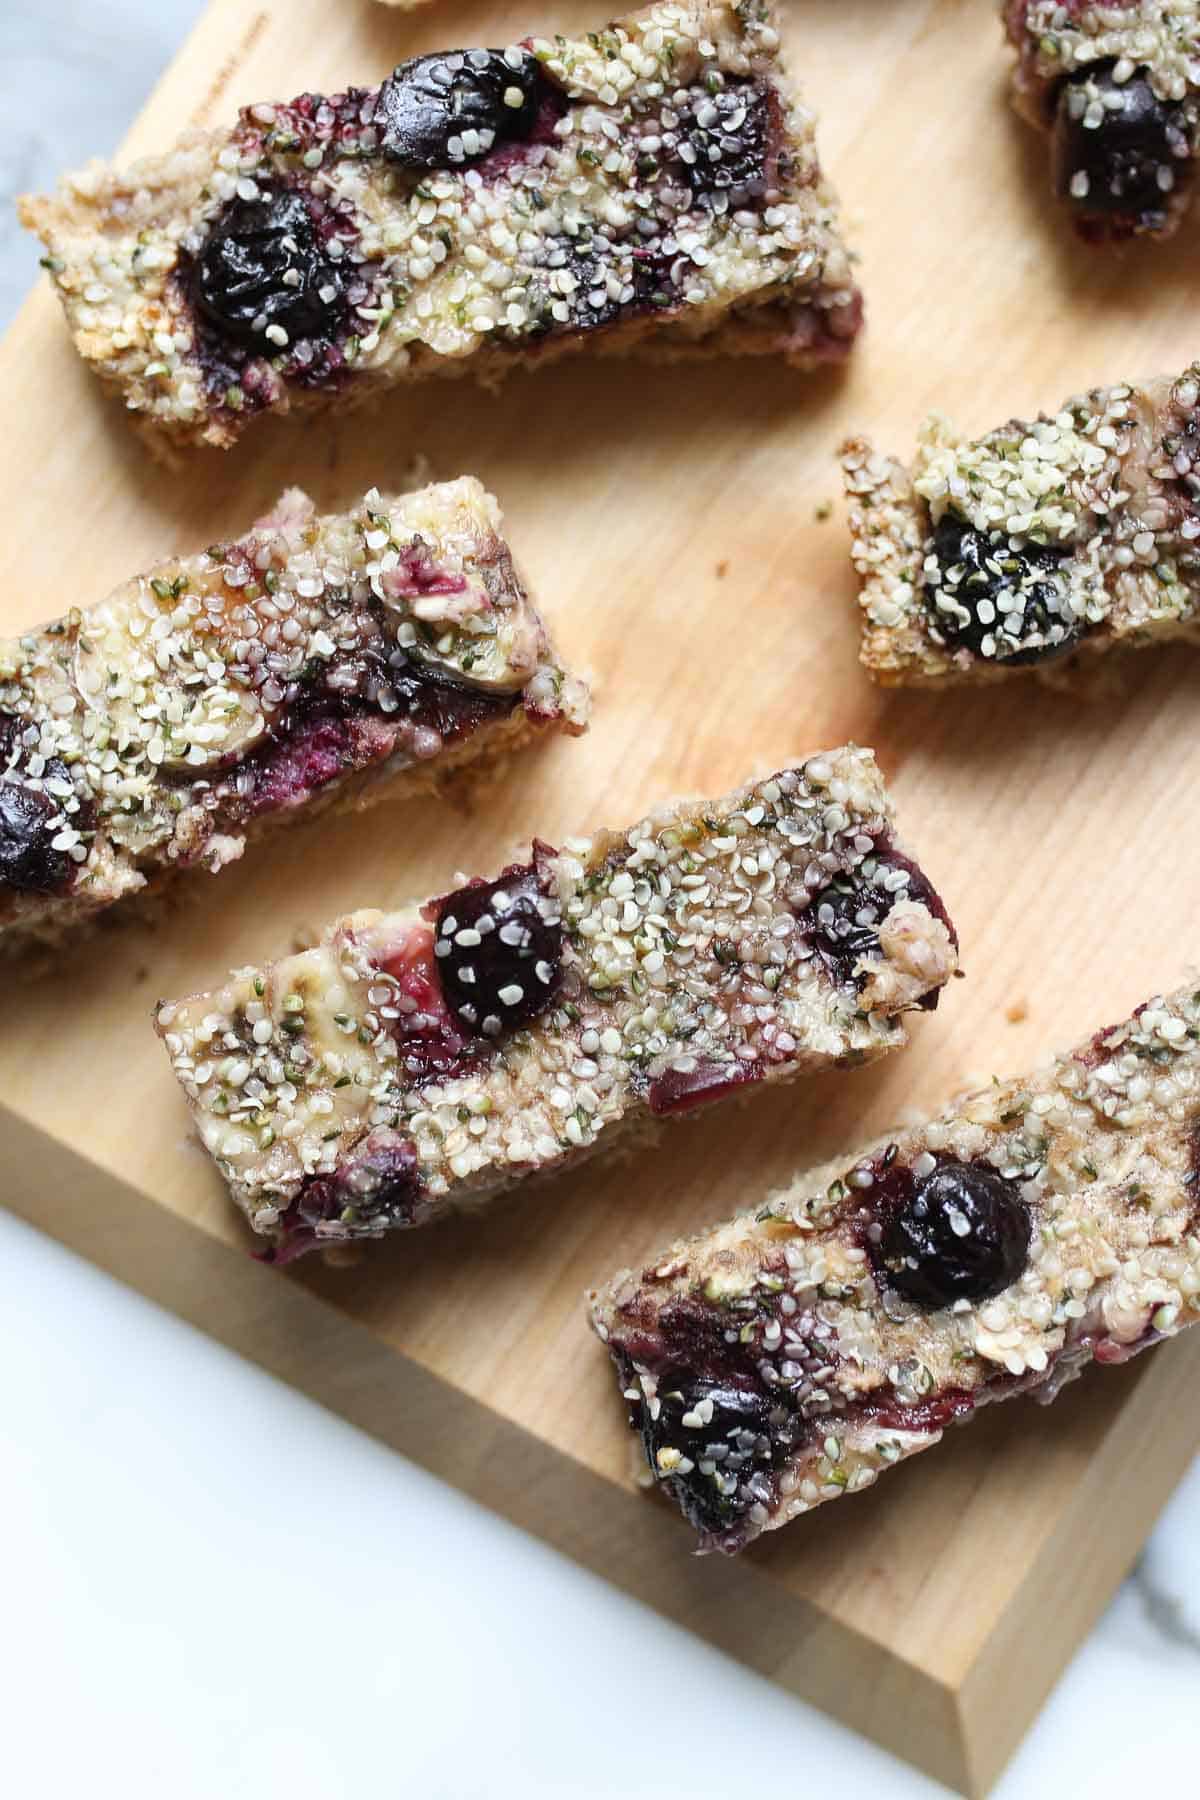
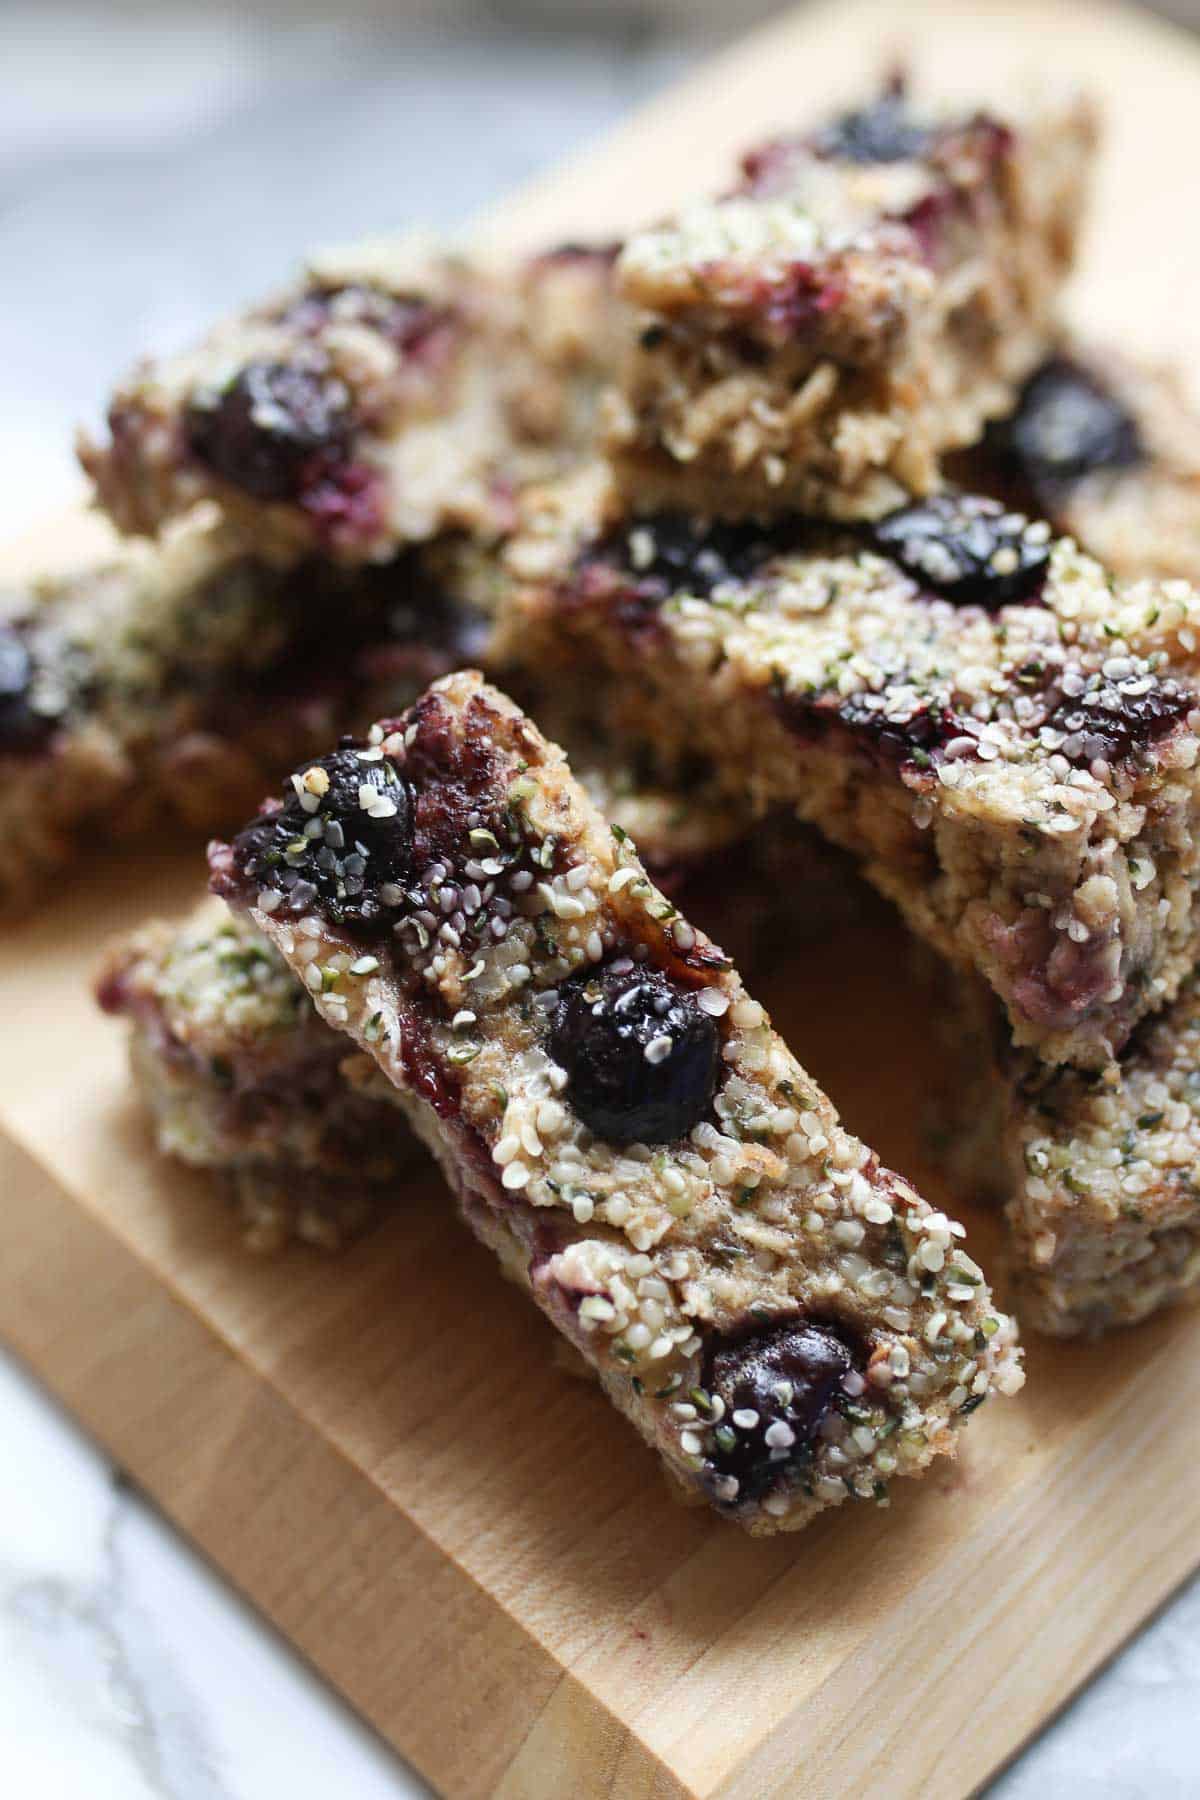
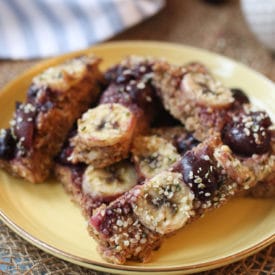
- Banana Baked Oatmeal Fingers
- Pumpkin Spice Pancakes
- Mini Egg Bites with Cheese & Broccoli
- Oatmeal Bars with Berries
What are your go-to brunch recipes that are EASY? Leave me a comment below!

Tropical French Toast Muffin Cups
Ingredients
Tropical French Toast Muffins
- 1 loaf whole grain sourdough bread 16 slices, diced
- 1/2 cup protein-enriched milk
- 4 eggs
- 2 tbsp honey
- 1 tsp vanilla extract
- 1 cup frozen Nature’s Touch Tropical Fruit Medley
For Serving
- 1 ½ cups plain Greek yogurt
- 2 tbsp toasted coconut
- 6 Nature’s Touch Chocofruit strawberries halved
Instructions
- Preheat oven to 350 F.
- In a large bowl, whisk together the eggs, milk, honey, and vanilla.
- Add in the bread cubes and toss to coat.
- Stir in the Nature’s Touch Tropical Fruit Medley.
- Divide mixture between 12 greased muffin cups.
- Bake for 20–25 minutes or until puffed and golden brown.
- Serve topped with Greek yogurt, toasted coconut, and one Nature’s Touch Chocofruit frozen chocolate covered strawberry on each.
Notes
Abbey Sharp is a Registered Dietitian (RD), regulated by the Ontario College of Dietitians. She is a mom, YouTuber, Blogger, award winning cookbook author, media coach specializing in food and nutrition influencers, and a frequent contributor to national publications like Healthline and on national broadcast TV shows.