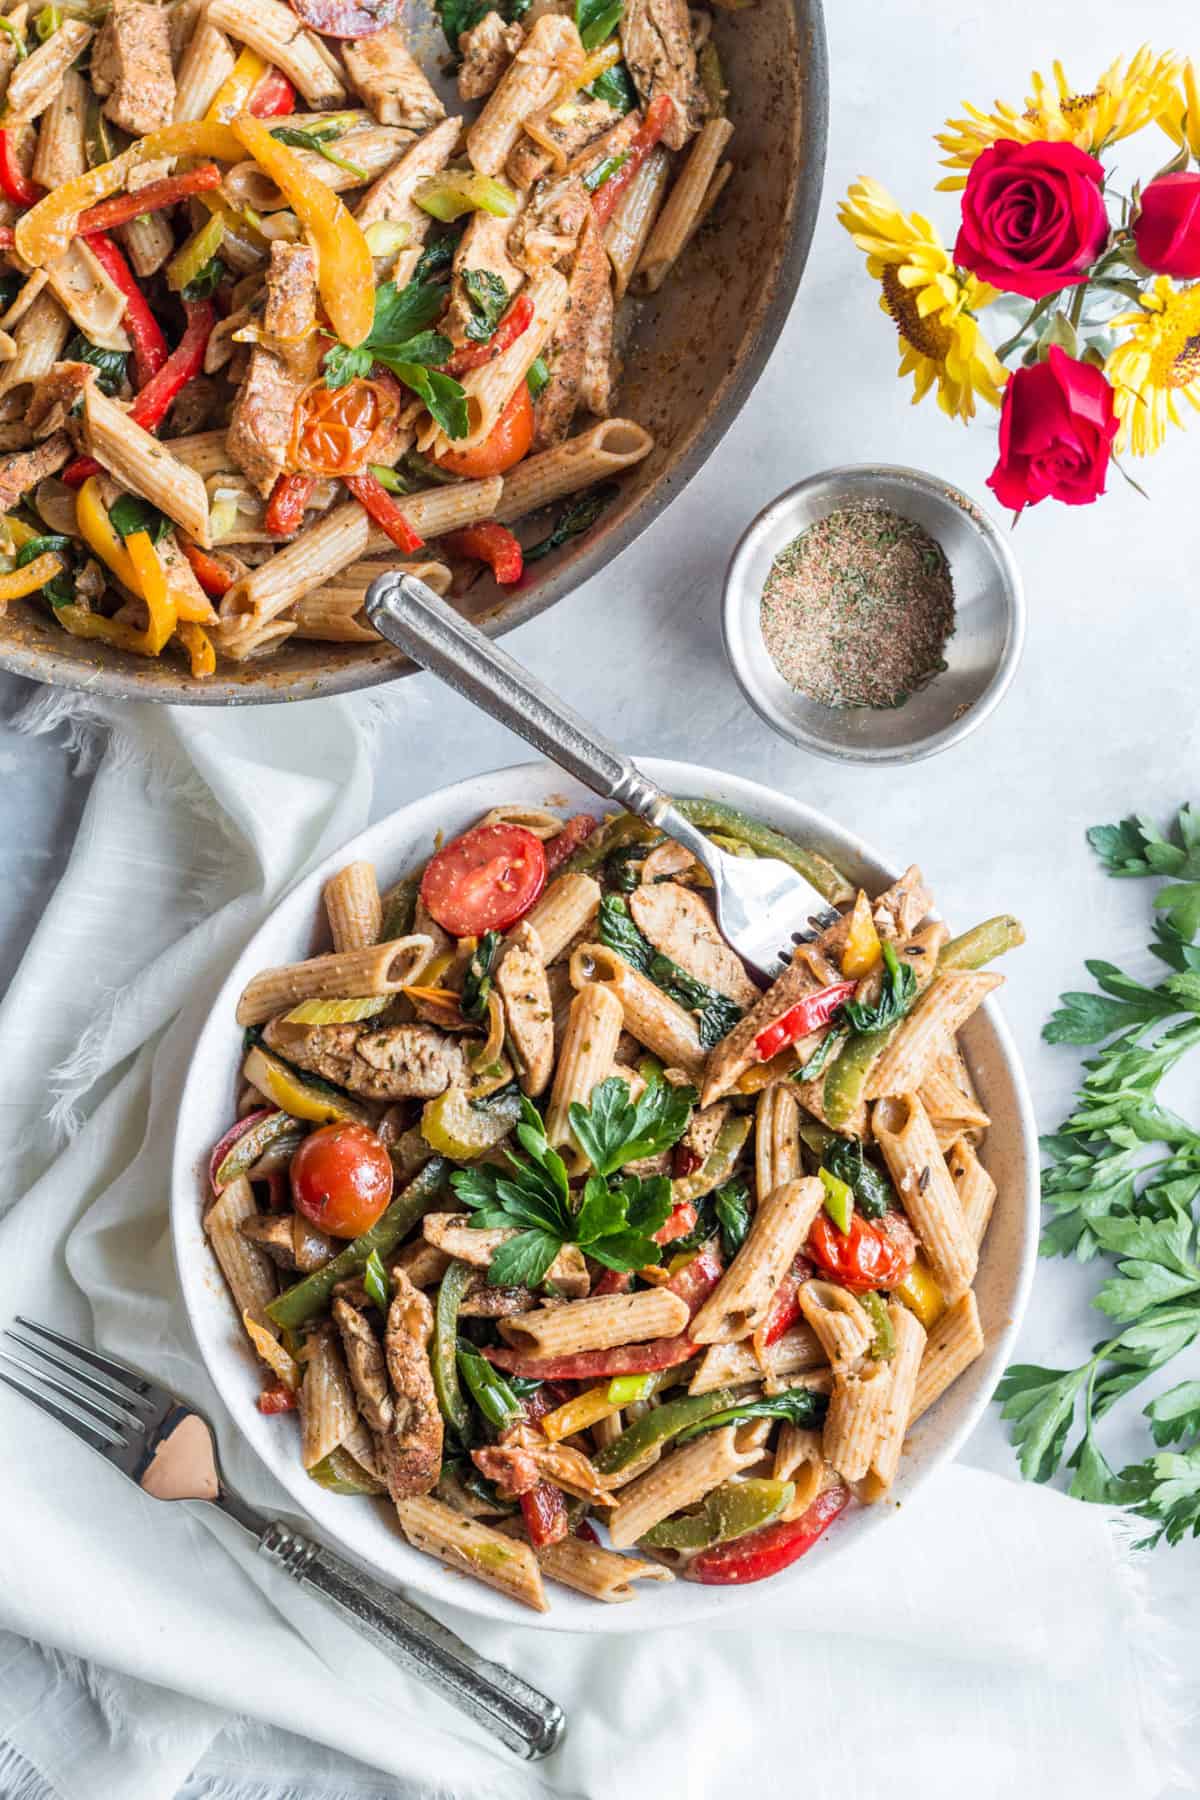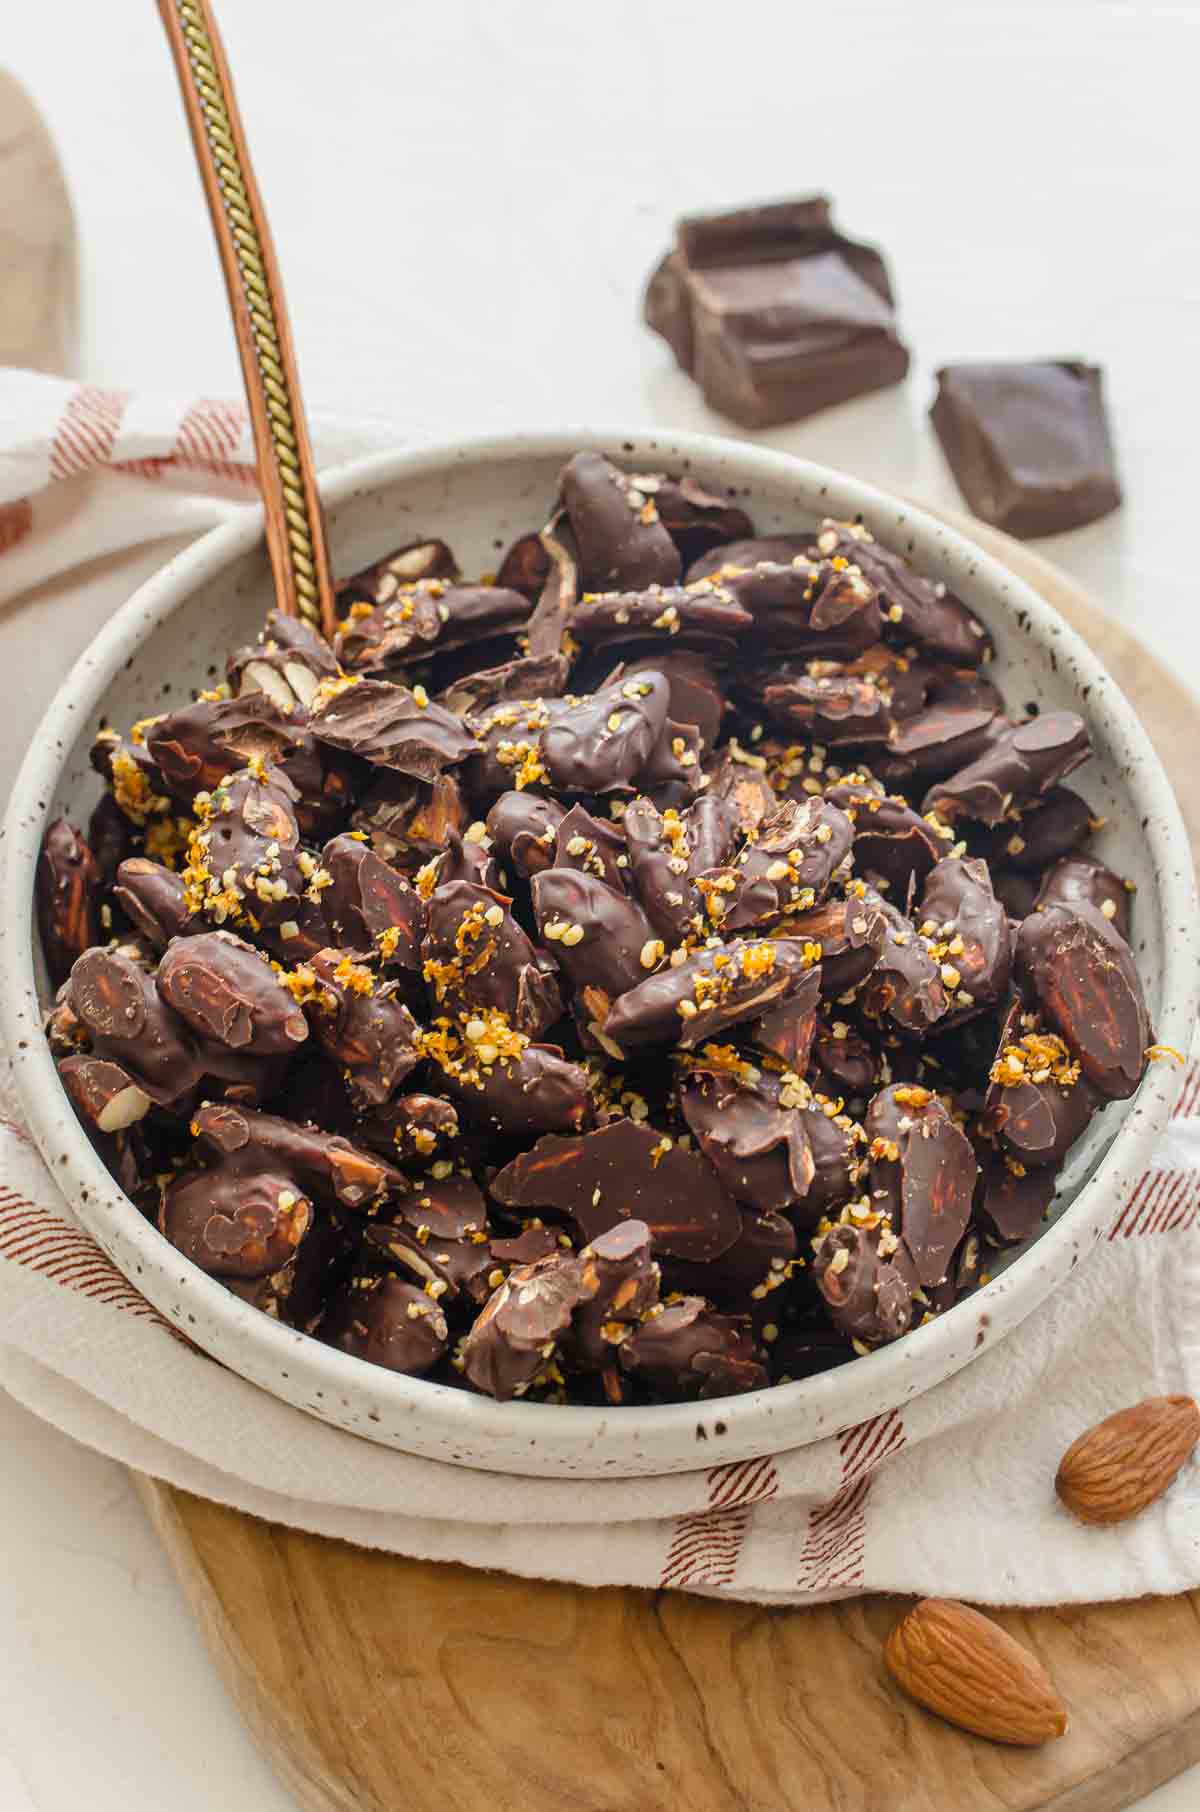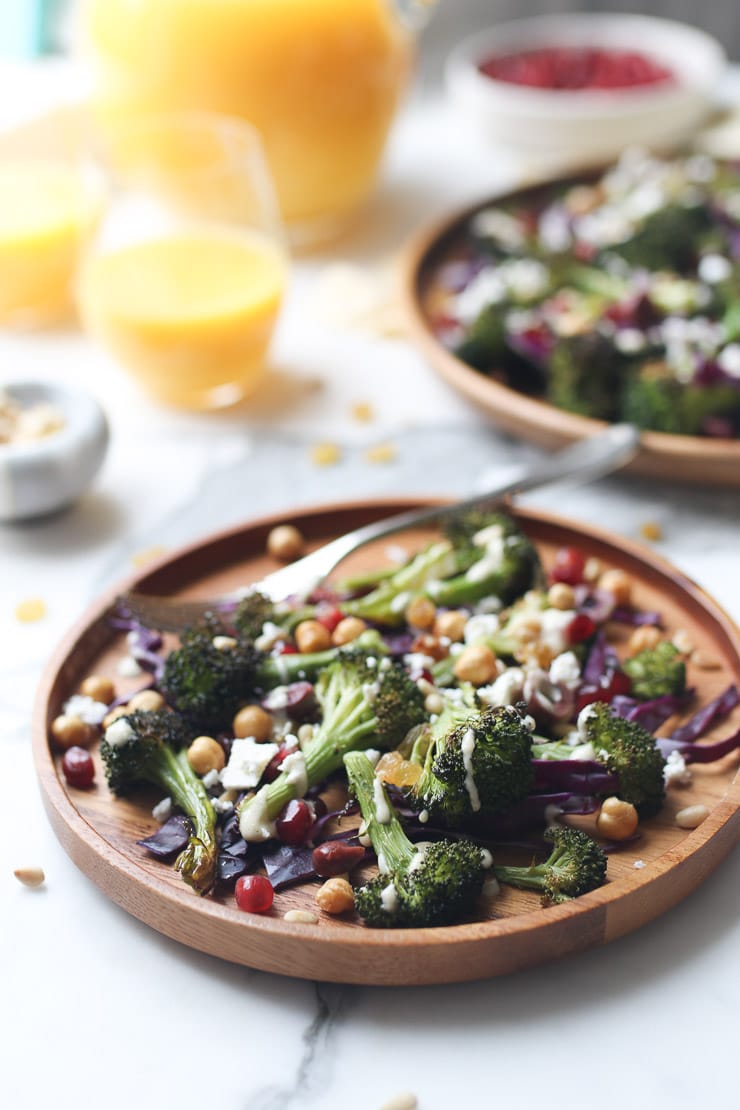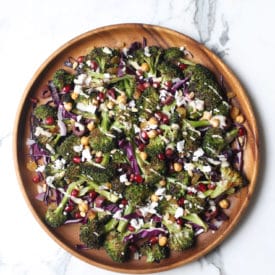
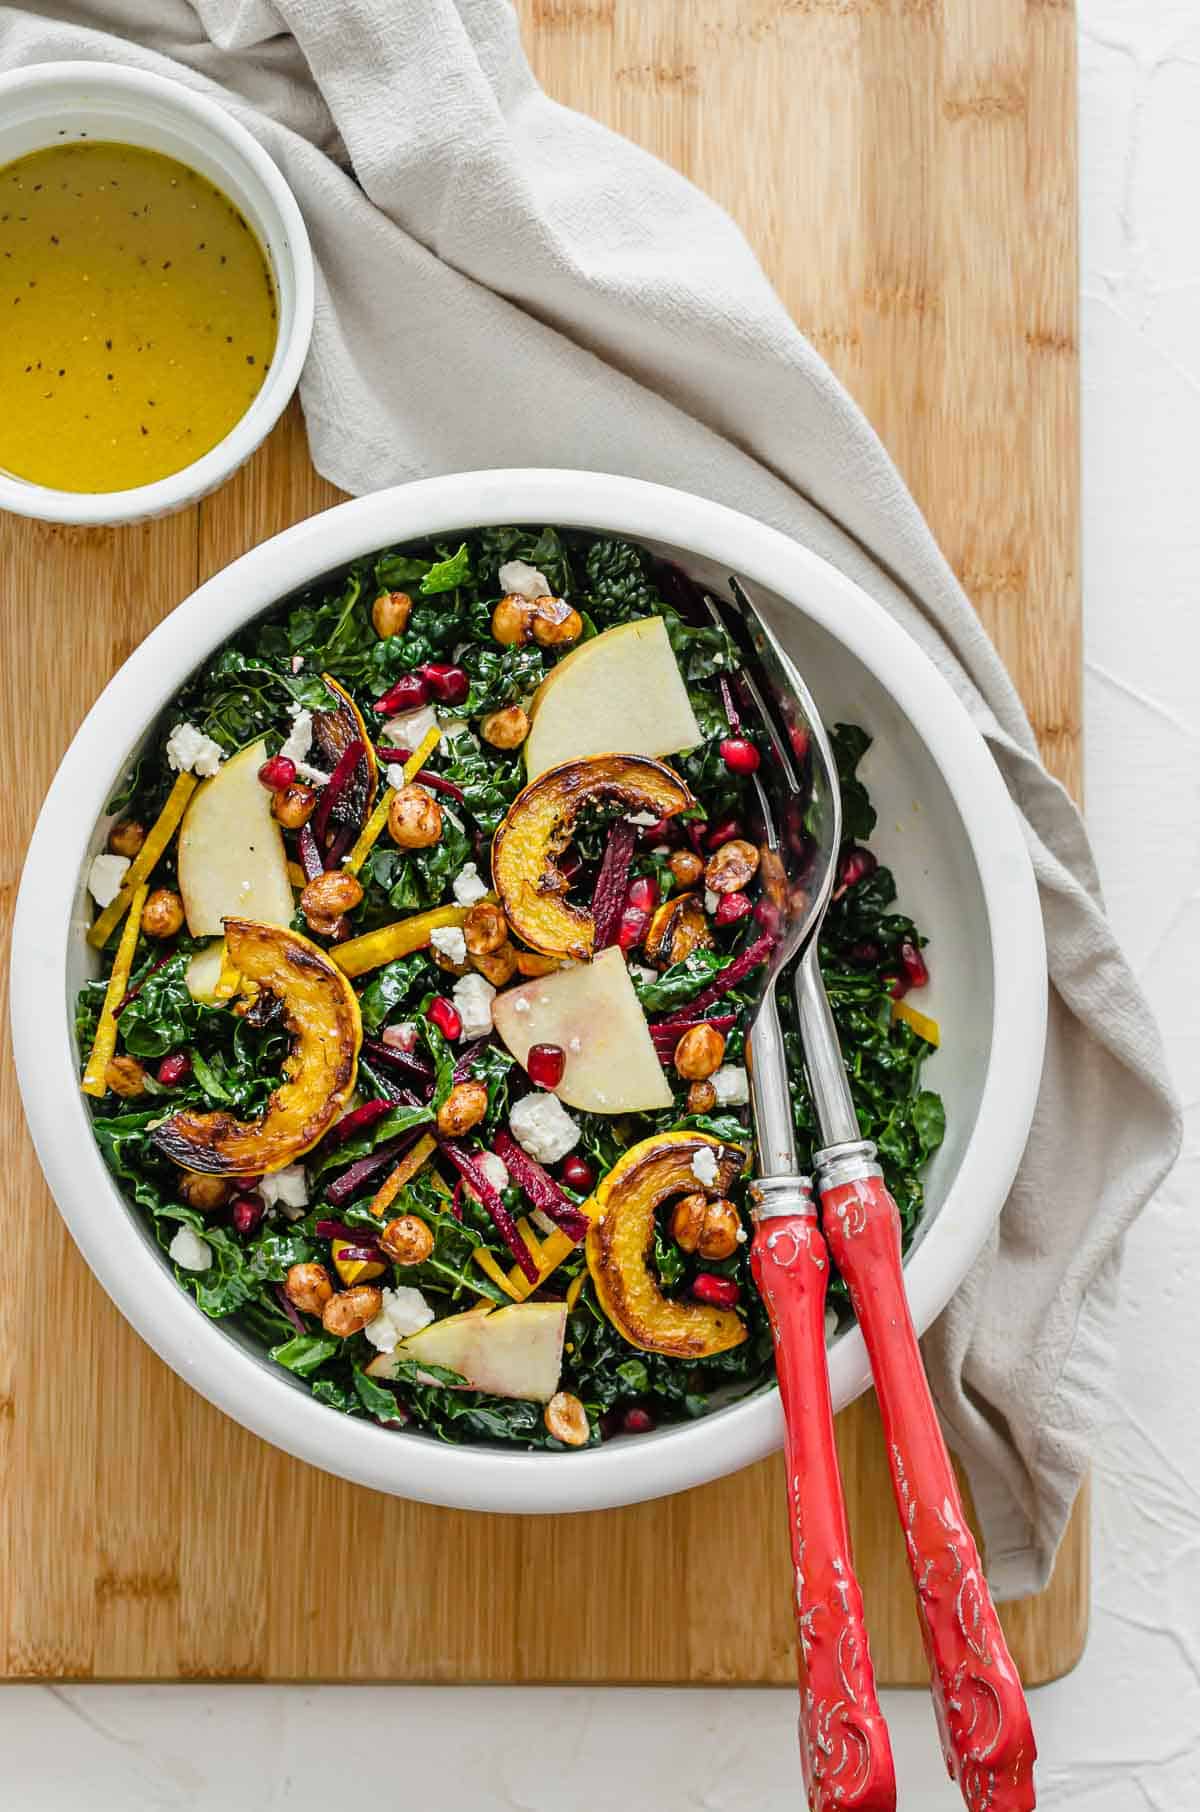
This sweet kale salad recipe with squash & candied hazelnuts is the perfect blend of sweet, salty, and tangy flavour! It is as flavourful as it is beautiful and makes for the perfect vegetarian lunch meal.
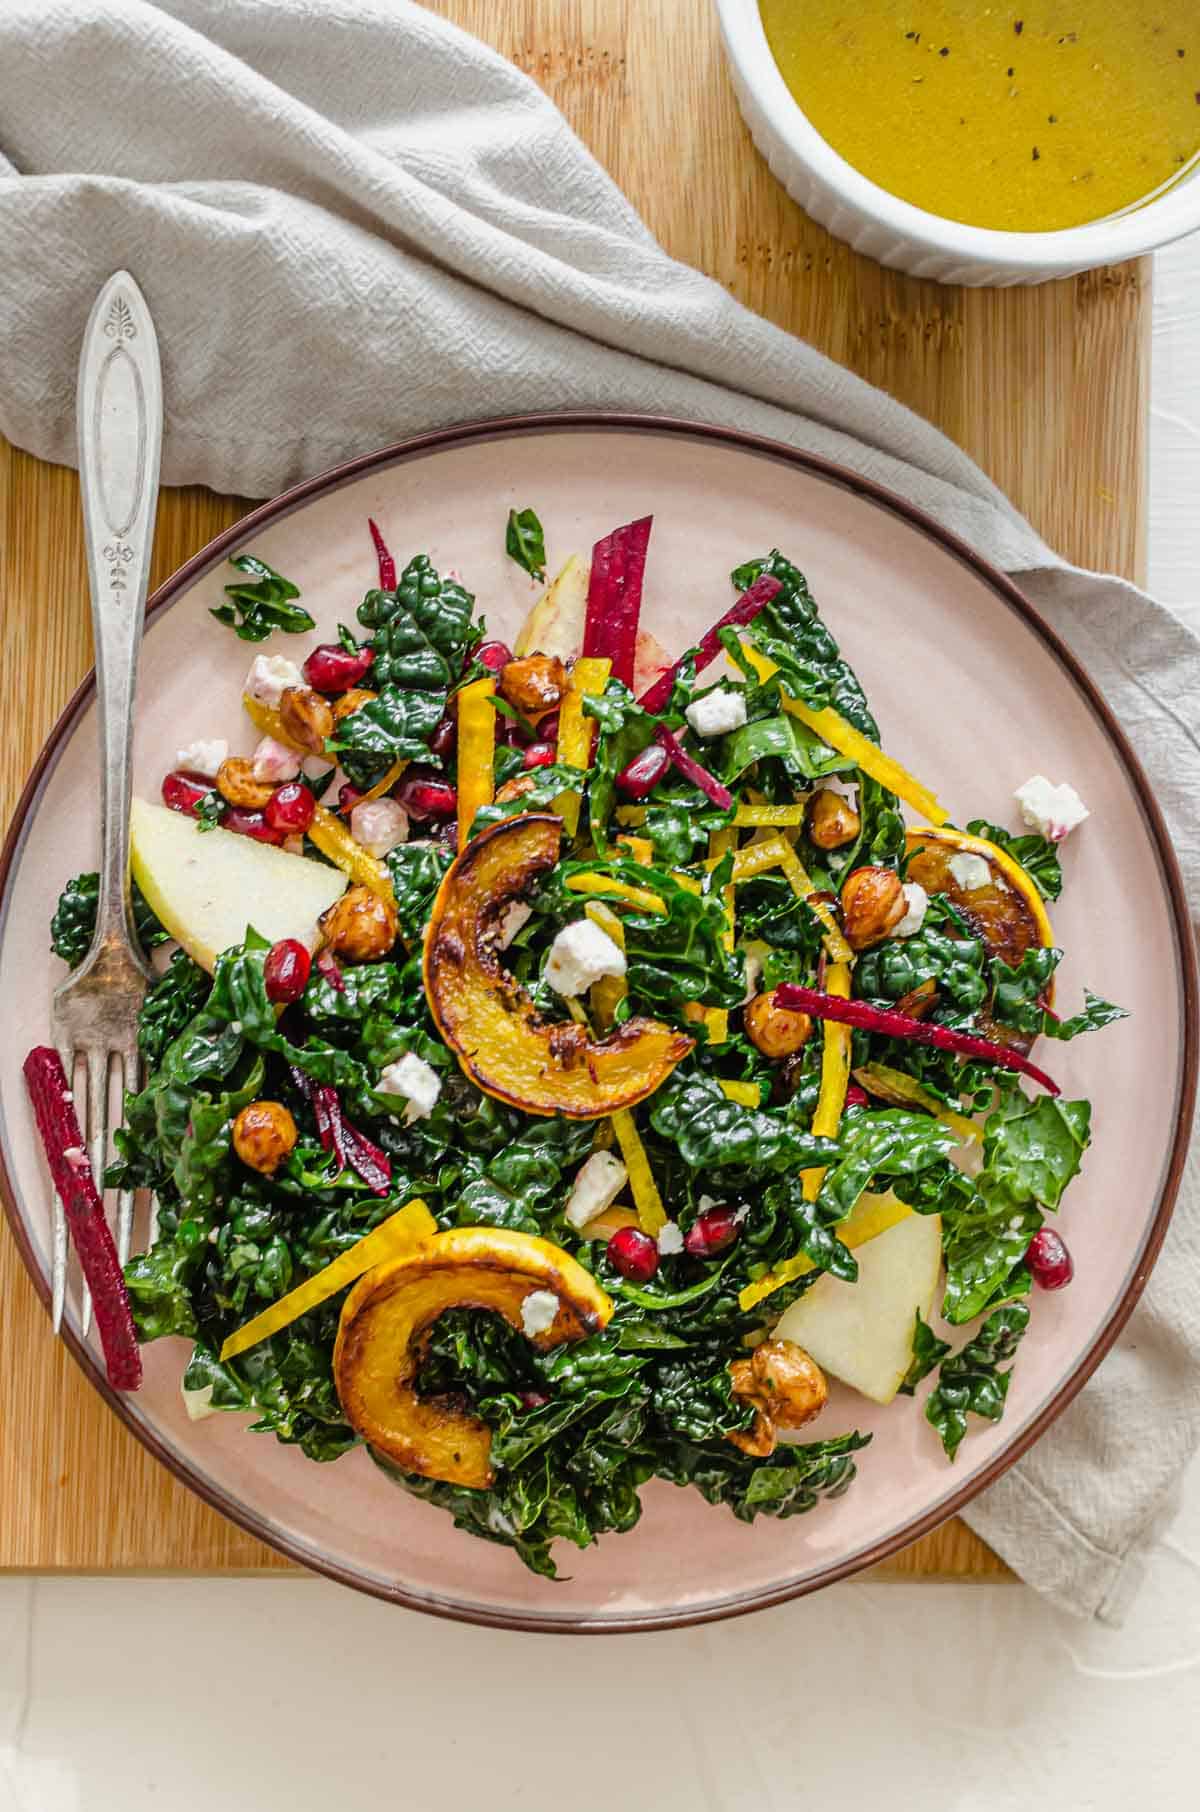
You know the saying “we eat with our eyes“? Truer words could not be used to describe this beautiful salad that I am about to throw your way. So if you love a flavourful salad that has the perfect blend of sweet, salty, and tangy, then I am about to make all your salad dreams come true!
This sweet kale salad recipe with squash and candied hazelnuts feels like a fancy-shmancy salad that you could only get at a good restaurant. So I am going to help you bring restaurant quality meals right into the comfort of your own home and this sweet kale salad is perfect for exactly that!
Table of contents
Why This Recipe Works
Besides being a perfect meal or side dish for date night – this salad is amazing in more ways than one! Here are a few more reasons why we are loving this recipe.
- Gluten Free
- Vegetarian
- High protein
- High fibre
- Loaded with sweet & salty flavour!
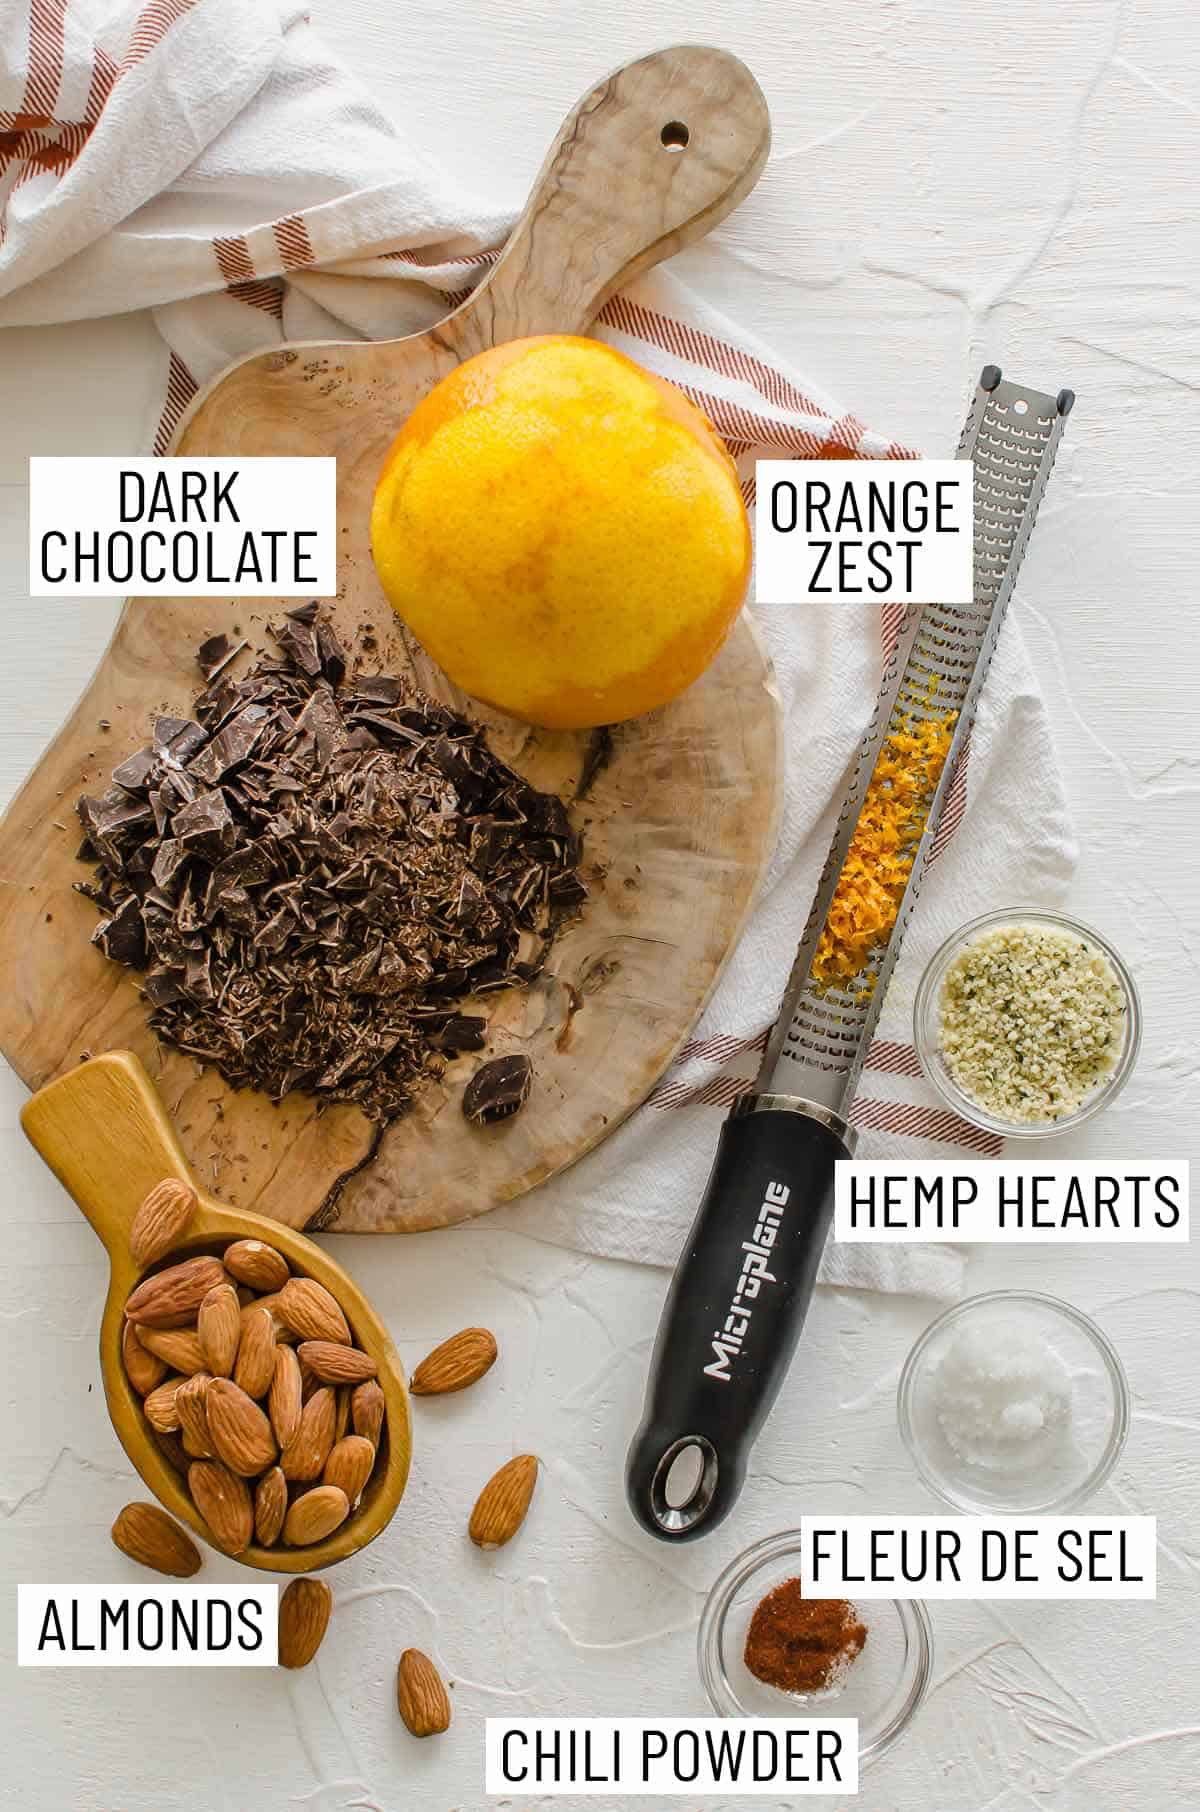
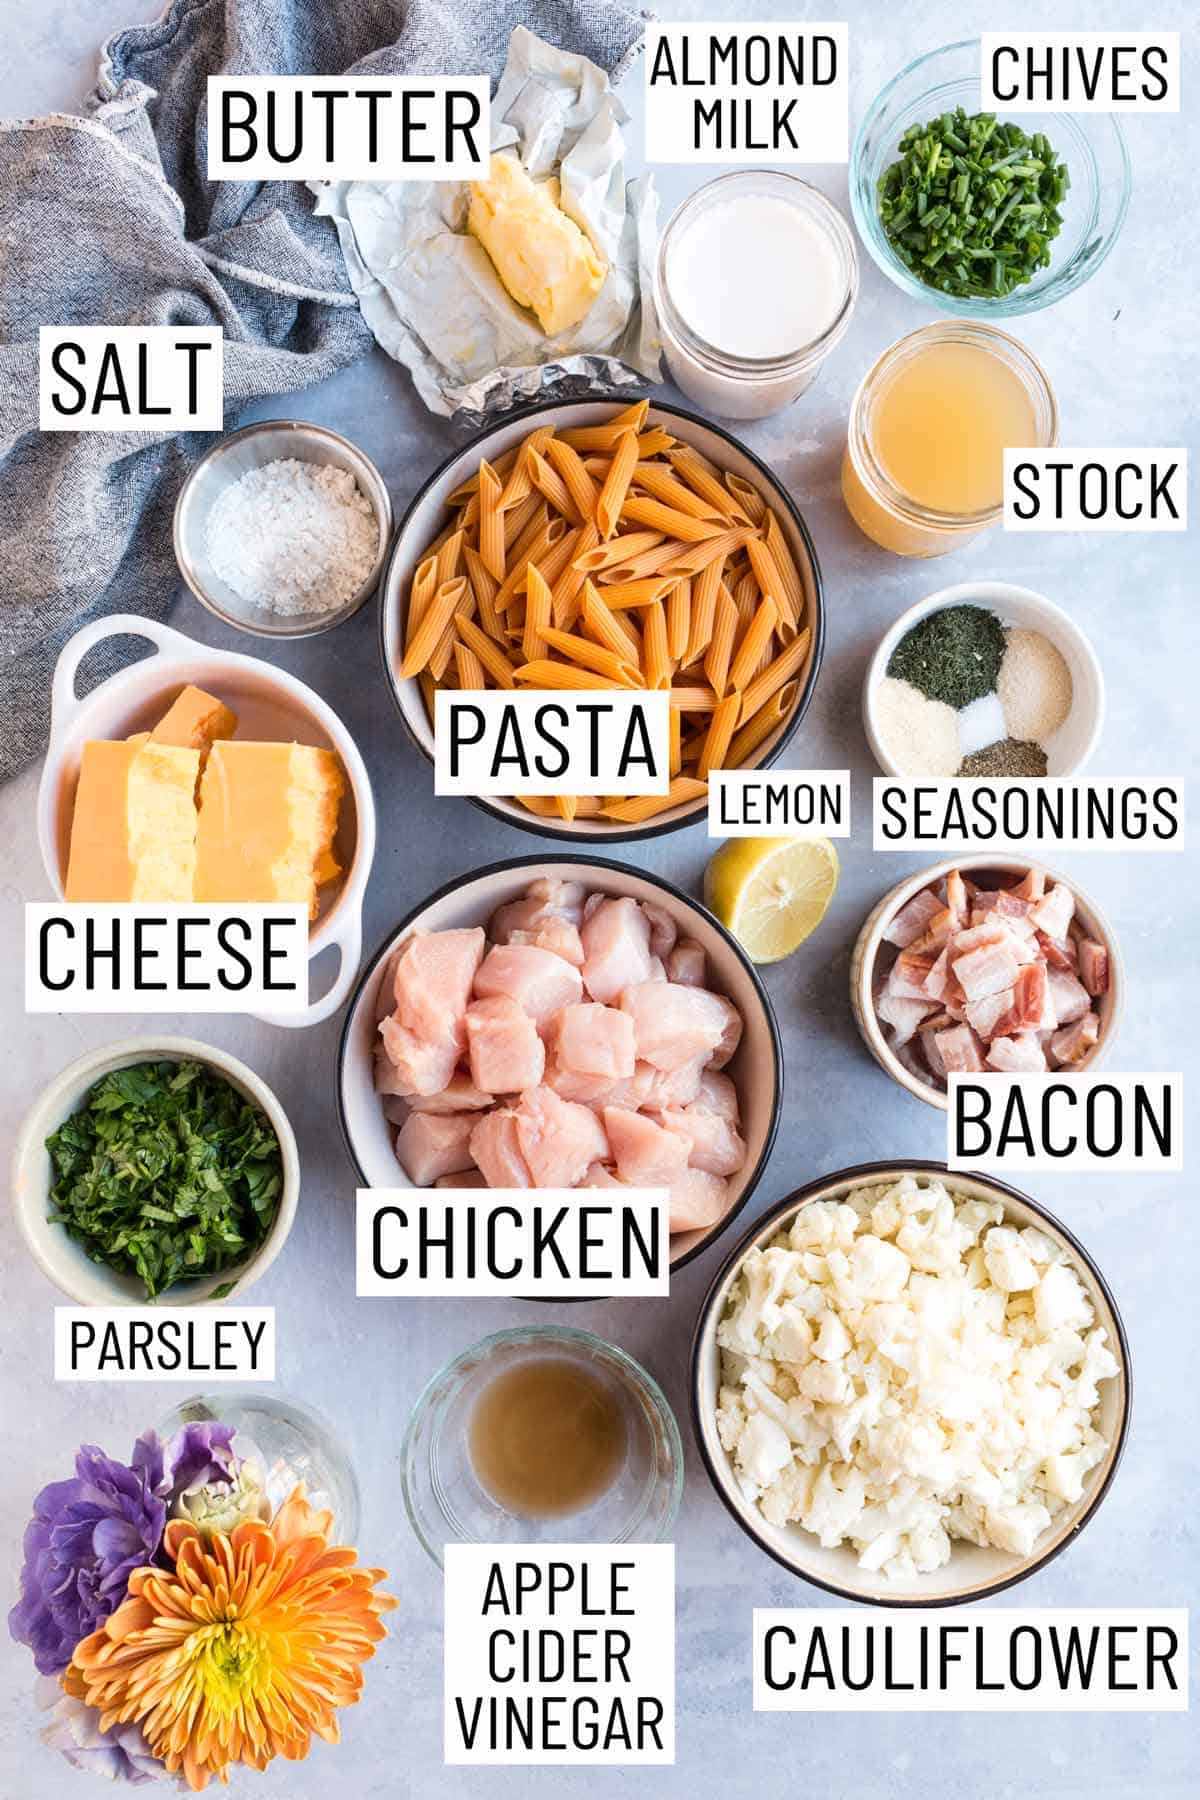
Key Ingredients

Kale – For this recipe, we like to use Cavolo Nero or Dinosaur kale but realistically any kale will work! To ensure that this salad is extra delicious and has the perfect texture, we recommend massaging the dressing into the kale to help soften its tough fibers.
Squash – We use delicata squash for this recipe because what is a winter salad without some winter squash? Plus, even just thinking about roasted delicata squash makes my mouth water so you know we had to add it into this salad. If delicata squash isn’t in season for you, then you can substitute for butternut squash or summer squash.
Beets – Like we said, we eat with our eyes, and beets play a huge role in that! It doesn’t really matter whether you use golden, candy cane, or red beets for this sweet kale salad recipe – as long as it looks like you’re eating a literal rainbow, then we’re good. There is also something about the combo of beets and feta that are an absolute must in my books.
Apple & Pomegranate – So we are calling this a sweet kale salad for a reason, and thats all thanks to the addition of honey crisp apples and pomegranate arils. They also add amazing crunchy texture (and colour!) to the salad, as well.
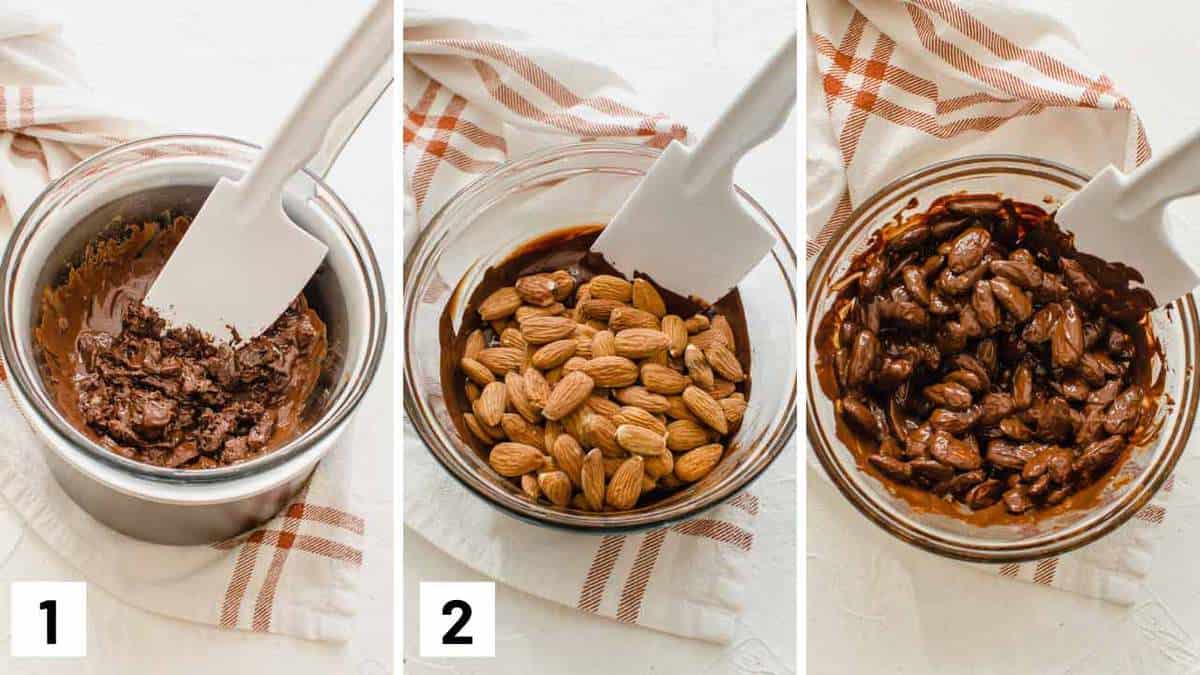
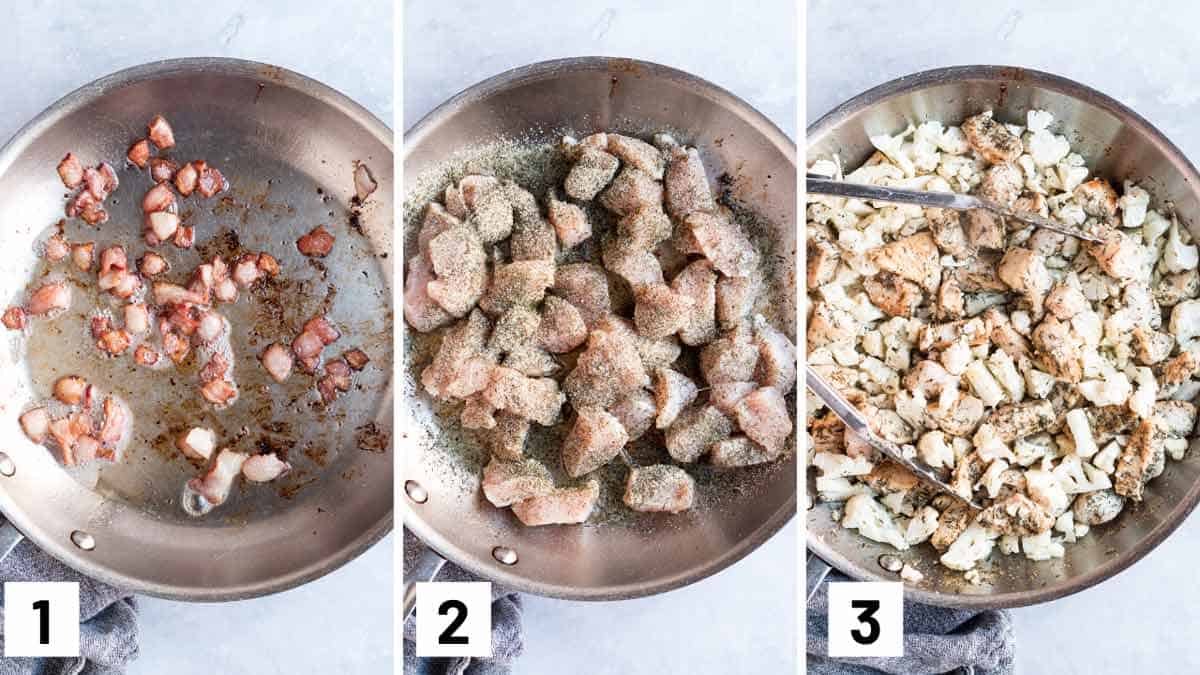
How to Make This Recipe
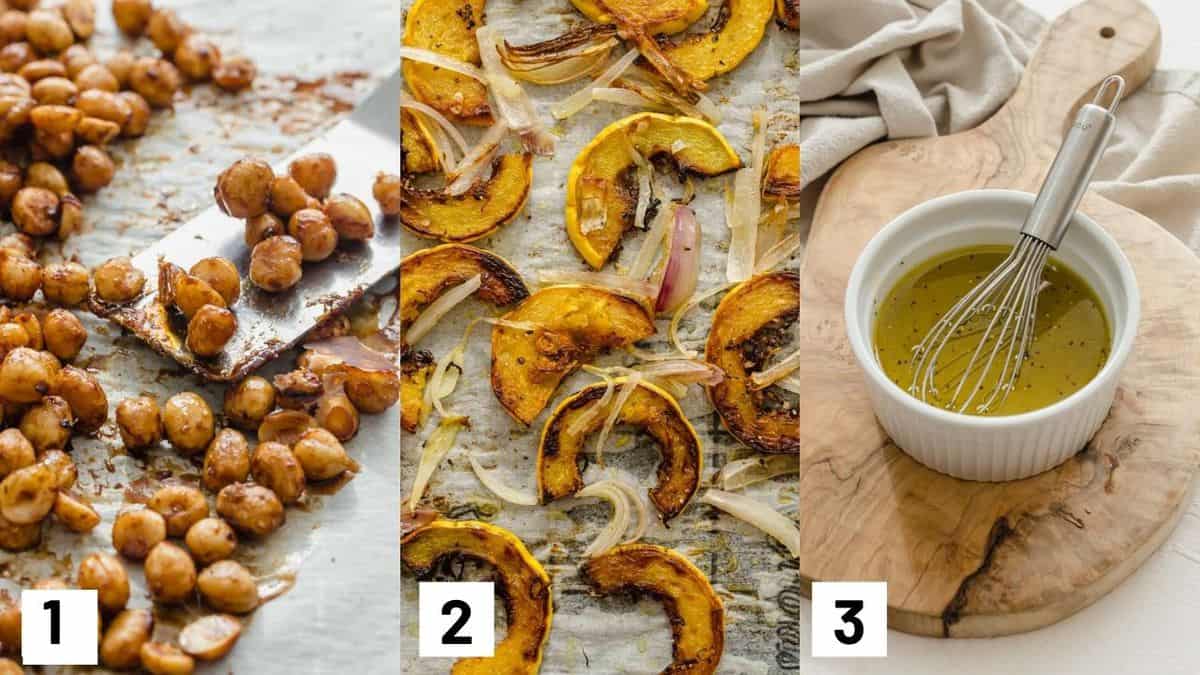
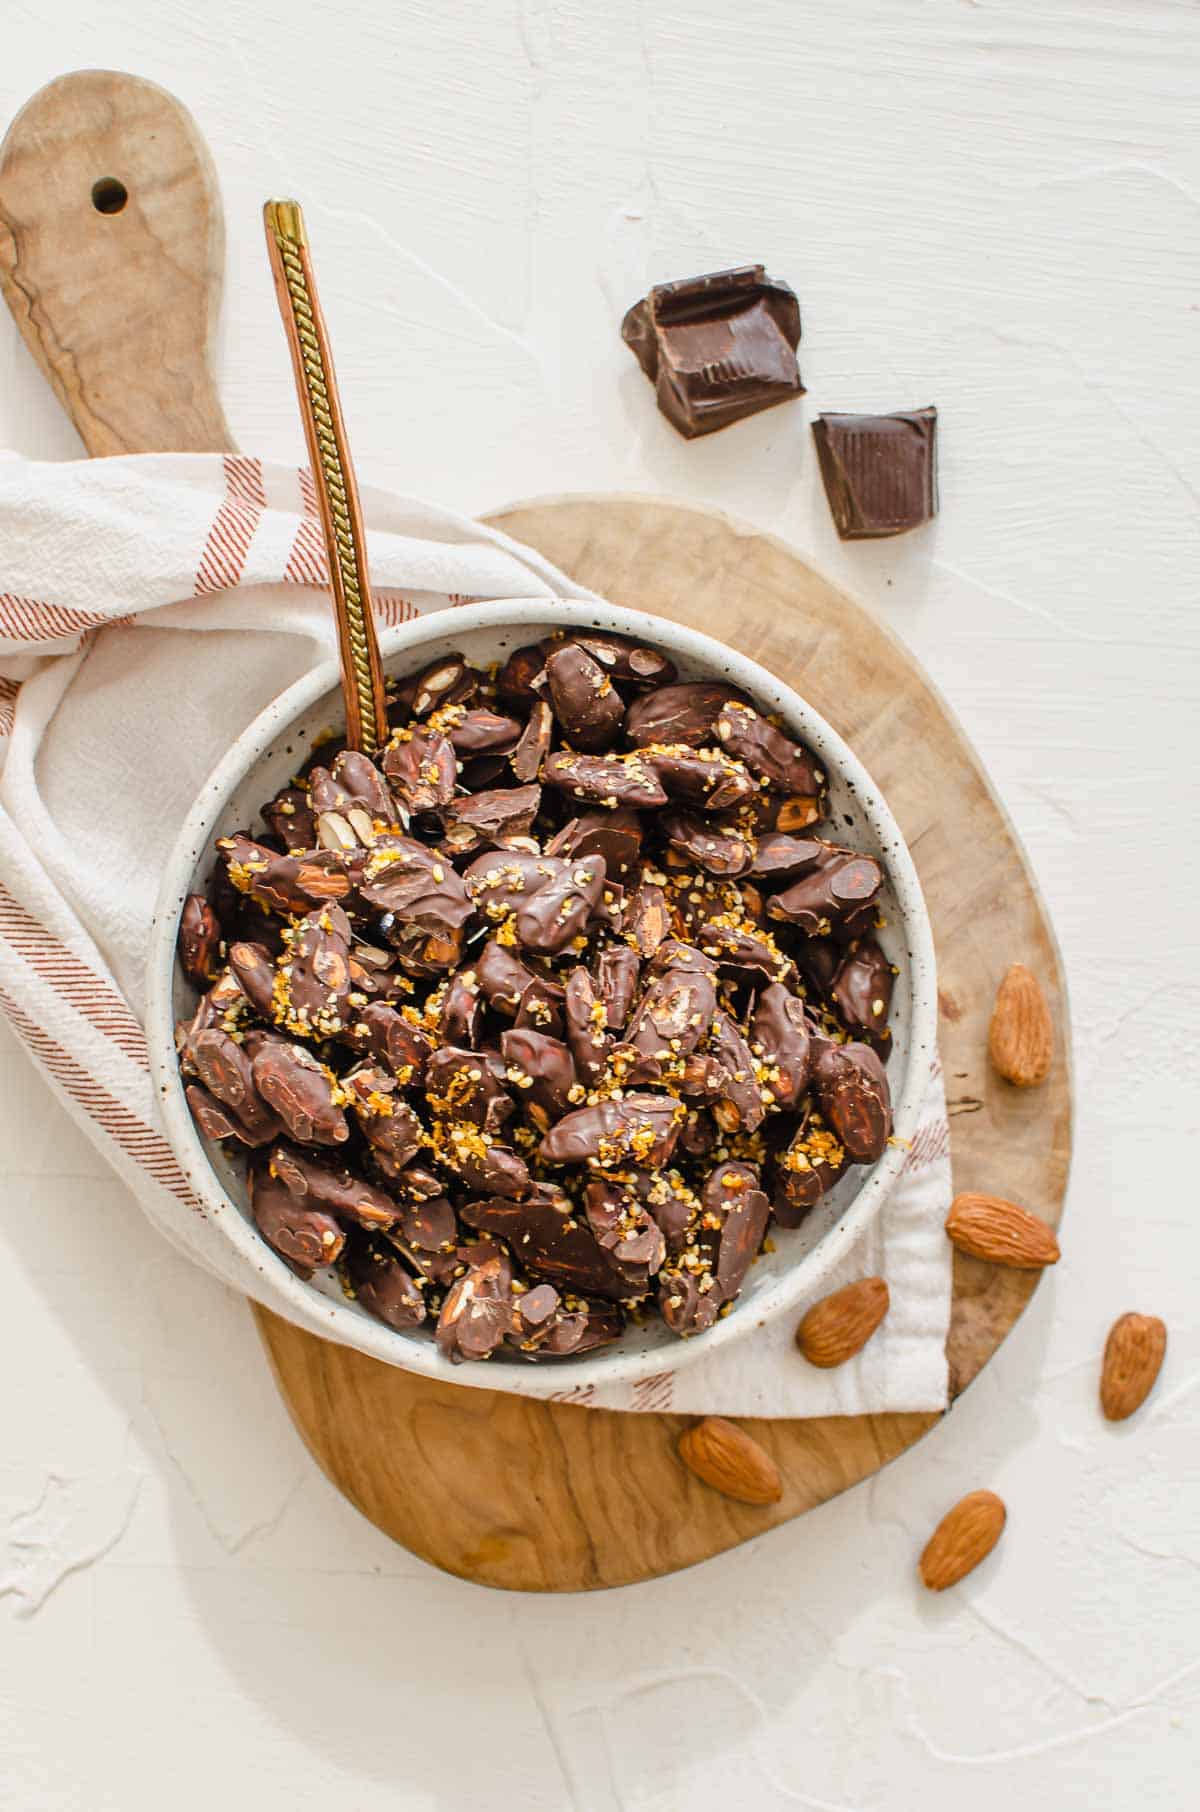
Step 1: Mix together the hazelnuts, cinnamon, salt, maple and sugar. Toss until well coated. Bake for 15 minutes, flip and bake another 5 minutes or until golden brown all over. Allow to cool for 30-60 minutes. Set aside.
Step 2: Drizzle the squash with one tablespoon of the oil and toss with salt and pepper. Bake for 20 minutes, and flip. Add the onion, along with another tablespoon of oil and return back to the oven for another 10-15 minutes until the onion and squash are golden brown and tender.
Step 3: In a bowl mix together the dressing ingredients.
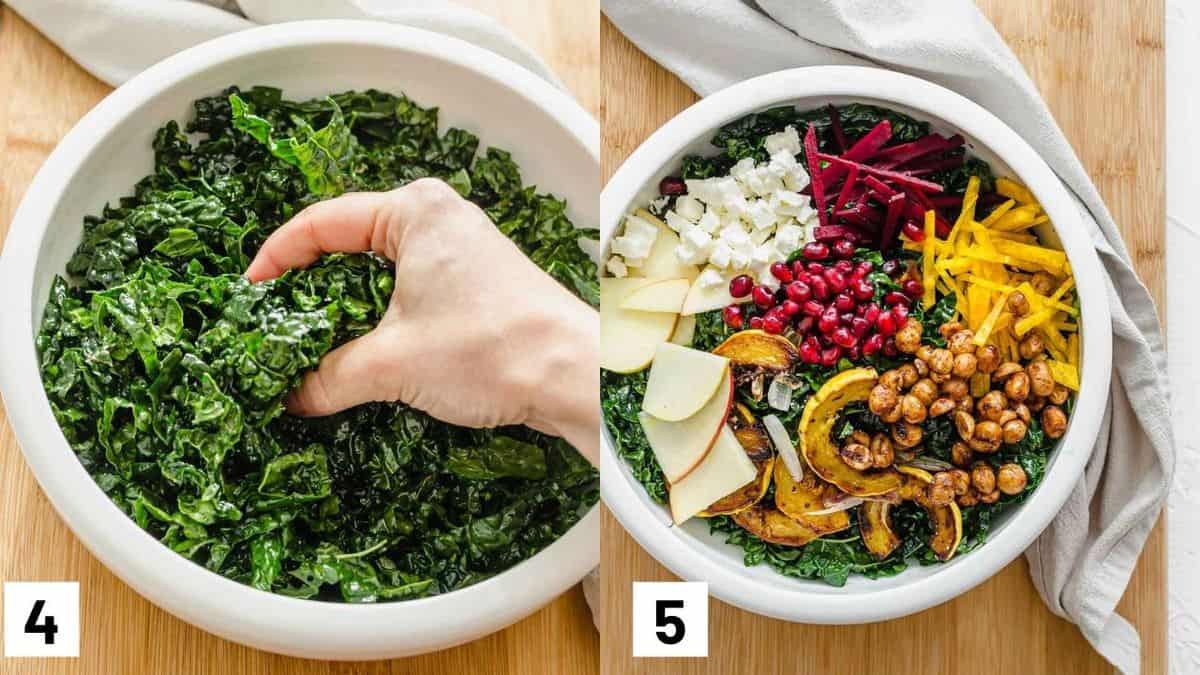
Step 4: Massage dressing into the kale for 2-3 minutes.
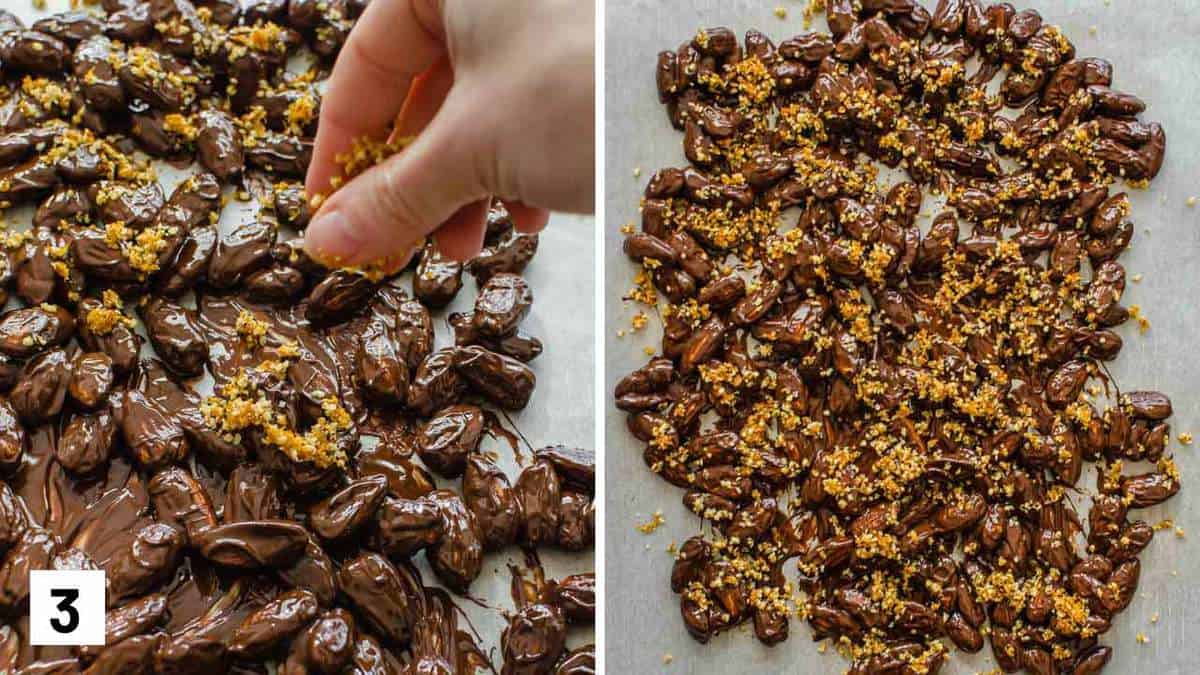
Step 5: Top with additional ingredients and drizzle with additional dressing.
Expert Tips
One of the best short cuts to using pomegranate in this recipe (or any recipe), is to purchase the already deseeded arils – you can find them fresh or frozen. Otherwise, you can purchase the whole pomegranate fruit and deseed at home, which is a little more laborious. However, we have an easy hack that can help to speed this process along.
One of the easiest ways to deseed a pomegranate is by cutting the pomegranate into quarters and submerging it into a bowl with water. You can then start to peel the skin back and gently pull the seeds out.
Another expert tip for making this salad taste super delish, is to make sure you are massaging your kale! Like I said earlier, massaging the kale will help to break down the tough fibres, which will help to make it easier to chew and digest. In addition, massaging the kale with the dressing will also help to infuse more flavour into the kale.
Recipe FAQs
Almonds or walnuts would work well in this recipe as they are crunchy and absorb flavour quite well.
Absolutely! You can use vegan chevre or vegan feta to make this salad vegan friendly.
Yes definitely! This salad has a great combination of fats, carbs, and protein, which makes for a balanced and satiating meal. The amount of protein obtained from this sweet kale salad recipe also depends on the amount of hazelnut added to top. We recommend adding around 1/4 cup (about a handful) to the salad as this will provide 14 grams of protein from the salad in total.
For this salad, we want to use an apple that is sweet and crunchy that also doesn’t brown too quickly after slicing. If you are not going to use Honeycrisp, we recommend using pink lady, ambrosia, or empire as alternatives.
You can enjoy them on their own as a snack, or sprinkle them on top of ice cream or any other dessert.
More Recipes You Might Like
If you loved this sweet kale salad recipe, then you’re gonna love these salads on the blog!
- Best Avocado Dressing
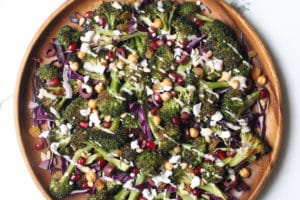
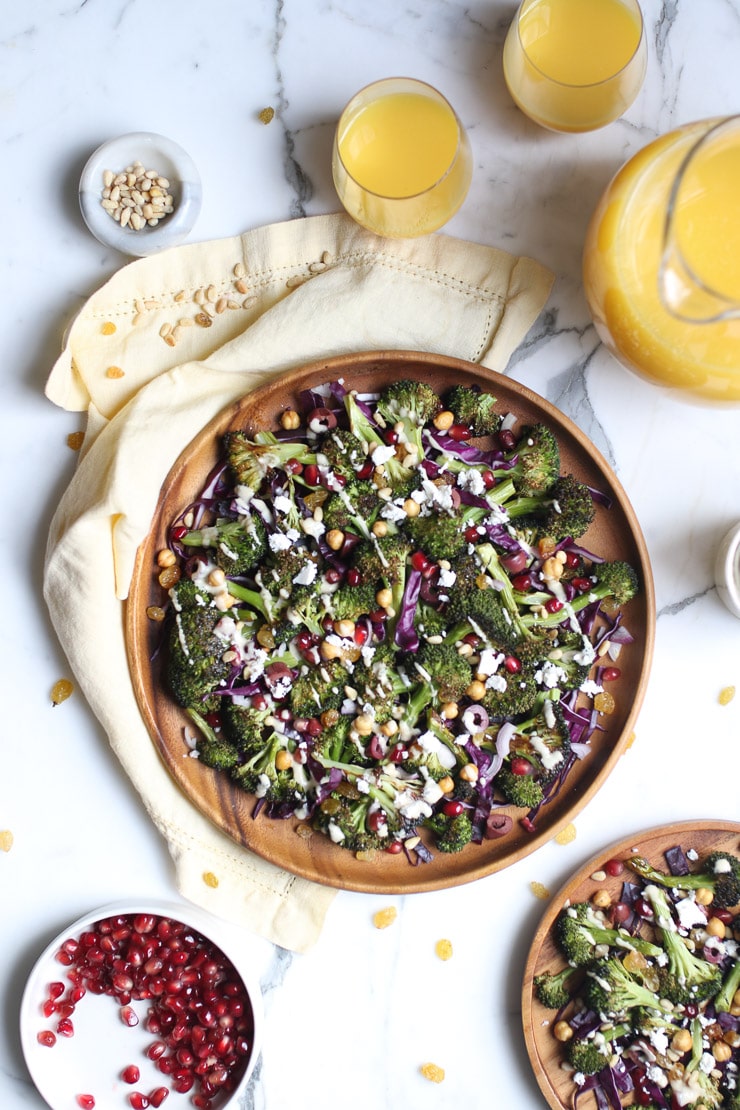
- Roasted Broccoli Salad with Tahini Dressing
- No Cook Tuna Greek Salad
- Shrimp Avocado Salad with Mango
What are your go-to winter salads these days? I’d love to know!
Sweet Kale Salad Recipe with Squash and Candied Hazelnuts
Ingredients
Candied hazelnuts:
- 2 ½ cups blanched hazelnuts skins removed
- ½ tsp cinnamon
- ¼ tsp salt
- 2 tbsp maple syrup
- 1 tbsp coconut or brown sugar
Salad:
- 2 tbsp extra virgin olive oil
- 1 delicata squash halved lengthwise and seeded, sliced into ½ inch half moons
- 1 red onion thinly sliced
- Generous pinch of salt and pepper
- 8 oz kale leaves* about 8 heaping or well packed cups, leaves only, thinly sliced
- 2-3 candy cane beets peeled and thinly sliced on mandoline
- 2 honey crisp apples thinly sliced
- Arils from 1 pomegranate
- ¾ cup crumbled vegan chevre or feta
Dressing:
- 2 tbsp maple syrup
- 1 tbsp Dijon mustard
- 2 tbsp apple cider vinegar
- 1/4 cup extra virgin olive oil
- 1 tbsp hazelnut oil or more olive oil
- Salt and pepper to taste
Instructions
- Preheat oven to 325 F. Line a baking sheet with parchment or a silpat.
- Mix together the hazalnuts, cinnamon, salt, maple and sugar. Toss until well coated.
- Pour onto baking sheet and spread so they’re in an even layer.
- Bake for 15 minutes, flip and bake another 5 minutes or until golden brown all over. Allow to cool for 30-60 minutes. Set aside.
- Preheat oven to 425 F. Drizzle the squash with one tablespoon of the oil and toss with salt and pepper. Bake for 20 minutes, and flip.
- Add the onion, along with another tablespoon of oil and return back to the oven for another 10-15 minutes until the onion and squash are golden brown and tender.
- In a bowl mix together the dressing ingredients, massage with the kale for 2-3 minutes.
- Top with additional ingredients and drizzle with additional dressing.
Notes
Nutrition
Did you love this sweet kale salad? Let me know your thoughts down in the comments!
Abbey Sharp is a Registered Dietitian (RD), regulated by the Ontario College of Dietitians. She is a mom, YouTuber, Blogger, award winning cookbook author, media coach specializing in food and nutrition influencers, and a frequent contributor to national publications like Healthline and on national broadcast TV shows.