This Sweet Potato Apple Crisp Recipe makes the perfect gluten free healthy dessert for an easy weeknight treat or a holiday dessert the whole family is going to love.
I don’t have a lot of special recipes that I feel are synonymous with my childhood, but apple crisp is definitely one of them. My grandma Sharp used to make the most incredible apple crisp that made the whole house smell divine. Honestly, one of my biggest regrets as an adult is that I never got the official recipe from my grandma before she passed away. Having said that, I’m not really sure it ever would have tasted the same coming from me. So while I know it will never compare, I made my own take on it!
I know nothing will ever beat my grandma’s legendary apple crisp but I think she would approve of these vegan apple crisp stuffed sweet potatoes as a close second.
Why This Recipe Works
I wanted to come up with a healthier version that cuts back on the sugar while bumping up the fibre as it gets baked in a sweet potato “crust.”
This sweet potato apple crisp recipe is naturally gluten free, and so light and balanced, you can even have them as breakfast!
I bake a lot of sweet potatoes in this house for Baby E, so this is a GREAT use for their “jackets”. Don’t throw out the sweet potato flesh, obviously. Even if you don’t have a baby, it makes a perfect side dish with some cinnamon or is delicious in a smoothie or oatmeal.
Table of contents
Key Ingredients
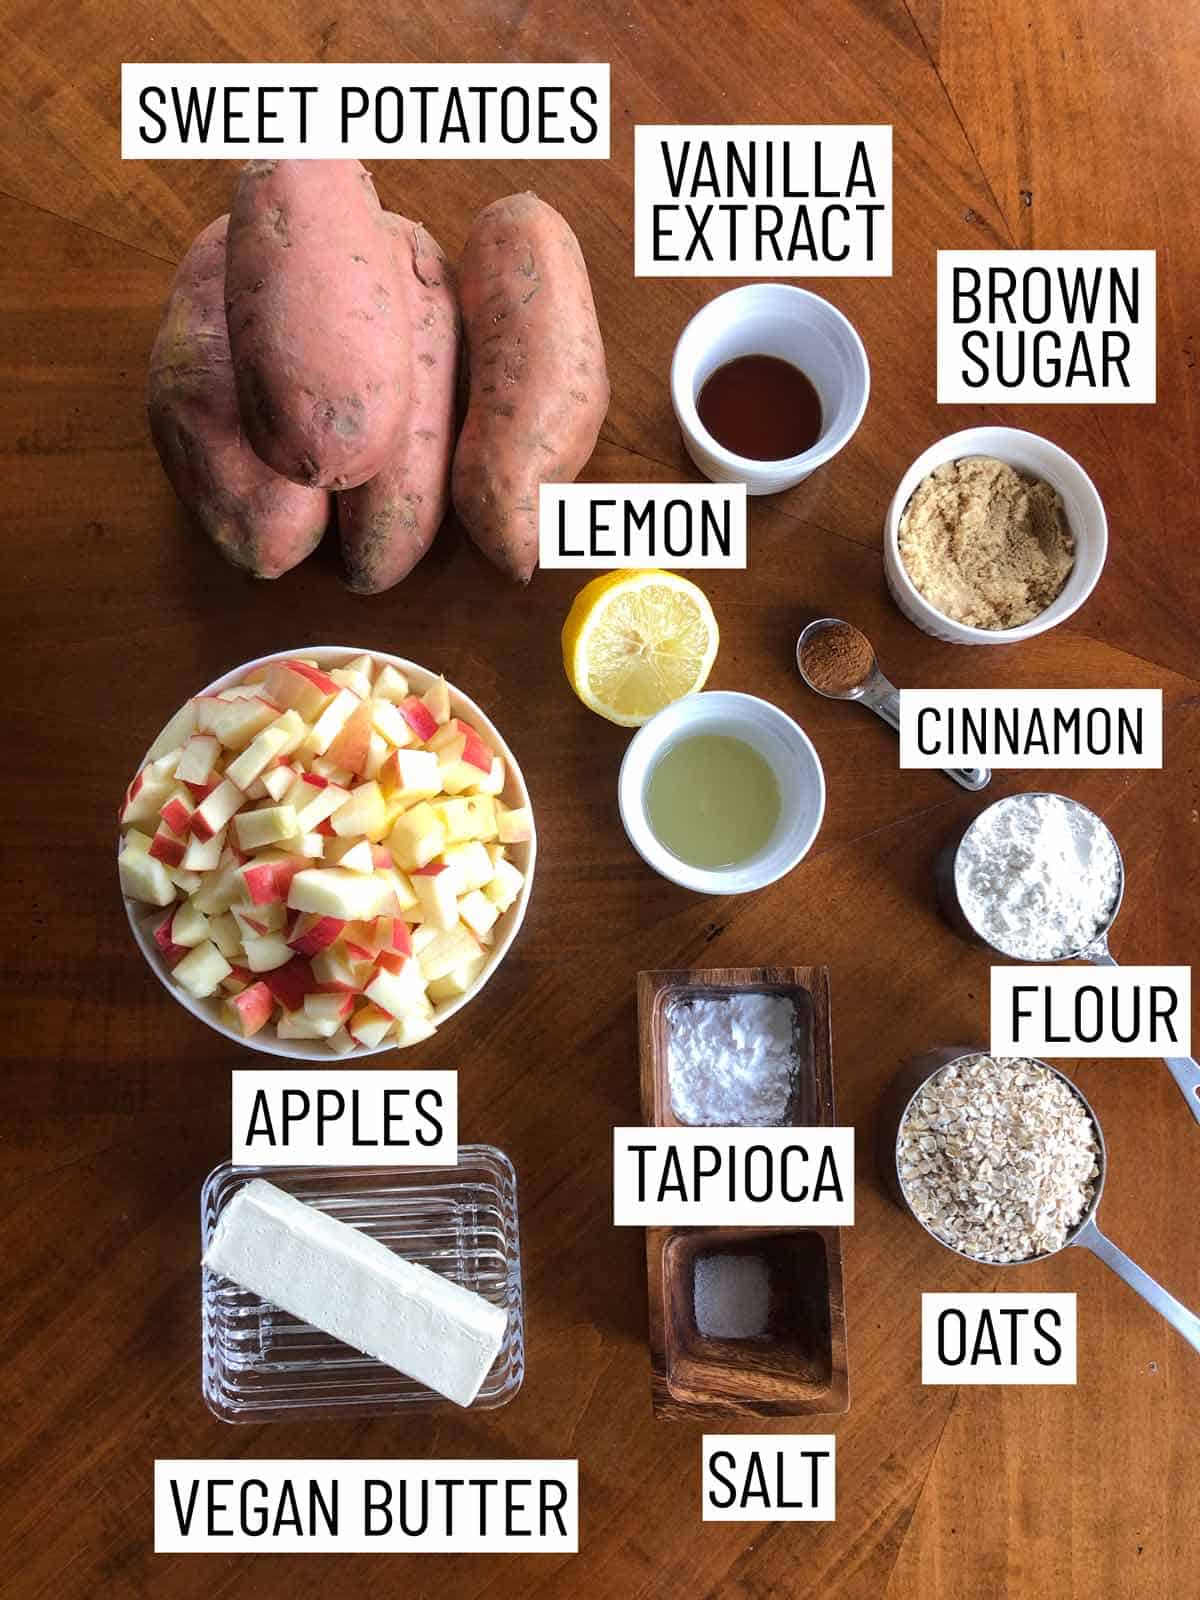
Sweet Potatoes – Make sure you purchase sweet potatoes of a similar size. The best ones are when they’re not too thin or too long as you want them to be able to hold up the apple filling.
Apples – You’ll love some sweet apples for the filling. If you want, you can use a mix of apples.
Crisp Toppings – We use rolled oats, flour, brown sugar, vegan butter, and salt for the topping.
How To Make This Recipe
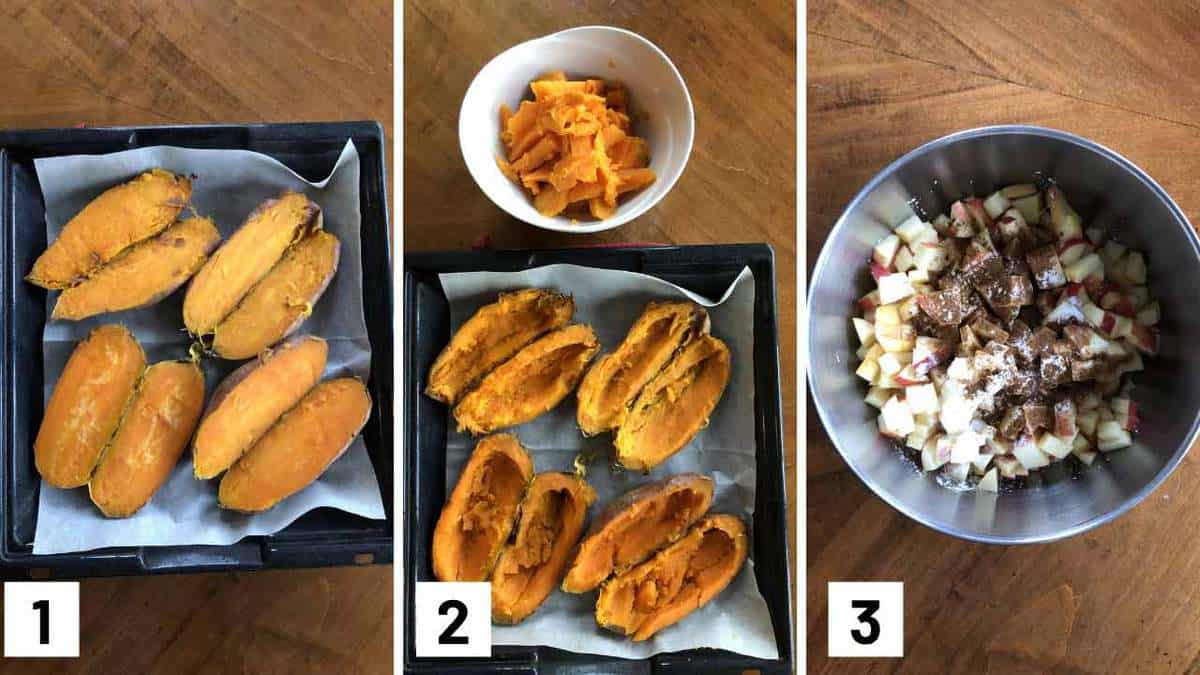
Step 1: Preheat oven to 450 F and place the sweet potatoes on a baking tray. Bake until very tender and soft, about an hour.
Step 2: Remove from the oven, cut in half and scoop out the insides with a large spoon or an ice cream scoop, leaving behind a few millimeters of sweet potato around the edges. Set aside for a side dish or smoothie. Reduce the oven temperature to 375 F.
Step 3: In a bowl, combine the apples, lemon juice, cornstarch or tapioca, cinnamon and vanilla. Place the sweet potato jackets onto a baking sheet and stuff the sweet potato jackets with the apple mixture.
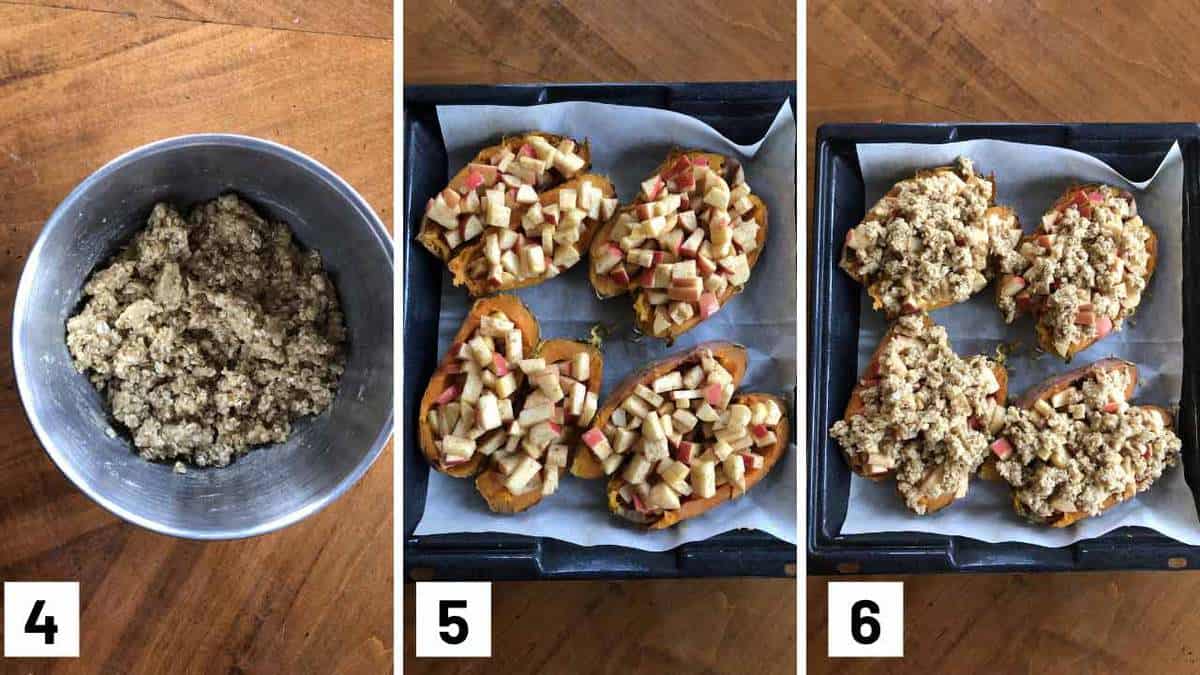
Step 4: In another bowl, combine the oats, flour, brown sugar, butter and salt.
Step 5: Top the sweet potatoes with the apple mixture.
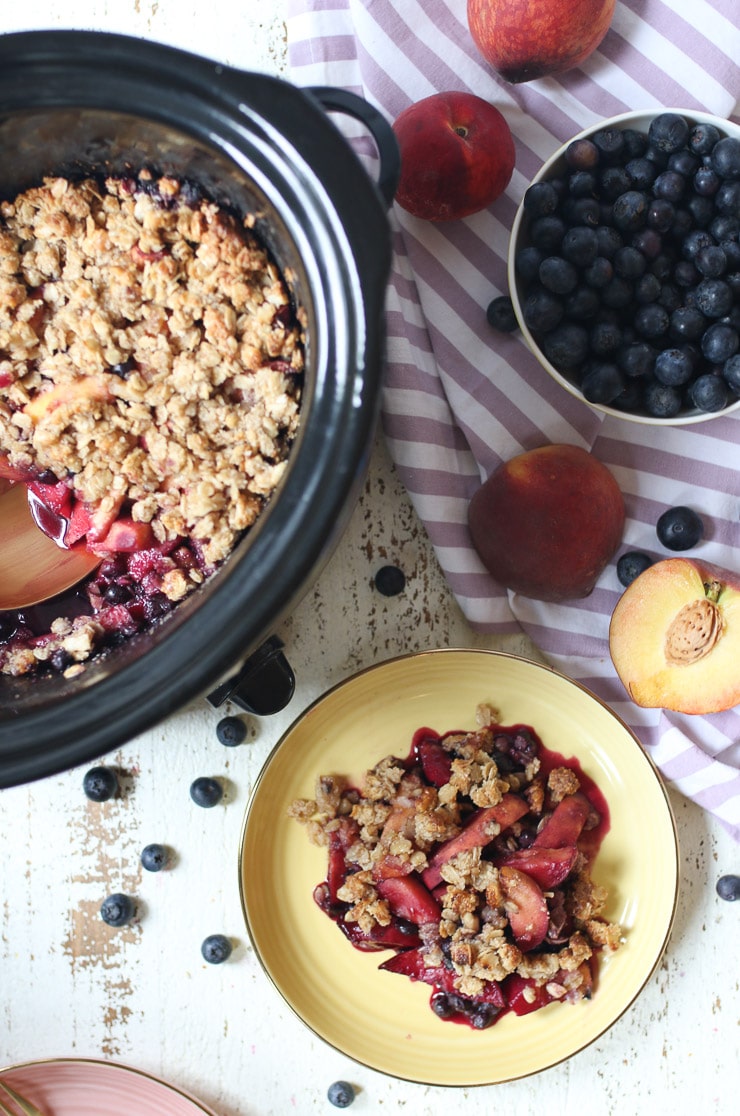
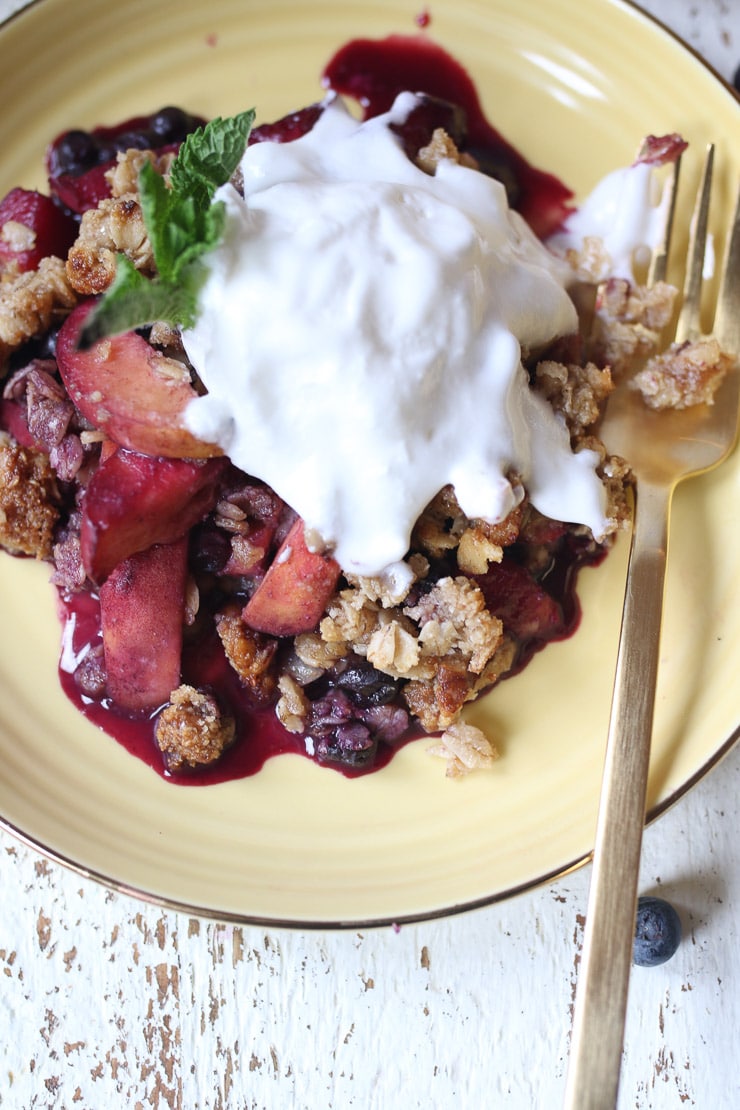
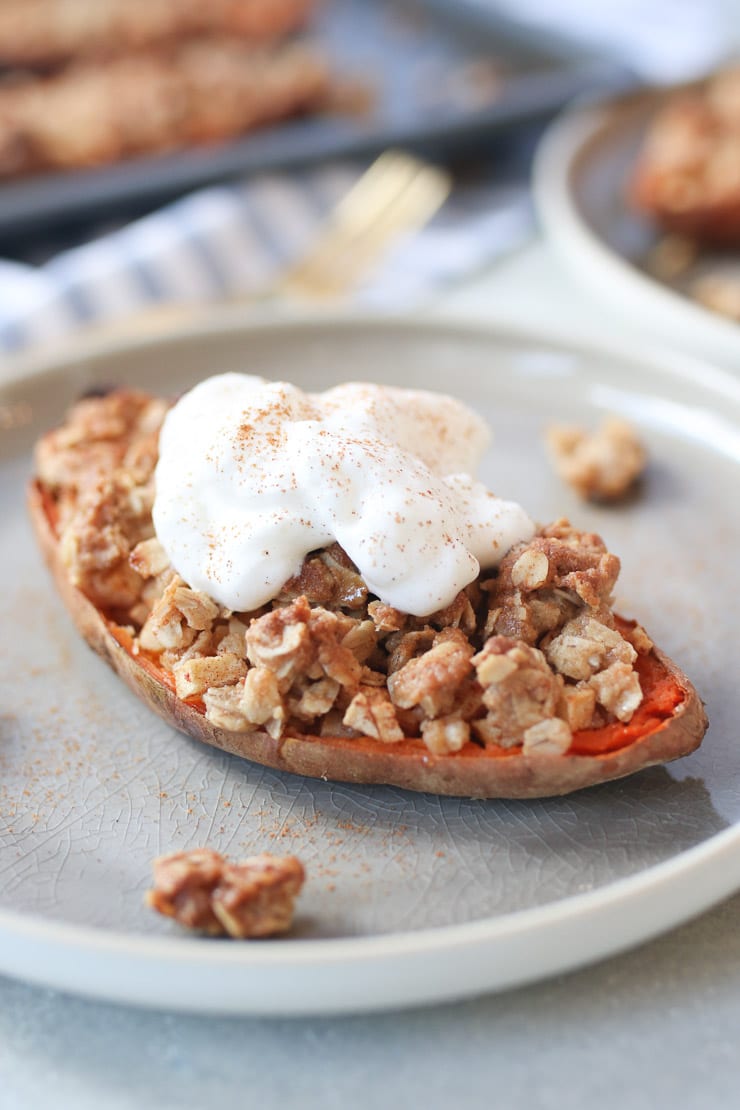
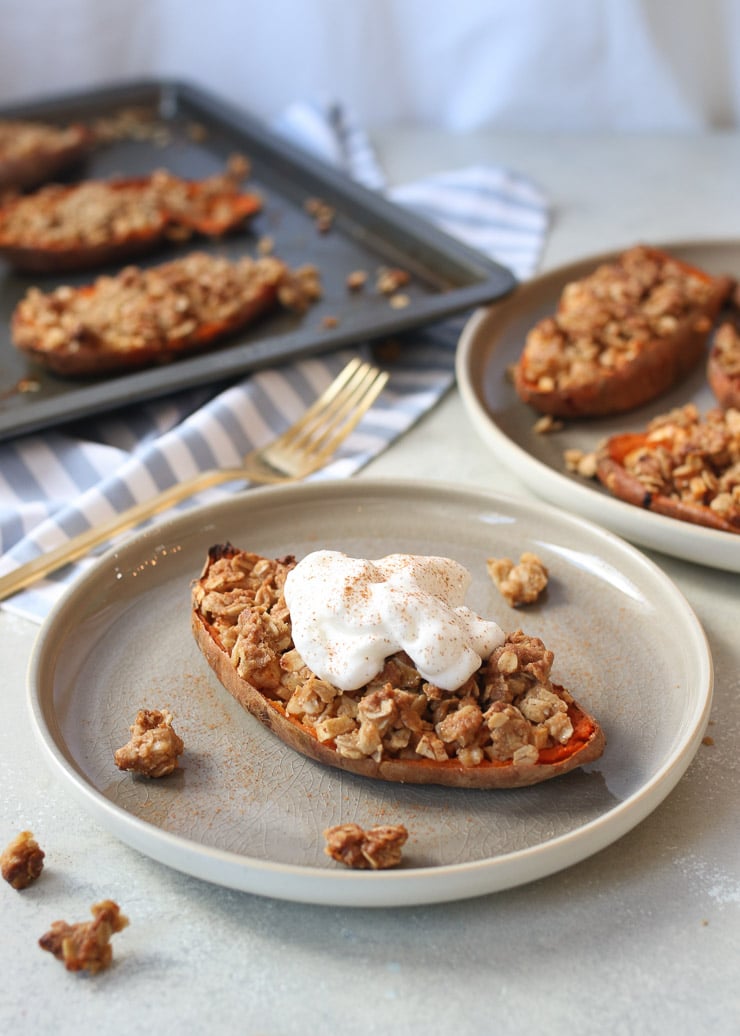
Step 6: Next, top the apple mixture with the crisp topping. Bake for 25-30 minutes or until golden brown. Serve with vegan yogurt or coconut cream, if desired.
Expert Tips
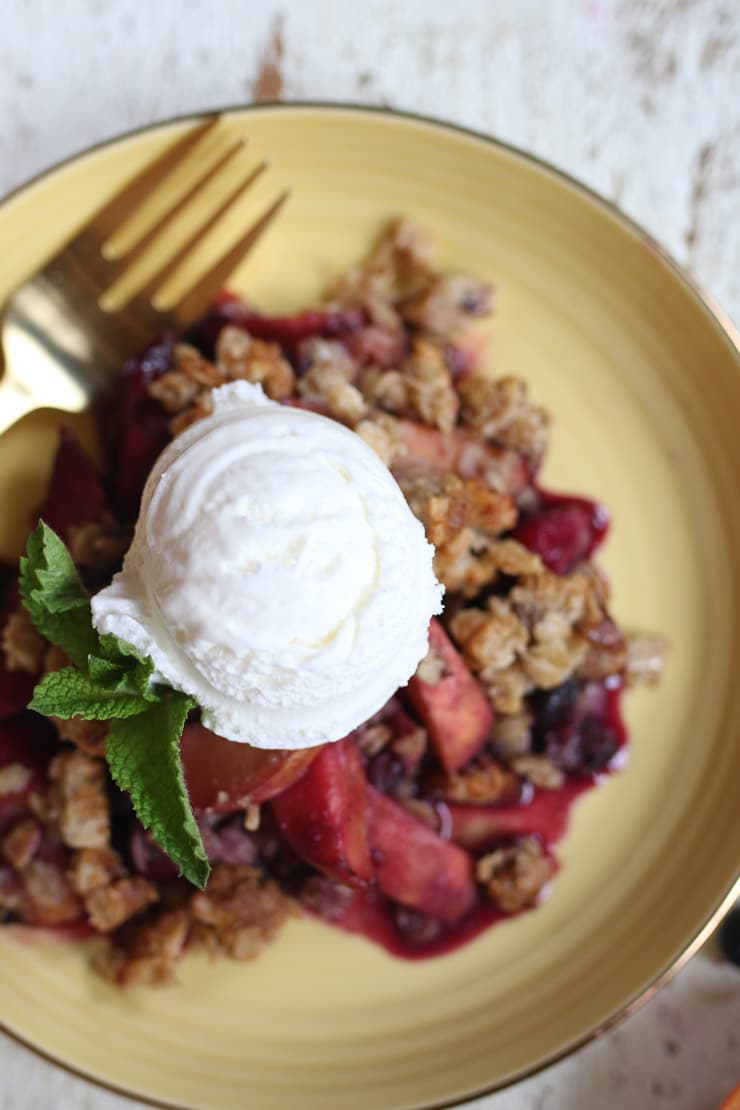
You can serve them as is for a personal sized dessert, or top them off with a little yogurt (dairy free, if needed) or coconut cream instead. I personally eat mine with a fork and knife, but you can totally get at these savage style like my hubby did and just pick it up like a taco LOL.
Since you are keeping the skins on the sweet potatoes, be sure to give them a good scrub to get rid of any dirt. Run it under cold water and brush them with a vegetable brush to be extra thorough.
Golden Delicious, Granny Smith, Jonagold, or Honeycrisp are great options for the crisp as they hold up well to baking.
You can use a large spoon or an ice cream scoop to scoop the insides out of the sweet potatoes.
Recipe FAQs
I would suggest not swapping for yams. Sweet potatoes are more moist and sweet.
There are a variety of sweet potatoes. We love using Jewel Sweet Potatoes or Garnet Yams.
Yup – if you aren’t making this vegan, feel free to use regular butter.
We use whole rolled oats. Do not use quick oats or steel cut oats as it won’t work as well.
More Recipes You May Like
Want more desserts? Try these ones from the blog!
- CHOCOLATE CUPS WITH CHIA JAM
- BEST NO BAKE BROWNIES (VEGAN, GLUTEN FREE, HEALTHY)
- VEGAN BUTTER TARTS
- LEMON RASPBERRY TRIFLE
Now loves, tell me – what dish elicits the best food memories for you?

Apple Crisp Recipe with Sweet Potatoes | Vegan Dessert
Ingredients
Apple Filling:
- 4 sweet potatoes pricked
- 4 sweet apples finely diced
- 1 tbsp lemon juice
- 1 1/2 tbsp tapioca or cornstarch
- 1/2 tsp cinnamon
- 2 tsp vanilla extract
Crisp Topping:
- 1 cup rolled oats gluten free, if needed
- 1/2 cup gluten free flour
- 3 tbsp brown sugar
- 1/2 cup vegan butter
- Pinch of salt
Instructions
- Preheat oven to 450 F and place the sweet potatoes on a baking tray. Bake until very tender and soft, about an hour. Remove from the oven, cut in half and scoop out the insides, leaving behind a few millimeters of sweet potato around the edges. Set aside for a side dish or smoothie.
- Reduce the oven temperature to 375 F.
- In a bowl, combine the apples, lemon juice, cornstarch, cinnamon and vanilla. Place the sweet potato jackets onto a baking sheet and stuff the sweet potato jackets with the apple mixture.
- In another bowl, combine the oats, flour, brown sugar, butter and salt. Top the sweet potatoes with the apple mixture then top the apple mixture with the crisp topping.
- Bake for 25-30 minutes or until golden brown.
- Serve with vegan yogurt or coconut cream, if desired.
Notes
- You can serve them as is for a personal sized dessert, or top them off with a little yogurt (dairy free, if needed) or coconut cream instead.
- Be sure to give the sweet potatoes a good scrub to get rid of any dirt. Run it under cold water and brush them with a vegetable brush to be extra thorough.
- Golden Delicious, Granny Smith, Jonagold, or Honeycrisp are great options for the crisp as they hold up well to baking.
Nutrition
Have you tried making this Sweet Potato Apple Crisp yet? Leave me a comment below with your thoughts!
Abbey Sharp is a Registered Dietitian (RD), regulated by the Ontario College of Dietitians. She is a mom, YouTuber, Blogger, award winning cookbook author, media coach specializing in food and nutrition influencers, and a frequent contributor to national publications like Healthline and on national broadcast TV shows.