We explore outdated myths about pregnancy that are totally BS and share some evidence-based nutrition tips to keep you and your baby safe.
Aside from the peeing, the lack of sleeping, the heartburn and of course the gas, I gotta admit that the worst thing about being pregnant is that everyone and their mother has a huge list of recommendations and advice they can’t stand not to give. I get it, everyone’s an expert, but the reality is that myths about pregnancy can actually make pregnancy and future parenting so much more stressful and difficult for a momma to be! I wanted to dive into some of the most common outdated myths about pregnancy and discuss why they’re totally BS.
Myths About Pregnancy 101
Myth #1: You shouldn’t eat fish because of its mercury content!
Contrary to what pregnancy myths you’ve heard or believe about eliminating fish during pregnancy, the benefits of eating fish are considered much greater than any potential risks while pregnant. Fish is rich in essential nutrients including protein, DHA/EPA (omega-3 fats), vitamin D, choline and minerals such as iodine, iron, zinc, copper and selenium, all of which are advantageous for women planning to become pregnant AND those already pregnant.
What YOU DO have to be cautious about are the types, amounts, and preparation of fish.
DON’T: Eat a lot of fish rich in methyl mercury. This neurotoxin is able to cross the placenta and cause irreversible damages to the central nervous system, particularly to the baby’s sensitive, developing brain when he/she is exposed to it in utero. The fish to avoid include large ocean predator fish like fresh & frozen tuna, swordfish, shark, king mackerel, sea bass, mahi mahi, tilefish, groupers, amberjack, escolar (aka “butterfish”), marlin, tilefish, bluefin, yellowin, pickerel & orange roughy. The most you’ll want to consume during pregnancy is 150 g per month. Canned white albacore tuna is okay in moderation with about 300g (10 ounces) per week (i.e., two 170g cans) considered to be safe.
DON’T: Eat your fish raw. While the fish themselves may be low in mercury, eating raw fish increases the risk of food-borne illness which may be particularly dangerous for babe.
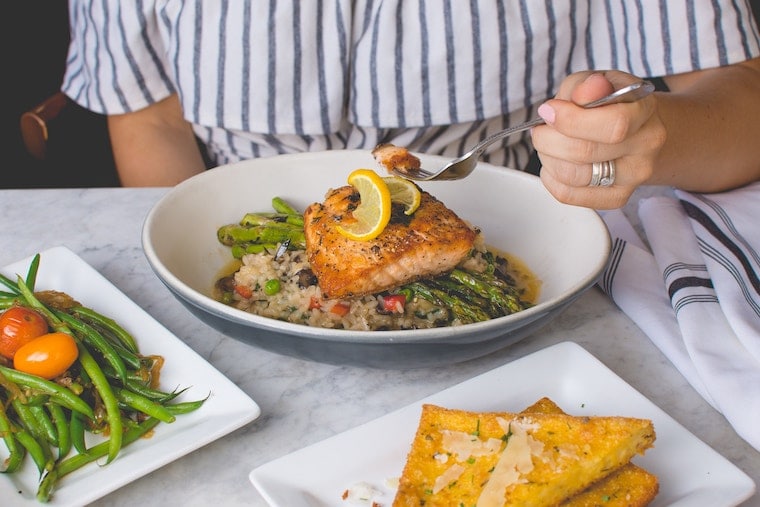
DO: Enjoy a variety of low-mercury, pregnancy-safe cooked fish, ideally at least 2 servings (with 1 of those servings as fatty fish ideally) for a total of 150 g or 5 ounces per week. Examples of safe fish to eat include salmon (farmed, wild), trout, arctic char, Atlantic mackerel, herring, sardines, basa, tilapia, sole, flounder, halibut, haddock, Pollock, anchovies, cod, and canned light tuna. Shrimp, scallop, clams and mussels are all safe shellfish as well.
Myth #2: “Eat MORE girl, you’re eating for two!”
Turns out the one of the post popular myths about pregnancy, “eating for two” isn’t necessarily true. While nutrient needs do increase, it’s safe to say that no woman has never needed to eat TWICE her usual caloric intake (unless of course, her usual intake was grossly below her true needs). If the average woman consumes 2000 calories, that would mean a whopping 4000 calories a day- much more than any mom-to-be likely needs to feed her teeny tiny growing fetus (especially in the early days).
Excessive weight gain (beyond your body’s natural needs) can increase the chances of a high birth weight baby which may be associated with delivery and health complications for both mom and baby (e.g. nerve damage, shoulder fractures). Pregnant women should instead focus on listening to their body and eating “twice as healthy” rather than “twice as much”. I hate using BMI, but the recommendations are that women with a normal pre-pregnancy body mass index (BMI) (between 18.5 to 25 kg/m2) actually have quite modest energy needs. In the 1st trimester, you really don’t need to eat much more at all. By the 2nd trimester, you’re just looking at an additional 350 calories or so. And by the 3rd trimester, those needs are bumped up slightly to about 500 calories. That’s literally a muffin, not a double portion of burgers, shakes and fries. No big deal if you’re truly hungry for it every so often, but not something you want to make a point of doing just because you’re expecting.
DON’T: Use pregnancy as an excuse to eat ALL THE THINGS you otherwise wouldn’t feel the need (or hunger) to eat.
DON’T: Diet before or during pregnancy which may increase the urge to overeat during pregnancy.
DO: Listen to your body for any subtle cues it’s time to eat a bit more and adjust your diet accordingly.
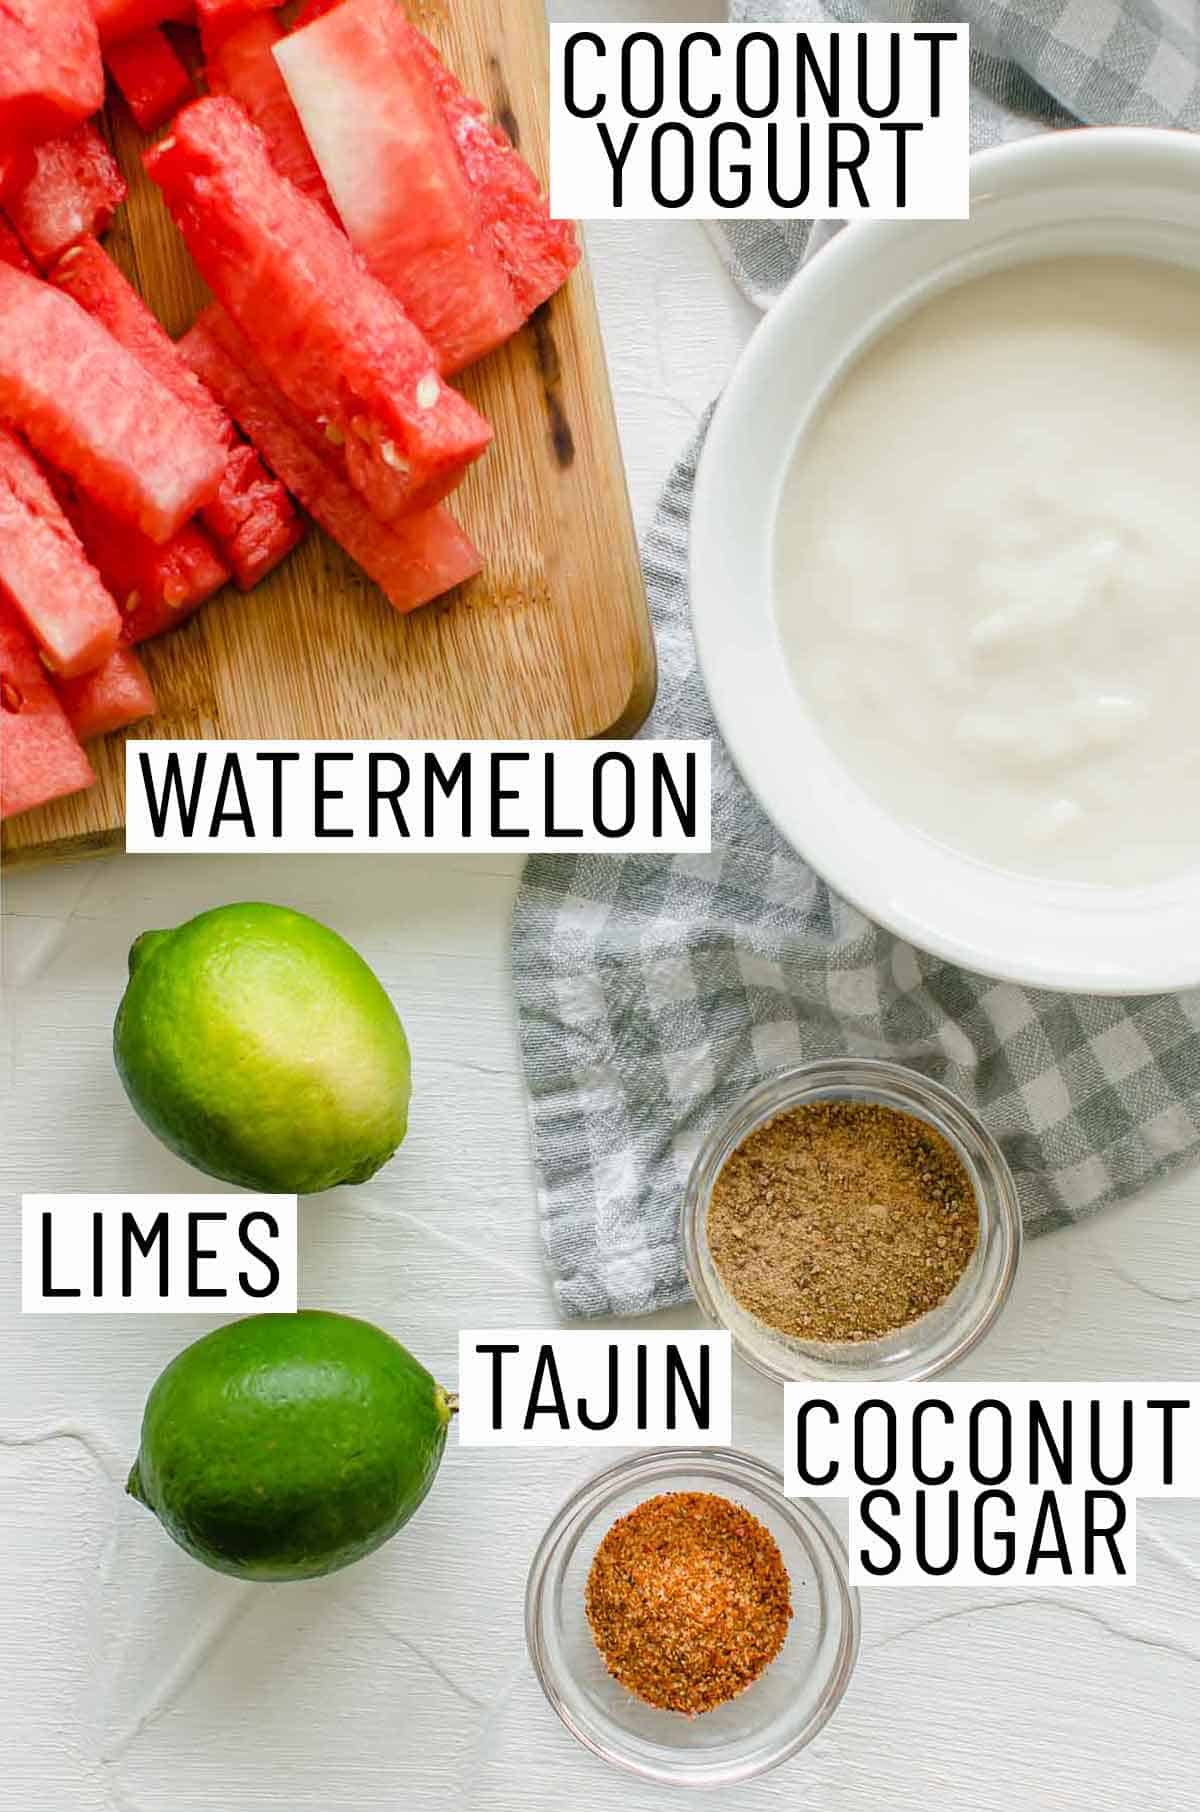
DO: When hungry, add in a few healthy small snacks between meals like a small serving of yogurt, piece of fruit, small piece of cheese, glass of milk, slice of toast, another serving of vegetables, or handful of nuts. By including these snacks in-between your three properly-sized meals while listening to your body, you’ll likely be getting enough!
Myth #3: You NEED to avoid caffeine completely because it’s always harmful to baby

Although this is one of the myths about pregnancy that is pretty extreme, there is some truth to it. Excessive amounts of caffeine is not great for you or for baby. A meta-analyses of case-control and cohort studies suggested that consuming too much caffeine could increase the risk of low birth weight infants, stillbirth, and miscarriages (here and here). If you’re typically a heavy coffee, strong tea (e.g black, green tea) or caffeinated soda drinker, it’s best to limit your caffeine intake to less than 300 mg a day (approximately two cups of coffee or four cups of tea) if you are thinking of becoming pregnant or already pregnant. The risk is due to the fact that caffeine passes through the placenta to the fetus, influencing its development. It’s also worth mentioning that super dark chocolate contains more caffeine than those mixed in with milk and other ingredients. It’s not to say that you should crack open that box of milk chocolates and indulge or to avoid dark chocolate completely, but you should be mindful and cautious of your portion size before you go overboard.
DON’T: Splurge on copious amounts of caffeinated drinks every day, whether it’s coffee, tea, energy drinks, dark chocolates, and sodas.
DO: Consider other non-caffeinated drinks, such as old-fashioned water, 100% juice, milk or fortified soy beverages, and sparkling water.
DO: Consider decaffeinated versions of tea and coffee to give yourself that placebo caffeine fix if you really need it! If you need your caffeine fix, try to limit it to one cup or less a day, especially in the first trimester.
DO: Consider other natural ways to boost your energy, such as doing yoga stretches, taking a walk, or even snacking on dried fruits and nuts.
Myth #4: Just Drink Herbal Tea!

There isn’t a whole lot of research on whether or not herbal teas are beneficial or harmful to have during pregnancy. Health Canada, however, does outline a list of herbal teas that are considered safe and those that should be avoided. Specifically, Chamomiles, teas with aloe, Coltsfoot, Juniper Berries, Pennyroyal, Buckthorn Bark, Comfrey, Labrador tea, Sassafras, Duck Roots, Lobelia, and Senna Leaves are the ones to avoid, while citrus peel, ginger (nausea be gone!), lemon balm, orange peel, and rose hip tea are generally considered safe in moderation (2 to 3 cups per day). There is limited research that looks at herbal medicines and remedies, but not on herbal teas specifically. When in doubt, though, consult a health professional to ask if your favourite herb or herbal tea is safe for you and babe!
DON’T: Make assumptions on whether or not something is safe for you because it’s “all natural”. Always consult a professional whenever you’re unsure.
DON’T: Drink more than the recommended amount. They have been set to a certain amount for good reason.
DO: Seek professional advice before undergoing natural or herbal remedies or having herbal teas to ensure it is safe.
DO: Notify your doctor and other health professionals if you are using natural or herbal medicines.
Myth #5: You Should Stop Exercising to Protect that Bun in the Oven

This statement was once associated with an increased risk of infertility, miscarriage, and preterm delivery, but after much research, it’s been proven to be one of the many myths about pregnancy out there. It’s actually recommended for expectant mothers to engage in at least thirty minutes of moderate activity three times a week. Regular physical activity can help improve your mood and promote better sleep, while reducing your risk of some diseases. During the prenatal period specifically, physical activity may help reduce the risk of maternal obesity, some cardiovascular diseases, and gestational diabetes. Oh, and it’s also associated with improving your ability to cope with labour and delivery (score!), as well as assisting in your recovery (bigger score!). So, get those buns moving for your bun in the oven, but don’t over-do it. It is recommended to start off easy and not jump into anything strenuous you weren’t already doing before you got pregnant. As always, speak with your doctor if you’re unsure of how much or how intense your exercises should be.
DON’T: Push yourself and over-do it as it can actually be more harmful than beneficial to you.
DON’T: Partake in activities outdoors if it is gruelling hot or humid.
DO: Take it easy and build your routine gradually.
DO: Consider moderate activities, such as walking and swimming. You should be able to carry out a normal conversation during the activity. Tone it down or rest for a day if you’re feeling more tired than normal.
DO: Keep yourself hydrated before, during, and after physical activity to prevent overheating and dehydration.
Myth #6: You NEED to Eat Organic to have a Healthy Pregnancy
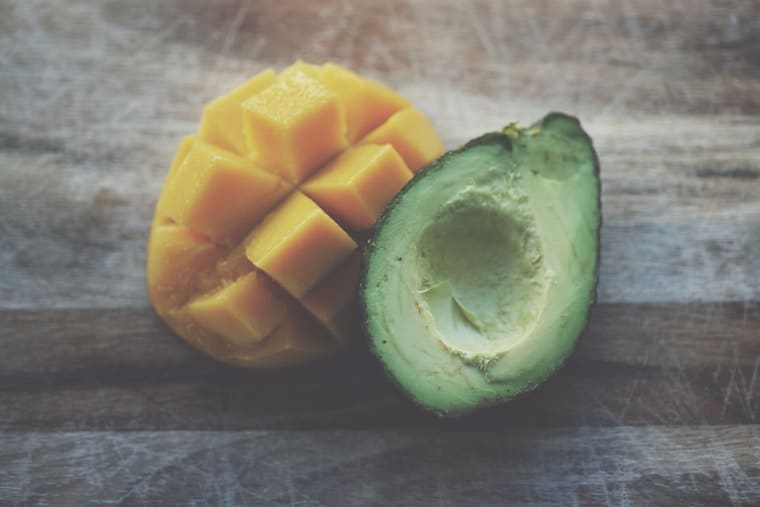
The ongoing debate continues: organic or non-organic? One of the myths about pregnancy with eating non-organic foods during pregnancy, particularly with vegetables, is that the ingestion of chemicals, fertilizers, and pesticides harms the developing fetus. While the research is complicated and spotty, there was one study that linked organic vegetable consumption during pregnancy to lower incidences of hypospadias in male babies (aka. opening of the urethra is on the underside of the penis), but more conclusive studies are needed. Until then, I personally recommend focusing on meeting your dietary requirements of fruits and veggies in general, regardless of whether or not they’re organic.
DON’T: Feel pressured to buy and/or exclusively eat organic foods. More fruits and veggies, in general, are better than less organic product.
DO: Wash your fruits and veggies before eating, organic or not!
DO: Aim to eat at least 4 servings of veggies and 2-4 servings of fruit each day, regardless of how they’re grown.
Bottom Line
So there you go, we’ve got 6 common myths about pregnancy in the bag and a LOT more where that came from, so keep your eyes on this blog for another round of pregnancy myth busters. Check out Part 2 of even more pregnancy myths that we’re sick of debunking.
More Blog Posts You Might Like
- PREGNANCY FOOD SAFETY | FOODS TO AVOID WHILE PREGNANT
- CANNABIS AND PREGNANCY – IS IT SAFE FOR MOM AND BABY?
- DOES EATING VEGETABLES DURING PREGNANCY PREVENT PICKY EATING?
What are some common myths about pregnancy you’re already hearing about? Leave me a message below with your thoughts!
Contribution by RD2B: Amy Choi & Rachel Shim
Abbey Sharp is a Registered Dietitian (RD), regulated by the Ontario College of Dietitians. She is a mom, YouTuber, Blogger, award winning cookbook author, media coach specializing in food and nutrition influencers, and a frequent contributor to national publications like Healthline and on national broadcast TV shows.